Siteforce will be available for general release with Winter ’12. Many developers have been wanting to get their hands on this new tool to take it through its paces, and with the right pre-release trial org you can do just that, but getting started with it is a little tricky. So here’s a visual guide to get you started.
Update: Now that Winter ’12 is out, the pre-release org registration can be skipped in favor of Developer Edition org.
1. Get a Developer Edition Pre Release Org
Go here: https://www.salesforce.com/form/signup/prerelease-winter12.jsp and sign up for a developer edition account. Like so:

The developer edition org comes with trial Siteforce licenses. Other editions require contacting Salesforce.com to get enabled.
2. Enabled Siteforce on your profile
Log into your shiny new (or previously dusty) pre-release org and go to Setup -> My Personal Information -> Personal Information. Click “Edit” and you should see two check boxes like these, in the right column:
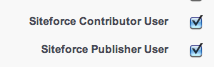
Select both, at least for now … a bit easier to test things out.
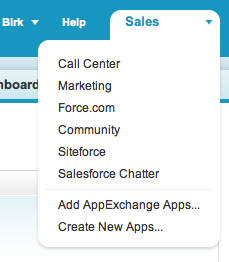
3. Select the Siteforce app from the dropdown.
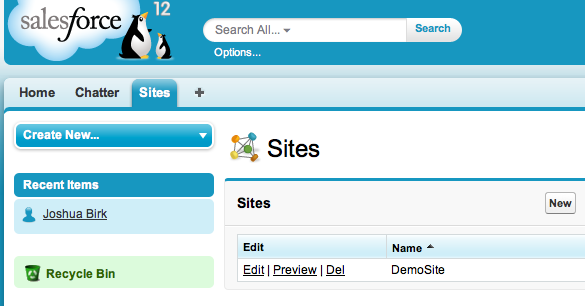
The Siteforce application should now appear in the application dropdown. Select it, and go to the Sites tab to get started…
Now, there’s a lot of things you can do with Siteforce. To get your head and hands around it, check out this developer session from Dreamforce ’11: