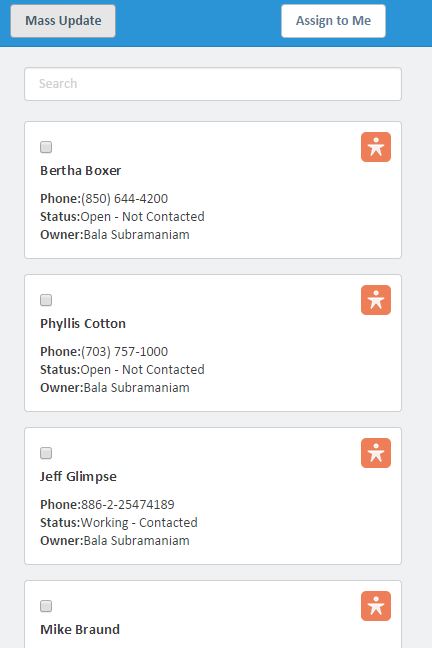
In this blog we will see how we can easily search and update the status of multiple Leads using Lightning Components. These components provide you with the options of searching Leads, updating the Status for selected Leads, and assigning the selected Leads to yourself. Below is a screenshot of the Mass Update component.
Installing the Components
Install the MassUpdate Component using this link to install a package. Then do the post installation steps.
Post Installation Guidelines
- Open the developer console.
- Select File > Open Lightning Resources, select
loadController.js, and click Open Selected. - Change the namespace
bcooltoc. For example:$A.get("e.bcool:staticResourcesLoaded").fire()to$A.get("e.c:staticResourcesLoaded").fire() - Select File > Open Lightning Resources, select
SearchBarController.js, and click Open Selected. - Change the namespace
bcooltocFor example:$A.get("e.bcool:SearchLead")to$A.get("e.c:SearchLead");
Component Walkthrough
Open the packaged components and you’ll see what each component does. The code is well documented, but the following is a highlight of the methods and components therein:
LeadController.apxc controller has the following methods:
getLeadRecord()– Retrieves max of 50 leads to display in a component.getLeadByName(String recName)– Retrieves the list of leads based on thesearchtext (rename).massUpdateLeads(String recIds,String Status)– Updates the Status for the selected leads based on the parameters.massUpdateOwner(String recIds)– Updates the Owner of selected leads based on the parameters
LeadMainComponent.cmp contains the HTML component to render list of leads, search bar and buttons to perform the mass update.
LeadListController.js contains the following methods:
initScriptsmassupdateupdateOwnerdoInitupdateSelectedLeadsgetLeads
Testing as a Lightning App
- Open the developer console.
- Select File > Open Lightning Resources, select LeadManagementApp, and click Open Selected.
- Click Preview (in the upper right corner).
Testing as a Component in the Salesforce1 Mobile App
Add the component to the Salesforce1 menu:
- In Setup, select Administer > Mobile Administration > Mobile Navigation.
- Select massupdate Leads in the Available list.
- Click the Add button to add the massupdate tab to the Selected list.
- Click the Up button to move the massupdate tab closer to the top of the menu.
- Click Save.
About the Author
I work as a Salesforce Technical Architect. I’m a certified Cloud consultant, Administrator, Developer and worked on every type of Salesforce.com project. I’m passionate about all things Salesforce and aspire to become a Force.com MVP.