Many developers have asked how to upload files via Lightning components. In this article, we’ll show you how to build a file uploader in Lightning components using Visualforce, which affords the additional benefit of increased file size limits.
This article assumes that you’re already familiar with Lightning components. If not, before proceeding check out the great introductory module on Trailhead to ensure you’re familiar with how Lightning components work. You can even earn a badge while you’re there!
Salesforce plans to introduce a base file upload component in the future. In the meantime we have two options for creating a file uploader for the Lightning Experience UI:
- Standard HTML <input type=“file”> tag with an Apex controller. This handles files up to 1 MB.
- Visualforce, which has a larger file upload limit of 10 MB.
In this post, we cover the second approach, using Visualforce to upload files and attach them to a Salesforce record.
Requirements
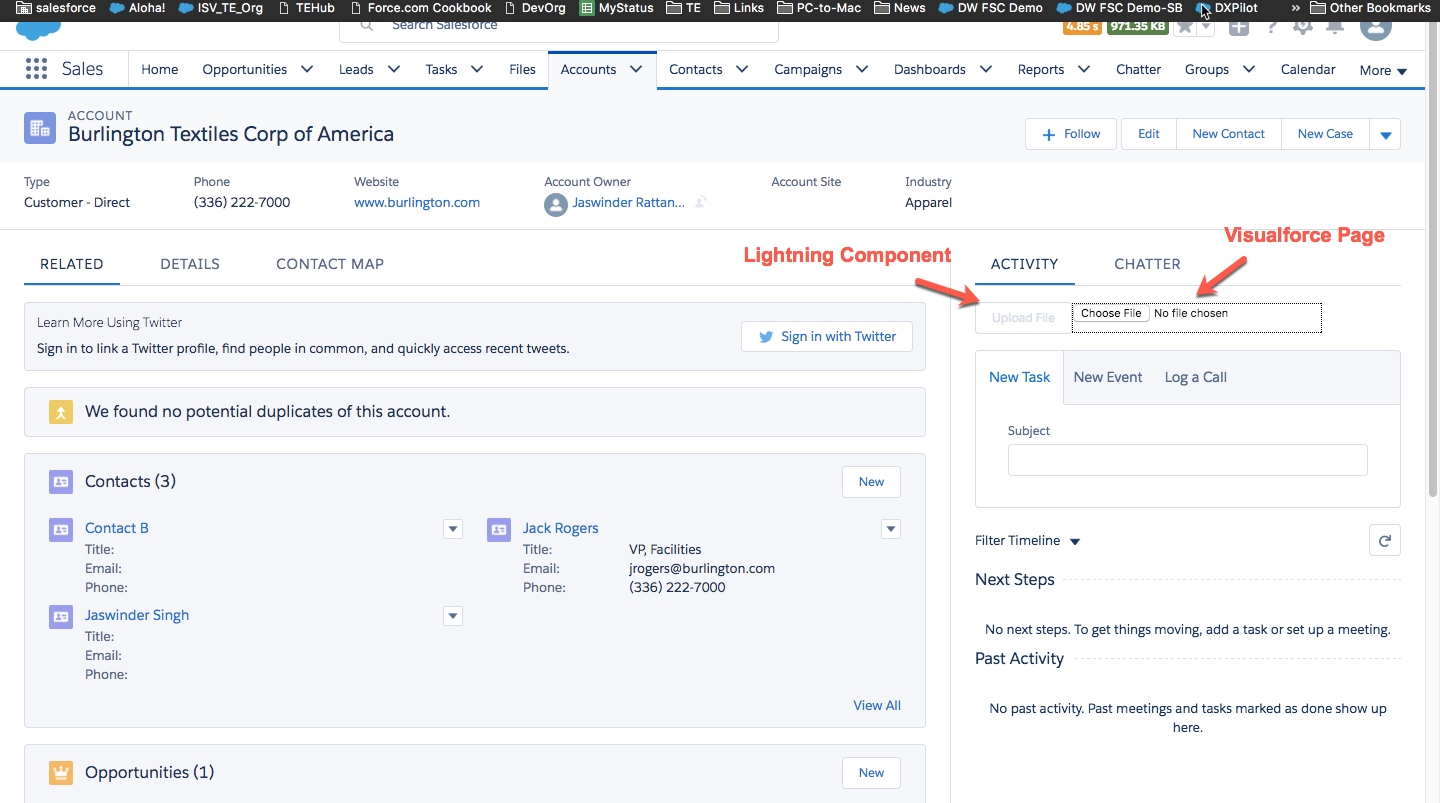
The Lightning component we will develop:
- Can be included in the page layout of a standard or custom Salesforce record detail page
- Enables the user to select and upload a file up to 10 MB in size
- Attaches the uploaded file to the related record
Video demo
To see a demo of the completed file uploader component in action, check out this video:
Implementation details
Now that we’ve established the requirements, let’s dive into the code. All the source code is available in GitHub.
- UploadFile_Controller.cls
- This class creates an Attachment record, and associates it with a parent record. Note the associated record is defined as a transient variable so as not to overload the Visualforce view state, which is limited to 135 KB.
- The controller generates a result message, indicating success or failure of the file upload, and passes that message to the Lightning component for display to the user.
- UploadFilePage.page
- This page exchanges messages with the Lightning component.
- Once the page loads successfully, Visualforce sends a message to the Lightning component. Otherwise, the Lightning component has no way to know that the iFrame was loaded. And if we try to send data before the receiving iFrame is ready, we get an error.
- Once a file is selected in the form, Visualforce sends another message to the Lightning component, which then enables the submit button.
- After the file is uploaded, Visualforce sends a message to the Lightning component, indicating success or failure.
- UploadFileContainer.cmp
- This component can be inserted in the page layout of any Salesforce object.
- The current record ID is sent to Visualforce to use as the parent record ID for the resulting Attachment record.
- Once a file is uploaded, a UI message is displayed.
Conclusion
In this article, you learned how to create a file upload Lightning component using Visualforce. If you have any questions, reach out to me on Twitter @jrattanpal, or post to the Salesforce Stack Exchange.