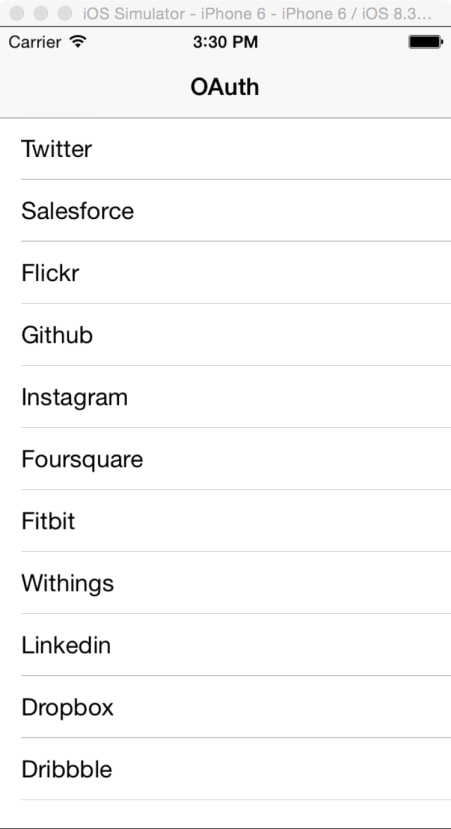
 It is probably no big surprise that I spent a decent amount of my time outside of work building apps, mostly iOS apps in Swift to exact. I’ve been working an app at home that I need to connect to a number of different authentication providers including LinkedIn, Twitter, and Salesforce. The Mobile SDK for iOS is a great option and handles Salesforce1 Platform Authentication, but I wanted a consistent approach across all of my providers, and downstream activities (working with RESTful endpoints, mapping to CoreData etc)
After a little research, I came across this great OAuth library written entirely in Swift (one of my requirements for my app). With a little work and about 30 minutes later I added salesforce.com support, created a pull request, and the maintainer had merged it back to the master repo.
The sample app is updated with a complete example, but here is the quick steps to use OAuthSwift in your projects to enable authentication with the Salesforce1 Platform:
1. Add the OAuthSwift project to your Xcode project
Have a look at the README in the repo. This gives you instructions on adding the project to your current Xcode project and URL Types.
2. Create your Connected App
There is nothing new that you need to do here. Just make sure that you set the callback URL to match the URL Type and your app config.
1oauth-swift://oauth-callback/salesforce3. Add your consumer key and secret to Constants.swift
1let Salesforce =
2[
3"consumerKey": "***",
4"consumerSecret": "***"
5]
4. Add a function to handle the auth steps.
You should be able to copy and paste this method verbatim which a change to match the scope and callback URL you specified in your Connected app.
1func doOAuthSalesforce(){
2        let oauthswift = OAuth2Swift(
3            consumerKey:    Salesforce["consumerKey"]!,
4            consumerSecret: Salesforce["consumerSecret"]!,
5            authorizeUrl:   "https://login.salesforce.com/services/oauth2/authorize",
6            accessTokenUrl: "https://login.salesforce.com/services/oauth2/token",
7            responseType:   "code"
8        )
9        oauthswift.authorizeWithCallbackURL( NSURL(string: "oauth-swift://oauth-callback/salesforce")!, scope: "full", state: "SALESFORCE", success: {
10            credential, response in
11            self.showAlertView("Salesforce", message: "oauth_token:(credential.oauth_token)")
12            }, failure: {(error:NSError!) -> Void in
13                println(error.localizedDescription)
14        })
15
16    }
That’s it. In about 5 minutes you will have a native Swift app connected to all the major auth providers you could ever need! If you want to learn more about building iOS apps, including Apple Watch, don’t forget to join our upcoming webinar too!