Making code readable for yourself while working in an integrated development environment (IDE) or for others during presentations can be a challenge. As our team prepared for the Lightning Web Components launch event, the launch of our LWC Video Gallery and Global Developer Week events, I wanted to solve the issue of readable code and approachable IDE styling for our team more intentionally. So I built the Codey Midnight theme for VS Code to be visible and accessible for a wider audience, and to boost productivity when using VS Code and working on Salesforce projects.
In this post, I’ll outline the tools I used to build this more accessible theme and where you can go to get started making your own custom theme.
Some basics for thinking about accessibility
There are different standards for defining accessibility. Some of the most widely used standards are those developed by the W3C Working Group and are called the Web Content Accessibility Guidelines, or WCAG. These guidelines provide information about an enormous amount of web design and usability — ways you should and shouldn’t approach interacting with browsers and devices, handling audio and video, and much more. They also have guidance about use of color and contrast levels.
When thinking about colors appearing on a computer screen, you’ll need to think about contrast (difference in perceived lightness and darkness, expressed as a mathematical ratio), as well as the actual hues you’ve chosen. It’s not enough to have very bright and very dark colors together. You need to also make sure that people with different ways of seeing color (various kinds of color blindness or low vision) have a way to still perceive a difference between colors when it matters. Often, in situations where they might not be able to see the different hues you’ve chosen, you need to think about how to use adequate contrast to make sure a user can navigate and use your app correctly and with ease.
I decided to make a custom theme for VS Code that our team could use in a variety of rooms and with a variety of audiences, based on WCAG AAA contrast guidelines. Here it is in action during our Lightning Web Components Global Broadcast event:

I also wanted to make it easy for anyone using the theme or looking at code to easily track what was going on in the UI. I wanted anyone to be able to easily understand things like: What file is open and active? What line is the cursor on? What’s going on in the code I’m looking at?
Now, let’s look at how I built it.
Getting started with customizing the VS Code UI
When you first start to customize VS Code, you’ll want to make sure you understand some basics about User & Workspace Settings in VS Code. Settings are how you control the behavior and appearance of VS Code. User settings are specific to you, as a user, and apply whenever you open VS Code. Workspace settings apply to a specific workspace in VS Code — which can actually mean different things depending on how you’ve set up VS Code.
If you want to modify the color theme for VS Code, the easiest way to begin is to work with your User Settings. You can access this two ways: Preferences –> Settings in VS Code menus, or use the command palette and choose ‘Preferences: Open User Settings.’ In your User Settings, navigate to Appearance, as shown below:

There, you’ll see the Color Customizations section and the option to edit a file called ‘settings.json’. This is where you’ll can begin to work on your own styling.
When you open your settings.json, you’ll see entries for different parts of your VS Code configuration. To customize the look and feel of the different parts of VS Code, you’ll need to add an entry like this:
Inside of the brackets, you can then specify different pieces of the VS Code UI and assign colors to them. So, using our basic example, if you want to customize the color of the activity bar, your JSON would look like this:
VS Code has built-in Intellisense to help you identify these pieces, which activates if you’re typing well-formed JSON. You can also find a list of modifiable values here. Colors are expressed in hexadecimal (or hex) code format. Hex codes are a way of identifying specific colors in a format that is supported by all modern browsers and most computer applications. (There’s a great overview about these codes from the BBC’s Bitesize.)
Your color customizations will apply in real-time as you save your settings.json file.
As I worked, I used my favorite online tool for exploring and identifying hex codes to select a baseline ‘dark’ color for my IDE background. Once I had a potential background color, I used an accessible color palette builder tool to get a basic high-contrast palette. (It’s also linked at the end of this post.)
I could take one of the suggested colors and find different shades or related colors with my hex code tool. The color palette builder let me edit the different colors and see a table with all the contrast ratios at once. This let me easily identify colors that didn’t have enough relative contrast.
As I moved into customizing the appearance of my code editor, I needed to move beyond the limited number of colors I could work with in the basic palette tool. I found another tool, colorsafe.co, which let me compare my editor background color with hundreds of other colors, pre-filtered by the WCAG accessibility standard of my choosing. I found myself keeping multiple tabs open and checking individual colors against various tools as I worked.
To modify the colors used in the UI for code, you’ll start by adding an entry like this:
Similar to customizing the workbench, you’ll add your own editor customizations into this section. You can use Intellisense as you work or also look at the modifiable values listed in the VS Code docs. But the amount of customization you can do here is limited.
If you want to start getting very specific about the appearance of JavaScript functions, Apex methods, or specific kinds of variables, you’ll need to stop just modifying your settings.json file. At this point, you’ll need to move your customizations into a custom theme file.
Creating a custom theme for VS Code
The first step, once you’ve gotten customizations you like in your user’s settings.json, is to run the ‘Developer: Generate Color Theme From Current Settings’ command. This will generate a .json file with your current customizations.
The official documentation and samples on Github steer you towards generating .tmTheme files, which are in XML format. I found working with the Yeoman-based extension generator tools (which are part of the instructions for generating .tmTheme files) to be too heavyweight for what I wanted to accomplish. If you’re looking to publish your theme on the official Extensions Marketplace, you’ll want to follow these steps eventually. (UPDATE: Thanks to the Salesforce Extensions for VS Code team, Codey Midnight is available through the Extensions Marketplace! Check out the Resources section for links to Codey Midnight and a companion Light theme, Codey High Noon.)
But if you just want to finish building a custom color scheme, I suggest just continuing to work with the JSON formatted file generated by VS Code. I manually created a folder structure, based on other projects I looked at, which allowed me to have my VS Code installation pick up my .json file as a custom theme without having to use a .tmTheme file. That way, I could continue to work with the more readable JSON format, save my changes to my theme locally and simply reload my VS Code window to check my changes as I worked.
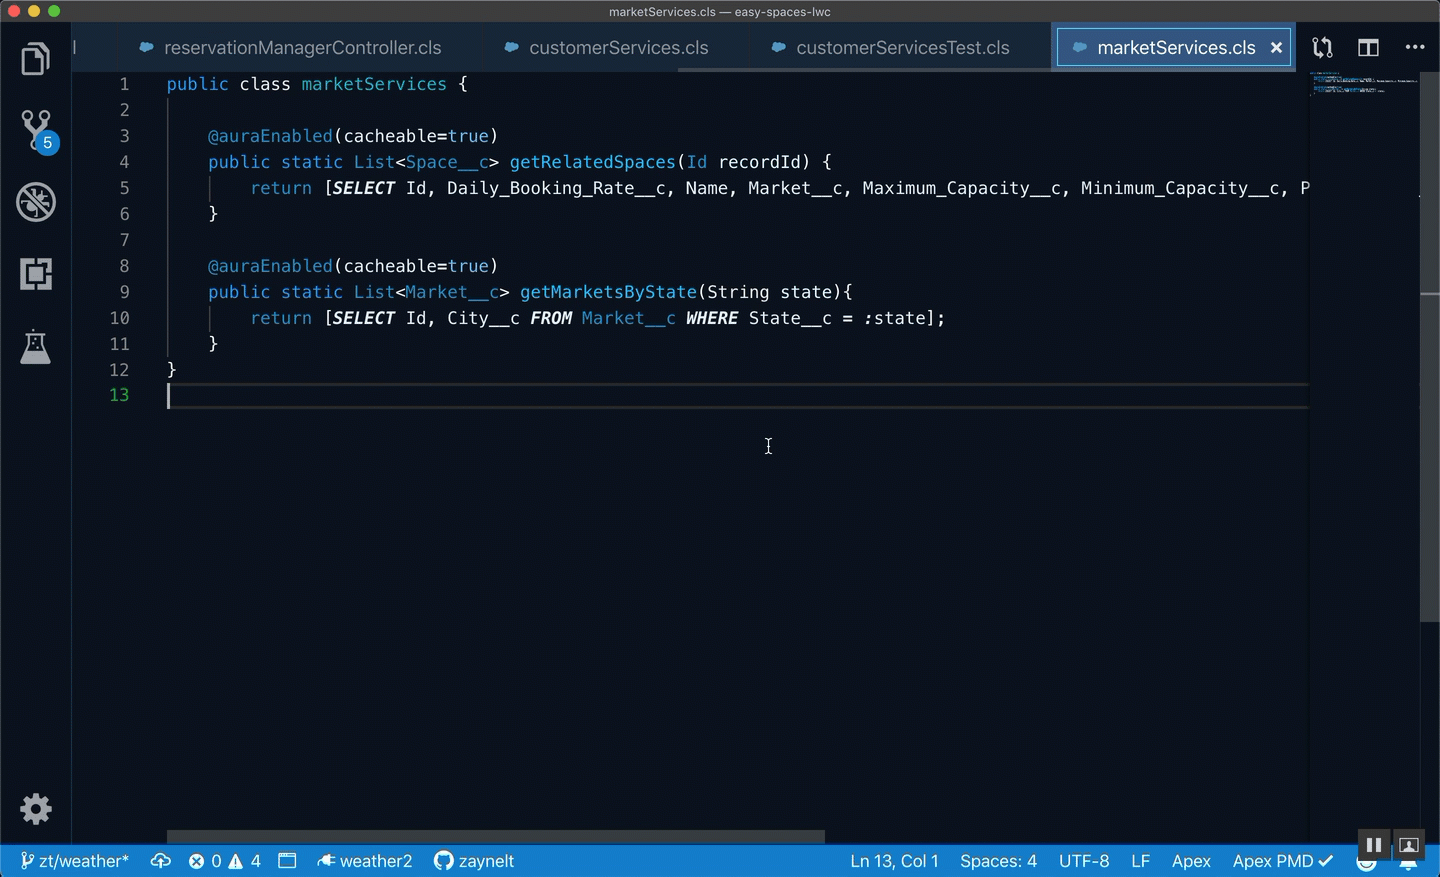
To get familiar with the syntax VS Code uses to identify the different pieces of a language in the editor, you should definitely look at the official docs for themes and for token grammar. To narrow down how to use this syntax to customize the appearance of particular kinds of code, you’ll want to get familiar with the ‘Developer: Inspect TM Scopes’ command in VS Code. This command lets you explore the ‘scopes’ associated with a piece of code open in your editor. Below is an example, using an Apex class:
If you look in your theme .json file, under ‘tokenColors’, you’ll see entries like this:
The “scope” entries are the syntax you’ll see revealed in the inspect scopes command. The “settings” entries are where you customize the appearance of text, including font styles and colors. The above snippet associates numeric constants with a specific font color.
I created logical groupings for features that I wanted treated the same way, like HTML and XML. To better track these groupings, I also added a “name” attribute:
Sharing your theme
Once you’ve developed a potential theme, you can share it with your team a few ways. You can publish an official theme on the Extensions Marketplace, following the instructions here. You can also simply share the theme source in .json format and let your team clone the source to their machines.
Feel free to use the repo I’ve shared as a base. You can fork it or clone it, rename the theme and tweak the colors (whether those are the tabs of the IDE, or syntax colors for the code) to suit your working style.