Our developer advocacy team has been working hard to show you best practices for code and development through sample applications. These public, open source applications are a perfect way to learn something new about Salesforce Development or to use as reference material for various projects. However, they are also a great way for YOU to help contribute to best practices or development patterns.
The Sample Gallery Applications are hosted on GitHub, a collaborative development platform/website where you can view and interact with git repositories, both public and private. This post won’t go into all the cool features of GitHub or the Sample Gallery, but aims to point out a few features and gotchas to help you on your way to making your first issue or pull request (PR). It is also important to highlight that while this post is targeted towards Developers, it doesn’t matter what role you play, you can help make our Sample Gallery better, too!
Start at the beginning — understand the sample apps
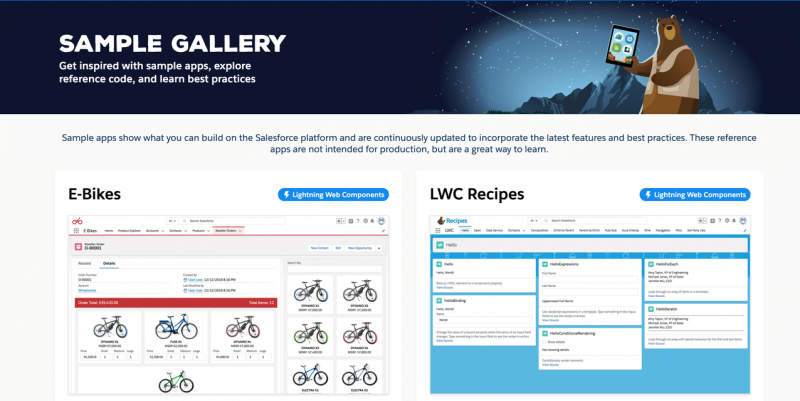
If you are new to the Sample Gallery, the best way to learn where you can contribute ideas is to review what applications we have, install them and get hands on! You can start with our Quick Start projects on Trailhead.
Familiarizing yourself with ways to contribute
Different open source projects have different ways you can contribute to them. For our sample apps, we have two main avenues for contributions — creating an Issue or submitting a PR. The following instructions are specific to contributing to our projects, so be sure to review any guidelines of other open source projects if you decide to contribute to one of them.
When you first visit any of our repositories, you’ll see a bar at the top that calls out a few tabs and important buttons. This is where you’ll start your work on the repository.

Note: Our Sample Apps are all available on GitHub. In order to contribute you’ll need to use a personal GitHub account, or create a new one. You can get started on https://github.com.
Watch, Star, and Fork

The top three buttons give you the ability to keep track of what is happening in a project (watch), ‘bookmark’ a project for later (star), or copy the code so you can work with the code in your own environment (fork).
Watch
If you are looking to dive deep and help a project, I recommend you set the Watch setting to ‘Watching’ the project so you can get notifications about the new issues coming in and stay on top of conversations as they happen. If that many notifications is overwhelming for your inbox, setting Watch to ‘Releases Only’ will email you any time you are mentioned. It also notifies you whenever a major release happens in the repo. However, our repos don’t use the release feature at this time. Regardless, many people find this setting to be more manageable.
Star
The Star action is like a private GitHub bookmarking system. You can quickly find all your star’d repos in your profile and it lets you say “I’m interested in this repository, but I don’t want notifications yet”.
Fork
The final button is Fork, which is used to copy the code into your own space on GitHub so you can work on it. If you want to work on and submit any changes to the code you will first need to Fork the repository.
Clone Vs Fork
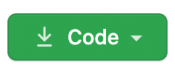
A common question people have when looking to work with a repo is “Do I need to Fork this first?” If you simply want to retrieve the code to deploy it to a Salesforce instance, you can clone the repo, which doesn’t require git. You can just click the Download Code button on GitHub. Forking is only relevant if you want to make changes that you want to track with GitHub.
Issues
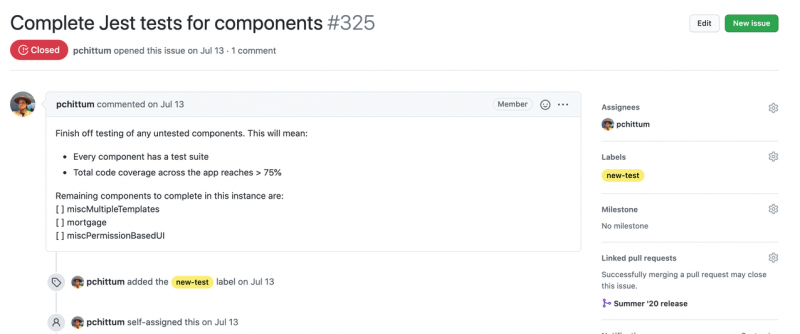
The issues tab takes you to an interface where you can view the currently open issues and all the closed issues for the repo. This area serves two key aspects of contributing to an open source application. The first being that you can use this space to view the current issues and decide to help with one of those issues. The best way to ‘put your hand up’ to work on an issue is to click on the issue text and comment that you would like to help with that issue. At that point, you’ll start a conversation with the project maintainer who will work with you on solving the issue and submitting the PR to fix the issue.
The second key way to contribute on the issues tab is to log your own! By selecting the green “new issue” button you’ll be asked to select if your issue is a Bug or Feature Request. If you are having an issue with the repository or realized that something wasn’t working properly, that’s a bug. If you have an idea for a new feature or enhancement but everything in the app is working as intended, thats a Feature Request. Finally, you will need to fill in all the details in the template and submit it!
By submitting an issue, you may not feel like you are really contributing to the app, but you are! Using issues to tell us when something is wrong or requesting a new feature is a key part of making sure these applications continue to include all the best practices you need/want while also helping us better understand where we can work to create more material to help you learn about those features in the long term.
Eventually, your issue will be closed, either by you or by any other contributor to the Sample Gallery. You can continue to visit the issue page to get updates.
Pull Requests
If you’ve found an issue that you want to work on or have a solution for, then a PR will be your tool of choice. Developing and submitting a PR takes a few more steps than submitting an Issue, but you’ll be able to work on code that lives beyond just that moment and helps everyone understand best practices and features that you also know.
How to work with the sample apps and submit a PR
In order to get your code eventually reviewed and merged into the Sample Gallery, you need to either select an Issue you want to solve, or create an Issue. You’ll have a discussion in that Issue to make sure the feature is approved by the maintainer, and then you can get started developing!
Your first step to begin developing is to make sure you have all the tools you need to work with the repositories. Our Quick Start: Visual Studio Code for Salesforce Development will get you started with most of the key tools you’ll be using. Our sample apps have a few additional tools you’ll want to set up if you don’t already have them. Those tools are Prettier, eslint, and node.js.
With your tools installed, you are ready to fork the repository! Simply click “Fork” on the repository you’d like to work on. This will create a copy of the repository to your GitHub account. You’ll then need to clone the code to your local machine and create a new feature branch. If you’ve never forked, cloned, or created a new branch before, there is a Trailhead module on Git and GitHub basics that we recommend.
After you have all your code locally, you’ll want to create a fresh scratch org for development or documentation updates. Each sample application has a file called README.md where we outline the steps you need to follow in order to install the app using a scratch org. Then you can make your changes, enhancements, and updates — being sure to follow development best practices.
Once your feature is complete, or you’d like to talk to one of our primary maintainers, you’ll want to commit your changes to your branch and push them to GitHub. When you commit via the CLI, our pre-commit automated tool chain will run prettier and ESLint on your code to make sure it follows our best practices. You may hit some ESLint errors here. Try to work through them… but if you need help you can go back to your issue and ask the project maintainer for assistance.
It’s finally time now, you can create a PR! Make sure that you reference the issue number that your PR impacts by adding the issue number to the “write” box of the PR.
Note: You may have a failed check when you first submit your PR. A missing CLA and prettier formatting are the two likely causes of failed checks. Your PR reviewer can assist you if you are having issues submitting a PR. You can find out more in the CONTRIBUTION.md file in each repository, such as the CONTRIBUTION.md found in lwc-recipes.
After you submit your PR, you aren’t quite done. You’ll be assigned a reviewer and the contribution you’ve submitted will undergo review. You’ll want to communicate frequently with your reviewer and be sure to respond promptly to help resolve any issues that might have come up in testing. Finally, your reviewer will sign off and merge your request. You can now celebrate and brag to all your friends that you’ve successfully contributed to the Sample App Gallery!
Want to contribute to other open source projects?
Well, you’re in luck! There are a lot of projects looking for help and new contributors! We recommend you check out a few of our favorite others from Salesforce:
- Salesforce Extensions for VS Code
- Lightning Web Components Repository
- oclif: Node.JS Open CLI Framework
You can also visit the Salesforce Open Source website to learn more about our other open source projects.
About the author
Heather Storm is a Developer Program Manager at Salesforce. She works hard to enable learning through video on Trailhead Live and YouTube and is passionate about Open Source projects and giving back through gaming for good. Connect with her on twitter @iamheatherstorm.
Resources
Trailhead Modules
- Git and GitHub Basics
- Quick Start: Visual Studio Code for Salesforce Development
- Discover Trailhead Sample Apps
Source Code & Repositories
- Sample Gallery Page on Trailhead
- GitHub Repositories
- LWC Recipes Contribution Document
- Salesforce Extensions for VS Code Repository
- Lightning Web Components Repository
- oclif Repository
Tools
Additional Documentation