In the previous blog post of this series, you learned what Node.js is and why it matters to Salesforce developers, but I strongly believe that the best way of learning is by doing. Well, now it is time to start building your first Node.js web application.
Node.js is great for building web applications, especially APIs. So, for your first project, you will build an API for a Lightning Web Components application. In order to build the API, you’ll need to invest some time on Trailhead (and get a new badge on your profile!), where there is a great project that will teach you how to build a web application using Lightning Web Components Open Source. Go ahead — work on that first project and come back here when you are ready; you will be building the API used on that project to serve the session’s data, and then you will be deploying it to Heroku.
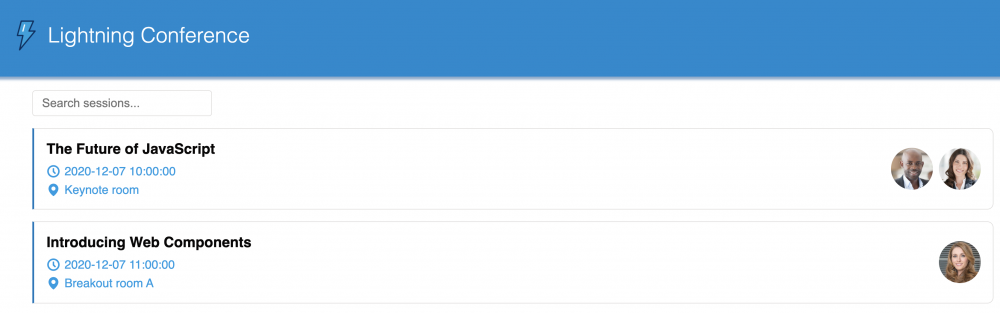
Lightning Web Component open-source application deployed to Heroku
You might have noticed that while creating the Data Service Module of this project, you were given a URL (https://conference-lwc-app.herokuapp.com/api/sessions). If you do an HTTP GET request to that URL, you’ll get a JSON response with the data that will be rendered in the UI, but the project doesn’t teach you where this data came from or how to build that API service. Well, today you are going to learn how to create a Node.js application that will serve that data to your LWC OSS application.
JavaScript code fetching Sessions API
Installing Node.js
Node.js is a multi-platform JavaScript runtime, and you can install it on Windows, Linux, and MacOS. There are multiple ways of installing Node in your operating system of choice. Here are a couple of options:
Official installer
For the official installer, you can go over to the Node.js official website and download the installer for your operating system. It’s recommended to always use the LTS (Long Term Support) release channel for projects that will go to production; the Current channel is good for learning and experimentation purposes.

Using Volta
My favorite way of installing Node.js is by using a version manager. Most of our team here at Salesforce are using Volta, and it is the one that I’m recommending that you use today. Why? Well, it lets you manage multiple versions of Node and switch them by using the volta CLI or by specifying the version in a config file. It is very useful when developing an app to target older versions or for testing new features in the Current release channel.
If you want to install it, you can go to https://volta.sh and install Volta on your operating system. For Unix-Based (Linux, MacOS), you can run the following command on your terminal:
For Windows, you can go to https://docs.volta.sh/guide/getting-started and make sure to check the Getting Started > Windows Installation section.
After installing Volta, make sure to go to your terminal and run:
This will install the latest version of Node.js in your operating system, before we continue let’s make sure you installed Node.js properly on your computer by running the following two commands from your terminal:
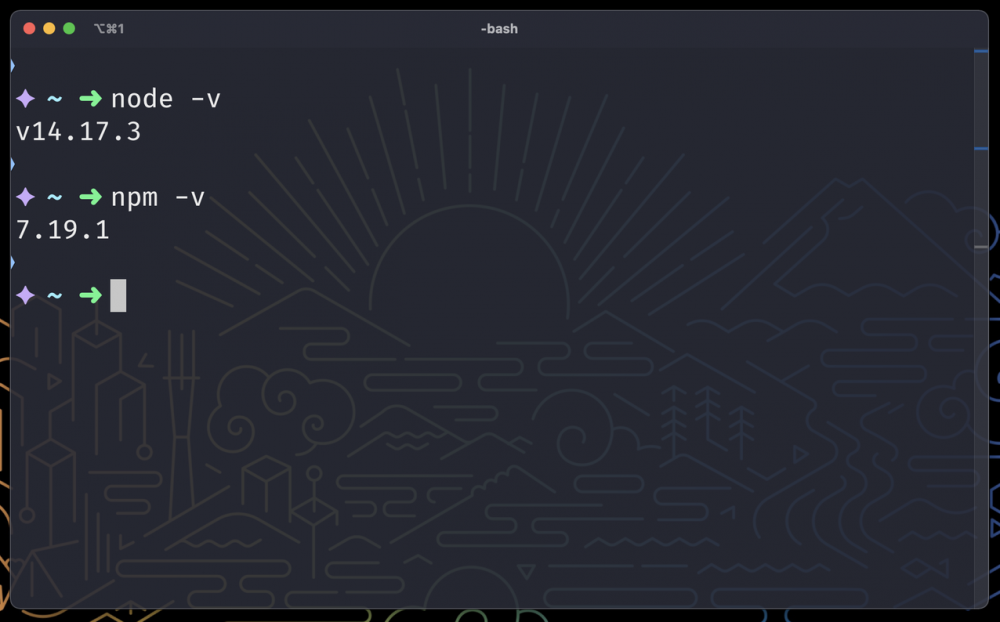
Node and npm version output
The node binary is the one you will use to run your applications, and also can be used as a REPL (Read-Eval-Print Loop) to evaluate JavaScript expressions on your terminal. The npm binary is the one you will use to interact with the Node and JavasScript ecosystem, and with this, you will be able to install 3rd-party dependencies, bootstrap your Node.js projects, and execute scripts, such as test, build, and start, within your project. There is an excellent article by Philippe Ozil that explains custom scripts on a Node.js project.
Let’s build your first Node.js project
Let’s start by creating a folder for your project (you can call it conference-api)and then inside that folder, run the following command to initialize an npm project:
This command will ask some questions about your project, such as name, version, description, etc, and then it will create a package.json — a descriptor file that contains metadata and dependencies information about your Node.js project.
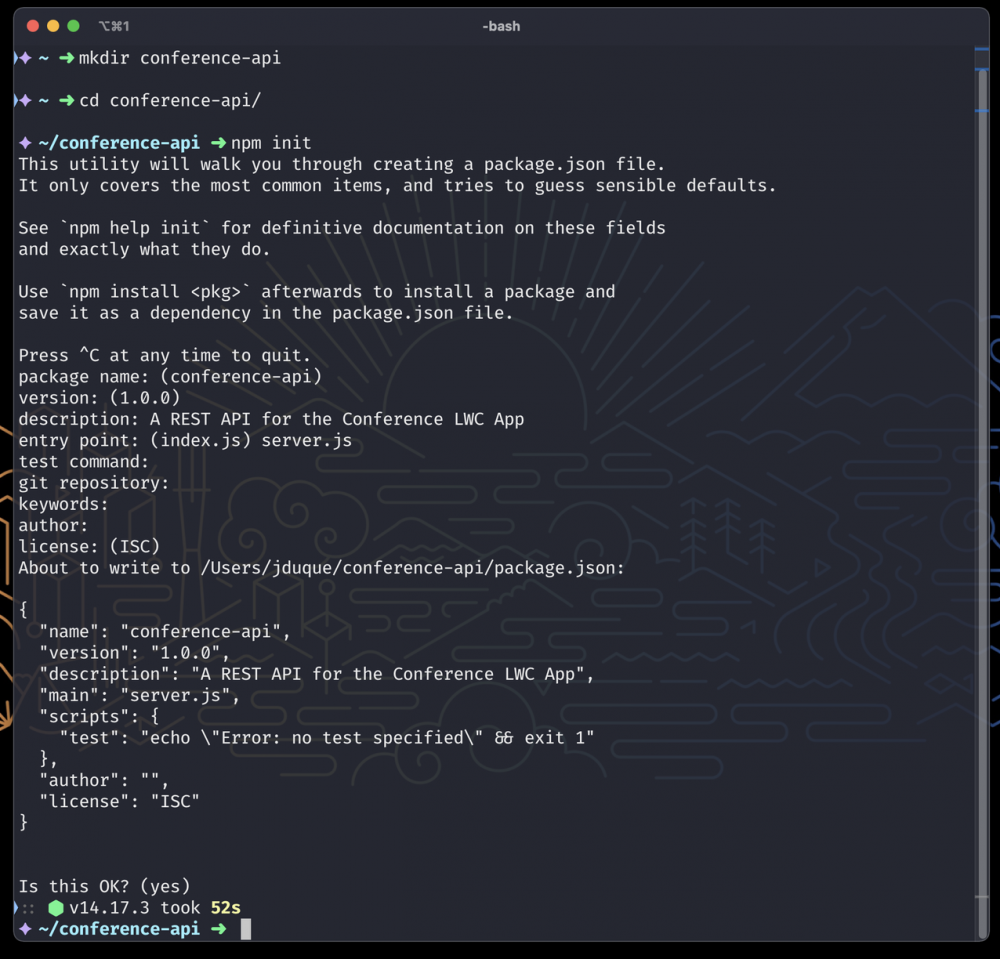
Node.js project creation from the command line
Now that you have a folder for your application, let’s download the data that will be served by our REST API. You can download the sessions.json file from the Conference LWC application in the Trailhead project: https://conference-lwc-app.herokuapp.com/api/sessions, and make sure to store it in a new folder called data. If you are on a Unix-Based OS like MacOS or Linux, you can run the following command to do so:
Before implementing a Node.js server, let’s learn how can you load the JSON file from the file system. I’ll show you two different ways of doing it, one synchronous and the other asynchronous using Promises and async/await.
The synchronous approach is good if it’s going to be executed only once, for example, at the start of the Node.js server. But it isn’t recommended if it’s going to be executed every time a new request comes in. That’s because of the asynchronous nature of Node.js and how the JavaScript Event Loop is handled. If you are doing synchronous operations on a hot-path (a request handler), the event loop will be blocked and will prevent other operations from happening simultaneously.
The asynchronous approach is recommended if the file will be loaded every time a new request comes in. Since an asynchronous pattern like Promises and async/await is being used here, there is no risk of blocking the event loop.
Reading a file synchronously
Node.js comes with a set of different core modules, where you can perform multiple types of operations like filesystem, networking (tcp/udp, http/https, dns), cryptography, etc. You can learn more about the different core modules by visiting the Node.js API documentation.
For reading a file, you will need two core modules: fs to perform filesystem operations with the readFileSync method, and path to specify the filename to read using multi-platform path operations.
server.js reading sessions.json file synchronously
Note that in this example, we are using the readFileSync method, which as its name says, reads the file synchronously. As I mentioned before, this will block the event loop while reading the file, so it isn’t recommended to put that code snippet inside a route handler. A route handler is a function that will be executed every time a new request comes into our web application, and you will write one later for the web server. But before getting into that part, let’s write an asynchronous function to read the file using Promises and async/await.
Reading a file asynchronously
According to MDN, a Promise is an object that represents the eventual completion (or failure) of an asynchronous operation and its resulting value. async/await is just a JavaScript language syntactic construct to perform asynchronous operations with Promises as if they were “synchronous” statements. It looks like synchronous code, but it doesn’t block the event loop (and that is what you want from now on when writing concurrent Node.js applications).
server.js reading sessions.json file asynchronously
Multiple things to notice here. First, we are requiring the fs/promises module, and some of the core APIs from Node.js have a promisifed counterpart that can be used with async/await. Second, since we are using async/await, we need to wrap the asynchronous operation within an async function. Then in order to resolve the fs.readFile Promise and get its value in the same line, we need to use the await keyword. It reads like a synchronous operation, but as I mentioned before, it doesn’t block the event loop.
Creating a Node.js web server with Fastify
Now, it’s time to write your first Node.js web server. For this example, you’ll use Fastify, a fast and low overhead web framework, for Node.js. There are other popular alternatives like Express.js that follows a similar approach, but I personally recommend Fastify. It is fast, well maintained, and its route handler patterns are very similar to what you will be able to write using Salesforce Functions (but that is a topic for another blog post).
First, you’ll need to install fastify as a dependency for your Node.js project. And since you’ll be using this API with an existing LWC project, you’ll need to enable CORS for your web server as well. You can do so by running:
Then, let’s create a server.js file with the following contents:
server.js with a web server implemented in Fastify
And now, let’s start the server by running server.js and make an HTTP request to https://localhost:3000/api/sessions.

Node.js web application running locally with an HTTP request
For the HTTP Request, I’m using HTTPie, a user-friendly HTTP client for your terminal, but you can do the request from your favorite web browser.
Deploy your Node.js web server to Heroku
Last, but not least, is to deploy the web application to Heroku. Make sure to review the Getting Started on Heroku with Node.js guide to check all the requirements needed to deploy and learn more about Heroku.
Before attempting to deploy, make sure your project is set up as a Git project, and then commit all the code you have written so far.
Then, create a Heroku application by running:
And to deploy, you’ll need to push your code to Heroku by running:
If everything went well, you’ll get something like this:
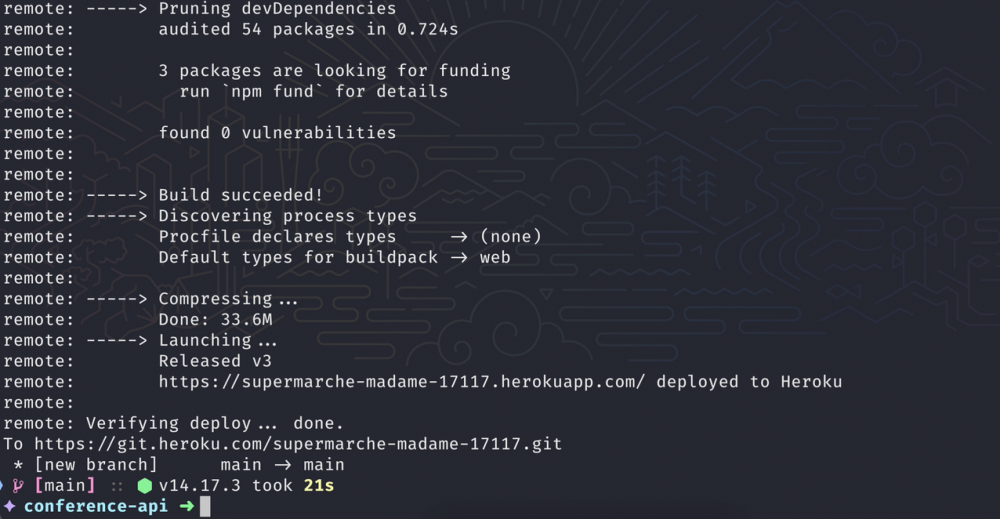
Node.js application deployed to Heroku
And that’s it — you have re-created the API from the Build Your First Application with Lightning Web Components Open Source trailhead project using Node.js and Fastify and deployed it to Heroku. Now you can change the URL in the LWC project to the one you just deployed.
What’s next?
This is the second post in the series: “Introduction to Node.js for Salesforce Developers.” In the next blog post, you will learn how to access data services like Heroku Postgres, and how to integrate these Node.js applications with Salesforce apps.
Resources
Here is a list of useful resources that will help you grasp the concepts presented in this post:
- Understanding Asynchronous JavaScript — https://youtu.be/ytL4NXW_CGY
- codeLive – Introduction to Node.js for Salesforce Developers — https://www.youtube.com/watch?v=TLflnAJx_KA
- codeLive – Building our first Node.js web application — https://www.youtube.com/watch?v=vqPr64AZdTQ&list
- Building your first app with LWC OSS — https://trailhead.salesforce.com/content/learn/projects/build-your-first-app-with-lightning-web-components-open-source
About the author
Julián Duque is a Lead Developer Advocate at Salesforce. Connect with him on Twitter @julian_duque.