If you’ve been following our blog series, “Introduction to Node.js for Salesforce Developers,” you’ll have learned a lot so far about this popular open source JavaScript runtime. Our previous two posts discussed why Node.js matters to Salesforce developers and walked you through how to build your first web application using Node.js.
In this third post in the series, you’ll learn how to access a PostgreSQL database using Heroku Postgres and Node.js. By doing so, you’ll be using the most advanced open-source relational database within your applications, and you’ll be able to easily sync data with Salesforce using products like Heroku Connect.

Invocation architecture
We’ll be working with the conference-lwc-app from the previous blog post, so make sure to give it a read. I have pushed the source code in the heroku-examples/conference-api repo on GitHub; you can clone it using Git by running:
1git clone https://github.com/heroku-examples/conference-apiIntroduction to npm
Before starting this project, let’s take a look at npm, the gateway to the Node and JavaScript ecosystem. Npm is the JavaScript package registry; it is where you can find all the libraries and tools you need to develop applications with JavaScript and Node.js. Did you know that LWC and the Salesforce and Heroku CLIs are published on npm? Now you know!
With every Node.js installation, you also get the npm binary, which is used to install dependencies to your projects, such as in the previous blog post where we installed fastify and fastify-cors. For this new project, we’ll install pg, the PostgreSQL driver for Node.js.
Creating a Heroku Postgres database
We’ll be using a PostgreSQL instance from Heroku, which means there’s no need to install the server on your local development machine. However, it is recommended to install psql, the PostgreSQL client, so you can interact with the database from the CLI. The Heroku Dev Center provides instructions on how to set up PostgreSQL in your local environment.
To have a Heroku Postgres instance, you’ll need an application. So, let’s create one by running the following command from your conference-api project folder:
1heroku create <your-app-name>Note: Make sure to replace <your-app-name> with a unique application name.
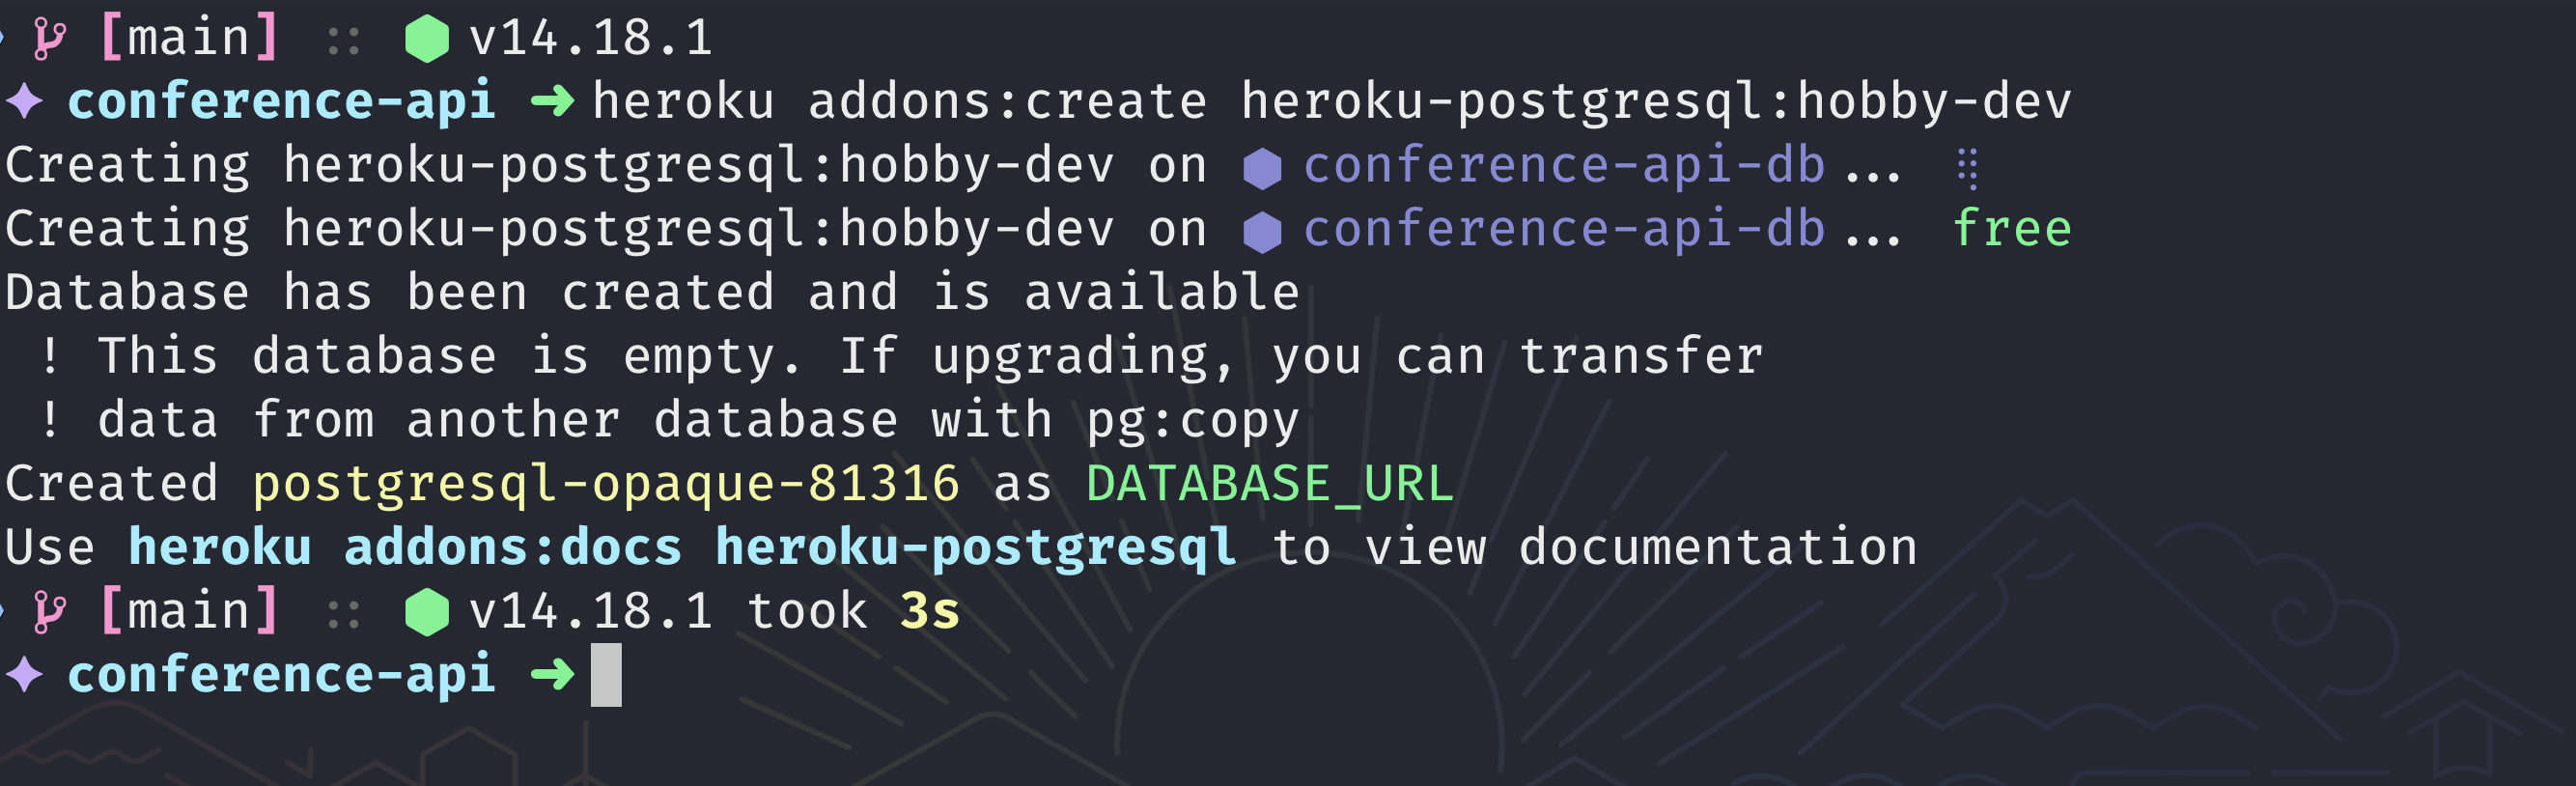
Next, add a Heroku Postgres add-on to your application by running:
1heroku addon:create heroku-postgresql:hobby-devHere you are using the hobby-dev plan, which is free and perfect for development but has some limitations for production environments. If you want to learn more about the available plans, check the Heroku Postgres add-on page.
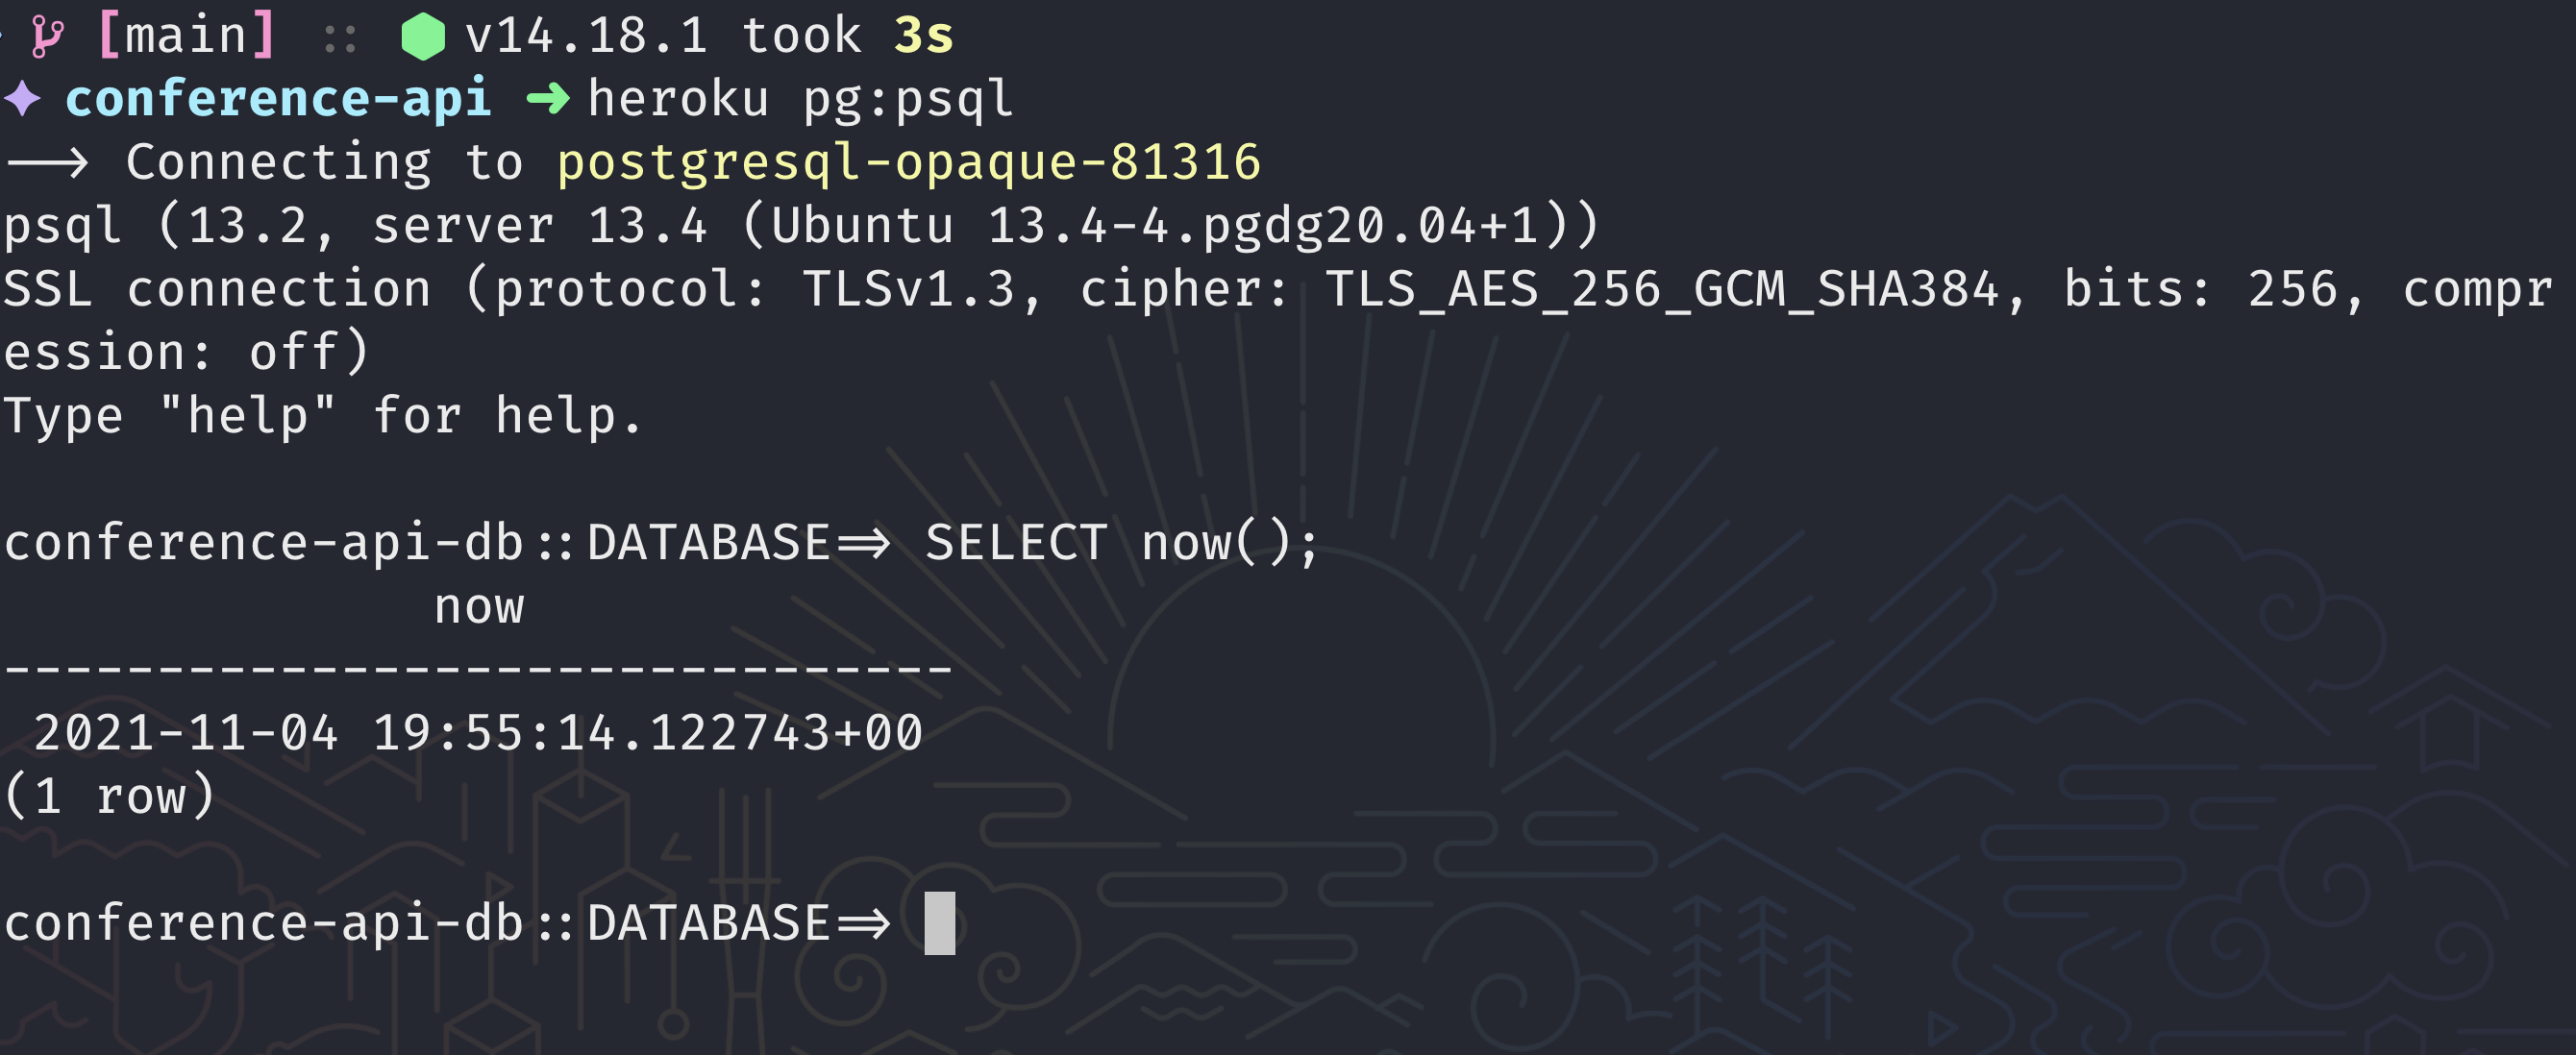
You can confirm that you have access to it by executing psql through the Heroku CLI by running:
1heroku pg:psqlNow, you can execute a SQL query and do something like SELECT now(); to get the current date and time.
Note: To use heroku pg:psql, you’ll need to install the PostgreSQL client on your local machine.
The main advantage of using the Heroku CLI pg plugin is that you don’t need to worry about the authentication details; the CLI will take care of it for you.
Creating a database schema
You have connected to the PostgreSQL instance; now you need to create some tables to store information. Let’s take a look at the data schema that you need to create for the conference-api application.
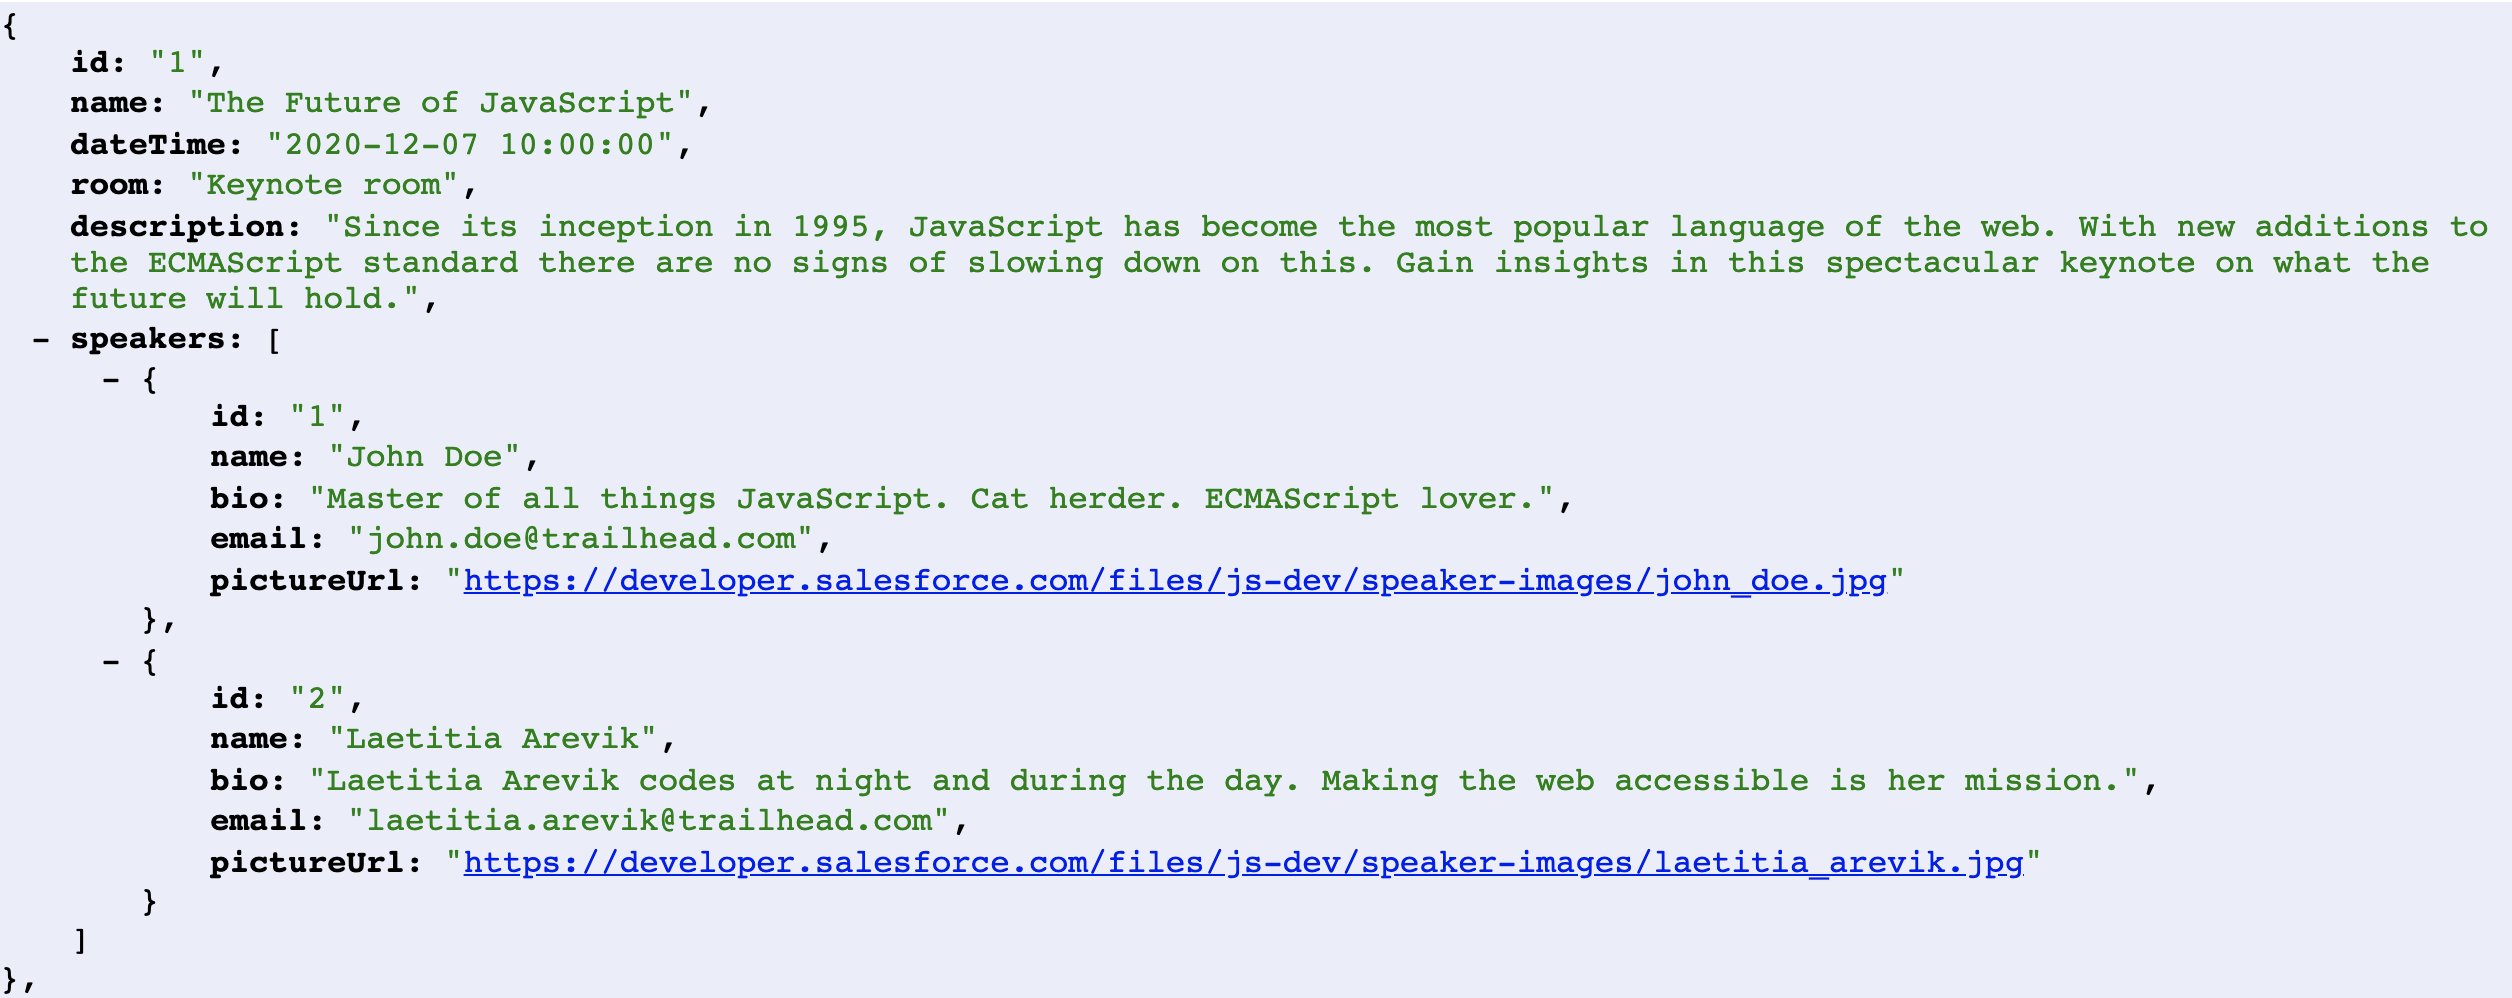
The API built in the previous blog post returns a JSON structure composed of sessions and their speakers, so let’s create these two entity’s tables and their relation table using SQL CREATE TABLE (see docs for more info).
Please copy the following SQL code into a schema.sql file in your project folder. You’ll load it to the database using the Heroku CLI.
1CREATE TABLE sessions
2(
3  id          bigserial                NOT NULL,
4  name        character varying        NOT NULL,
5  description character varying        NOT NULL,
6  room        character varying        NOT NULL,
7  datetime    timestamp with time zone NOT NULL,
8  PRIMARY KEY (id)
9);
10
11CREATE TABLE speakers
12(
13  id          bigserial         NOT NULL,
14  name        character varying NOT NULL,
15  bio         character varying NOT NULL,
16  email       character varying NOT NULL,
17  picture_url character varying NOT NULL,
18  PRIMARY KEY (id)
19);
20
21CREATE TABLE sessions_speakers
22(
23  session_id bigserial NOT NULL,
24  speaker_id bigserial NOT NULL
25);
26
27ALTER TABLE sessions_speakers
28  ADD CONSTRAINT FK_sessions_TO_sessions_speakers
29    FOREIGN KEY (session_id)
30    REFERENCES sessions (id);
31
32ALTER TABLE sessions_speakers
33  ADD CONSTRAINT FK_speakers_TO_sessions_speakers
34    FOREIGN KEY (speaker_id)
35    REFERENCES speakers (id);
schema.sql file
After saving it, you can either copy it directly to the heroku pg:psql prompt, or you can run the following command to import the whole file:
1heroku pg:psql < schema.sql
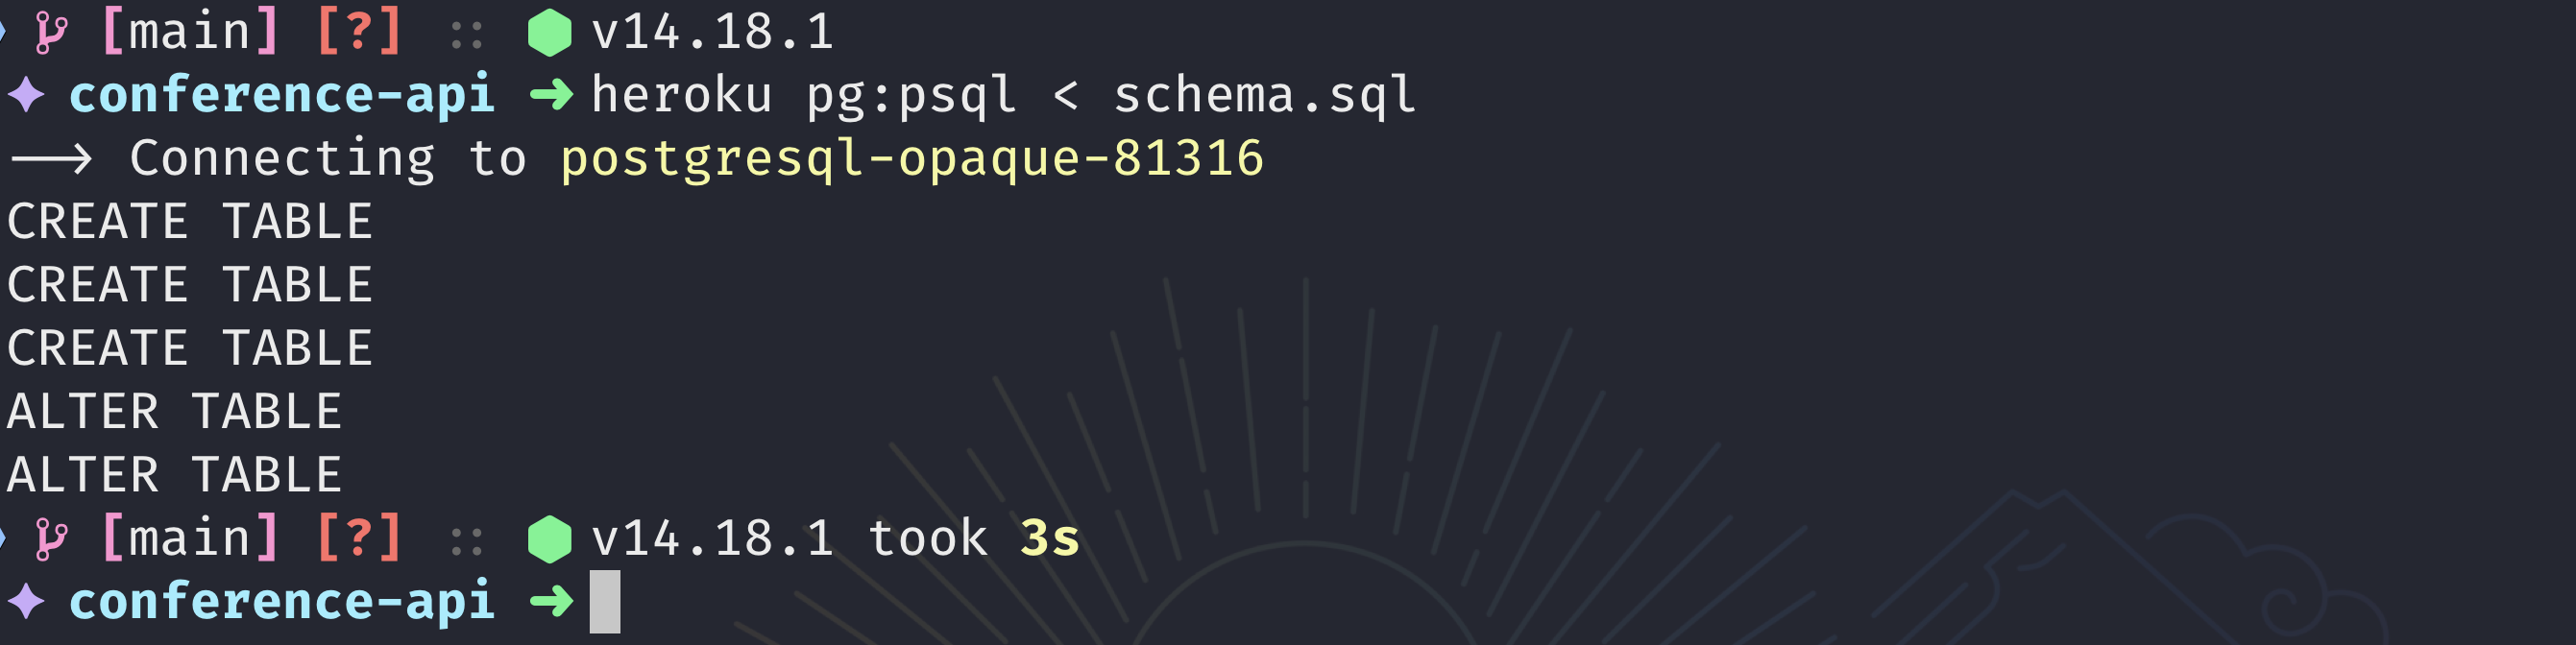
Note: The previous command will work only on MacOS, Linux, or WSL. If you are using Windows, I recommend copying the file contents to the heroku pg:psql prompt instead.
Now it is time for the refactor. In the following sections, you’ll do two things:
- Create a migration script to load the
sessions.jsondata into the database. - Modify the
/api/sessionsroute to query this data and return it in JSON format.
Inserting data into the database
Your next job is to insert the data from the data/sessions.json file into the database. Enter node-postgres!
Node-postgres, or pg, is the PostgreSQL driver for Node.js. You need this to interact with the PostgreSQL database from Node.js, and since this is an external dependency, you’ll need to install it in your project using npm:
1npm install pgTo connect to a Postgres database, you’ll need the connection information and credentials. Since this service is managed by Heroku and attached to your application, you can use the Heroku CLI to get the DATABASE_URL configuration and store it in a .env file by running:
1heroku config --shell > .envA Heroku application follows the 12-factor app methodology, which states that any configuration value needs to be stored in the environment. This is why the app uses a .env file; those files are used to set up environment variables locally per project.
Note: Don’t forget to add the .env file to your .gitignore. This will prevent your credentials from being leaked to your version control system.
You’ll use the dotenv package to load the .env file automatically every time you execute a script. Be sure to install this as well by running:
1npm install dotenvAfter this, you’ll be able to access the environment variables stored in the .env file by accessing the process.env property in Node.js.
Now, let’s create an instance of the PostgreSQL client using the connection string from the environment:
1// Load the `.env` file
2require('dotenv').config()
3
4// Require the PostgreSQL Client
5const { Client } = require('pg')
6
7// Create a client instance
8const client = new Client({
9  connectionString: process.env.DATABASE_URL,
10  ssl: {
11    rejectUnauthorized: false
12  }
13})
Note: Since you are connecting to the database locally and on Heroku, it is recommended to set the rejectUnauthorized property to false to prevent issues with the TLS certificate during the PostgreSQL connection.
Creating a Client instance is good for single connections. For this section, you’ll create a migrate.js script that will load the sessions.json file into the database. The two methods you will use here are: client.connect() to establish a connection to the database, and client.query to perform SQL queries.
1await client.connect()
2...
3await client.query(`
4  INSERT INTO sessions(id, name, description, room, datetime
5  VALUES ($1, $2, $3, $4, $5)
6`, [sessionId, sessionName, description, room, dateTime])
Let’s take a look at the final migrate.js script. You can copy it into the data directory from your project.
1require('dotenv').config()
2
3// Require PostgreSQL client
4const { Client } = require('pg')
5
6// Load sessions from JSON file
7const path = require('path')
8const sessions = require(path.join(__dirname, './sessions.json'))
9
10// Create a database client
11const client = new Client({
12  connectionString: process.env.DATABASE_URL,
13  ssl: {
14    rejectUnauthorized: false
15  }
16})
17
18async function migrate () {
19  try {
20    // Connect to the database
21    await client.connect()
22
23    // Loop through each session
24    for (const session of sessions.data) {
25      // Insert session into database
26      const { id: sessionId, name: sessionName, description, room, dateTime } = session
27
28      console.log(`Creating session: ${sessionName}`)
29      await client.query(`
30        INSERT INTO sessions (id, name, description, room, datetime)
31        VALUES ($1, $2, $3, $4, $5)
32        ON CONFLICT DO NOTHING
33      `, [sessionId, sessionName, description, room, dateTime]
34      ).catch(err => console.error(err))
35
36      // Check if session has speakers
37      if (Array.isArray(session.speakers)) {
38        // Loop through each speaker
39        for (const speaker of session.speakers) {
40          // Insert speaker into database
41          const { id: speakerId, name: speakerName, bio, email, pictureUrl } = speaker
42
43          console.log(`  Adding speaker: ${speakerName}`)
44          await client.query(`
45            INSERT INTO speakers (id, name, bio, email, picture_url)
46            VALUES ($1, $2, $3, $4, $5)
47            ON CONFLICT DO NOTHING
48          `, [speakerId, speakerName, bio, email, pictureUrl]
49          )
50
51          // Add relationship between session and speaker
52          await client.query(`
53            INSERT INTO sessions_speakers (session_id, speaker_id)
54            VALUES ($1, $2)
55            ON CONFLICT DO NOTHING
56          `, [sessionId, speakerId]
57          )
58        }
59      }
60    }
61    console.log('Data migrated successfully')
62    process.exit(0)
63  } catch (err) {
64    console.error(err)
65    process.exit(1)
66  }
67}
68
69// Run the migration
70migrate()
Querying data from the database
On the migration script, you used the Client to perform the database connection. It makes sense in that context because it will be only one connection, but on a real web server like the API you are writing, it is better to use a connection pool to better handle the resources.
You will re-write the /api/sessions route in server.js to use a client Pool instead. The connections parameters are the same as with the Client. You can also define the max number of clients in the pool, but let’s use the default for this example. If you want to learn more about the Pool class, take a look at the documentation.
1const { Pool } = require('pg')
2const client = new Pool({
3  connectionString: process.env.DATABASE_URL,
4  ssl: {
5    rejectUnauthorized: false
6  }
7})
8...
9const { rows } = await client.query(`SELECT id, name, description FROM sessions`)
Now you can perform queries using the client. This could be something simple like a regular SELECT from a specific table or something more complex like the query you need for the API route. As you can see, here we are leveraging the power of PostgreSQL to build JSON objects from a query using the JSON functions (supported in Postgres 9.6) and available in Heroku Postgres.
1fastify.get('/api/sessions', async (request, reply) => {
2  const { rows } = await client.query(`
3    SELECT json_build_object(
4      'id', t.id,
5      'name', t.name,
6      'description', t.description,
7      'room', t.room,
8      'dateTime', t.datetime,
9      'speakers', json_agg(json_build_object(
10        'id', s.id,
11        'name', s.name,
12        'bio', s.bio,
13        'pictureUrl', s.picture_url
14        ))
15      ) as session
16    FROM sessions t
17    INNER JOIN sessions_speakers ts ON ts.session_id = t.id
18    INNER JOIN speakers s ON ts.speaker_id = s.id
19    GROUP BY t.id
20    ORDER BY t.id
21  `)
22  return rows
23})
And that’s it; after you re-write the route, the last thing you’ll need to do is to commit your changes to Git and deploy to Heroku by running:
1git push heroku mainYou have now learned how to access a PostgreSQL database from Node.js using node-postgres. Be sure to check the documentation to learn more features and configuration options.
Also, if you prefer a video format, take a look at Using PostgreSQL with Node.js, a video we published on our Salesforce Developers YouTube channel (and don’t forget to subscribe!).
What’s next?
In the next and final blog post in our Node.js series, you will learn how to integrate this Node.js application with a Salesforce app using Heroku Connect.
About the author

Julián Duque is a Lead Developer Advocate at Salesforce. If you want to get in contact with him, just run:
1npx julianduque