When you build with Agentforce, getting “an answer” isn’t enough. You want the right answer, every time. That’s where custom evaluation criteria shine. They let you tell Salesforce exactly what to look for in an agent’s response, from key phrases to specific actions. In this post, we’ll explore how to create your own custom tests, so you can catch mistakes early, boost confidence in your agents, and keep your AI working exactly the way you want.
What are custom evaluation criteria?
Custom evaluation criteria are part of your test definitions, but they take a more flexible approach than traditional assertions. Instead of giving a test item a name and a single expected value, you define parameters that act like a checklist for your AI agent’s responses. These parameters describe exactly how the output should be checked.
Currently, there are two types that you can use:
- String comparison: Checks if the response contains, equals, starts with, or ends with a specific text. The API name is
string_comparison. - Numeric comparison: Checks numeric values in the response using operators like equals, greater than, or less than. The API name is
numeric_comparison.
By combining these, you can create precise checks that confirm that your agents are returning exactly the results you want.
Setting up your first test
If you’ve already created tests in the Agentforce Testing Center, a built-in tool for quickly creating and managing agent tests, you can then download them to your local project in VS Code with the Salesforce CLI. Here’s how:
This retrieves all your test definitions and places them in this folder: force-app/main/default/aiEvaluationDefinitions.
If you don’t have any tests yet, you can create one from scratch by first creating the aiEvaluationDefinitions folder in the path mentioned above. Then, you can add XML files using this format: <test-name>.aiEvaluationDefinition-meta.xml.
Note: This functionality is only available through XML at the time this post was created. However, a new Testing Center UI (Next-Gen Testing) will be publicly released by the end of November 2025.
Example: Making sure the agent knows its acronym
Let’s say you have an agent that searches for answers on the web (called Agentforce_Web_Info_Agent). You want to check that it returns any string containing “Large Language Model” when asked “What does LLM stand for?”
You can create a file called customEvaluation.aiEvaluationDefinition-meta.xml with the following test definition.
In this setup, the string_comparison custom evaluation criteria ensures that the answer contains the expected phrase. The JSONPath expression extracts the agent’s actual output from the action’s generated response (a field called Data). Additionally, you verify that the agent runs the correct topic and action, as shown in the file above.
Deploying and running your tests
Once your test file is ready, deploy it to Salesforce. In VS Code, you can do this by right-clicking the folder and selecting SFDX: Deploy Source to Org. You can then run your tests from the Testing Center or the Salesforce CLI using:
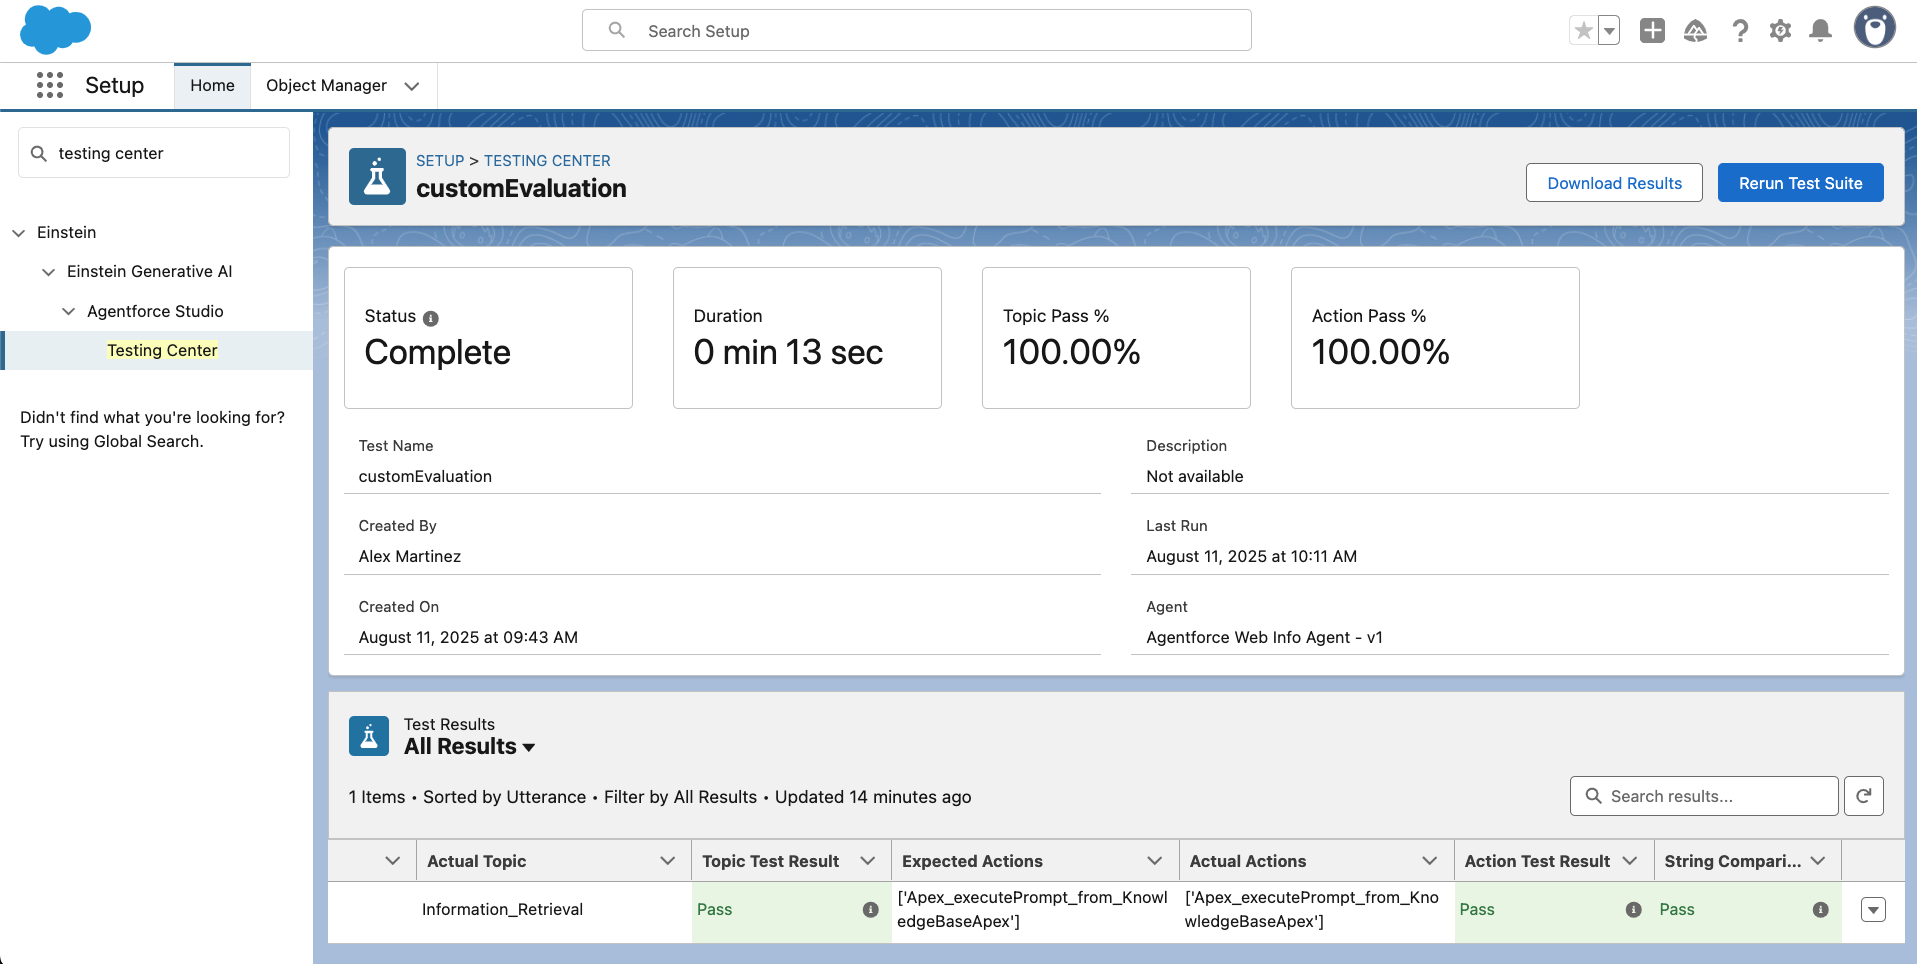
After running, you can see the results in the Testing Center.
Conclusion
Custom evaluation criteria help you move from “it seems to work” to “I know it works.” They let you lock in quality checks, run them on demand, and keep your AI agents sharp. Whether you’re validating simple strings or complex action sequences, these tests give you peace of mind that your agents are doing exactly what you expect.
Resources
- Testing Agentforce with Custom Evaluation Criteria
- Salesforce CLI Setup Guide
- Build a Cited Web Search Agent with Agentforce
- Agentforce Decoded: Test Your Agentforce Agents with Custom Evaluation Criteria
About the author
Alex Martinez was part of the MuleSoft Community before joining MuleSoft as a Developer Advocate. She founded ProstDev to help other professionals learn more about content creation. In her free time, you’ll find Alex playing Nintendo or PlayStation games and writing reviews about them. Follow Alex on LinkedIn or in the Trailblazer Community.