Heroku Button provides an easy way for anyone to deploy your apps, for free, with just a browser. This encourages others to give meaningful feedback on your apps and greater incentive to get involved with your projects.
To use Heroku Button, simply create a manifest file for your app and add the Heroku Button code to your Github repository or Website. Heroku takes care of the rest (server, database, deployment, scaling etc).
You can experience Heroku Button for yourself with our sample Node.js App
![]()
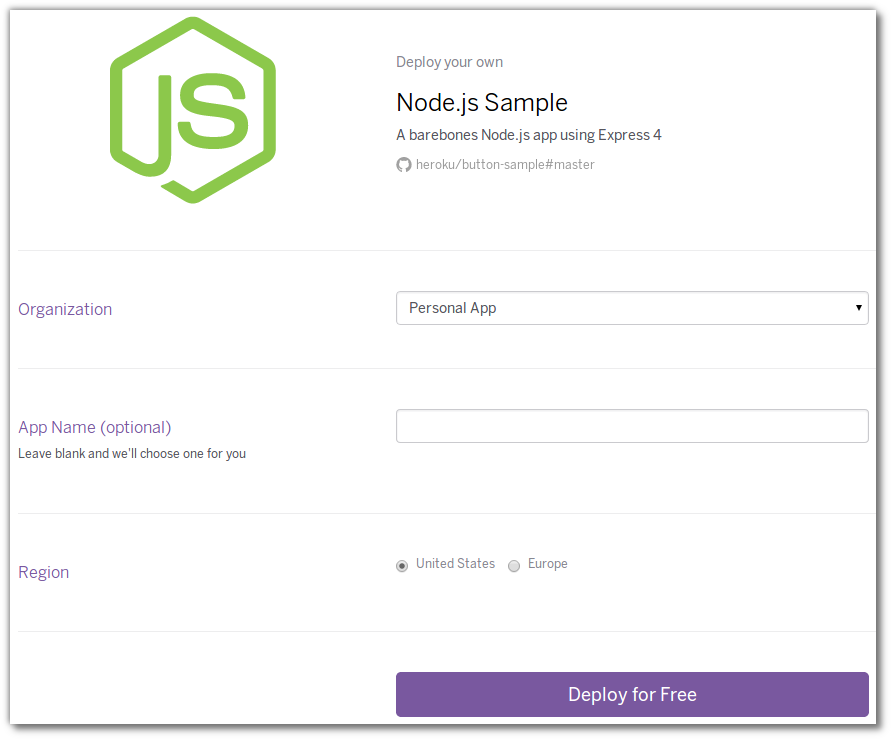
Once you press the Heroku Button, you see a deployment page for you app. The name, description and logo come from the app.json manifest file.
Once you press the Deploy for Free button, Heroku does the work and creates a new App for you live on the Internet
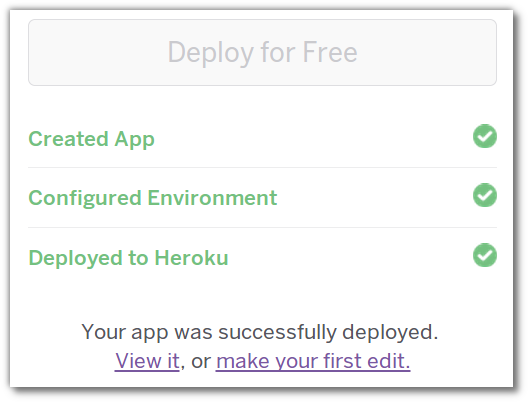
Now you can view your app as well as access your own copy of the code.
Why use Heroku Button
Here are just a few thoughts about why you may want to use Heroku Button.
App Creators
Its easy to show off your work to prospective employers so they can be quickly impressed by your skills. You can also share your apps with your friends and co-workers as well as making it easy to test your app at any time.
Framework developers
Share demos that allow developers to understand the benefits of your framework quickly and show off what they could create.
Hackathon teams
Provide an easy way for judges to play around with your app, so they can get a better appreciation of what you have created.
Creating your first Heroku Button
Creating an Heroku Button for your app is very simple and has 2 parts to it:
1) Create an app manifest file for your project – app.json
2) Add the Heroku Button to your Github Repository or any website (code provided)
The only requirement is that your code be available via a public repository on Github or other git repository
Create an app manifest file – app.json
Create an app.json file in the root of your project. This file contains the name, description and an image link for your app (eg. a logo). This should provide people with an understanding of what they are going to deploy.
The app.json file should also contain any configuration (environment) variables and Heroku addons (databases, etc) your app needs.
See the app.json schema documentation to see all the options available.
Example manifest file
The Heroku example NodeJS app is very easy to define in the manifest file as it does not use any Heroku addons or require any environment variables. The app itself is assembled on Heroku using Node Pakage manager and Heroku support for NodeJS apps.
Adding Heroku Button for your app
You could just use a URL link to deploy you app, however, Heroku has provided you with a button image and all the code you need to use it. Using a button makes it very obvious to see that your app is easily deployable.
Markdown
If you expect people to fork your Github repository and want them to deploy their own versions of the code, you can omit the template query parameter (everything after the
?). Heroku Button will infer its the repository the button was clicked on if there is no parameter.
HTML
If you are using HTML you can of course add any styles you want to the button using CSS.
In Summary
Heroku Button enables anyone to play with your apps, encouraging them to give you meaningful feedback and showing them what you can create if they get involved with your project. Don’t forget to sign up for your free Heroku account too.
If you create an Heroku Button for your app, please tweet about it using #herokubutton.
Thank you.
@jr0cket