Create Custom Actions
You can create Visualforce pages to use as custom actions in Case Feed. For example, you can create a Map and Local Search action that lets agents look up the customer’s location and find nearby service centers.
You can use any Visualforce page that uses the standard case controller as a custom action.
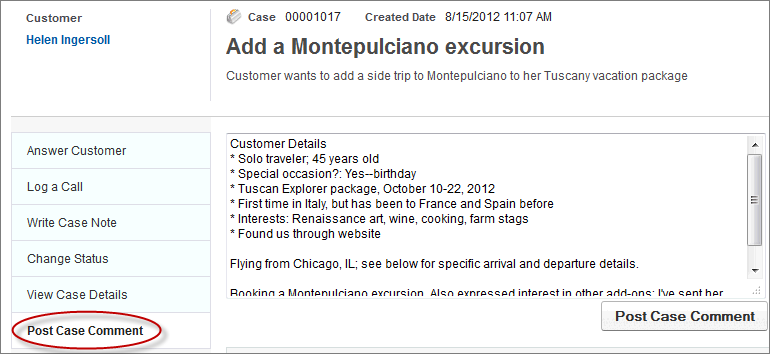
Viaggio Italiano is a boutique travel agency specializing in tours of Italy. The company tracks multiple details for each client, including flights, ground transportation specifics, dietary preferences, and itineraries. Viaggio Italiano’s agents needed the ability to create long case comments but were limited to 1000 characters for standard case notes. The company wanted a way to bypass this limit.
Viaggio Italiano used Visualforce to create a page that includes the ability to post a case comment, which can be up to 4000 characters long. The company then added the page as a custom action by editing the Case Feed page layout.
The following code sample shows a custom Post Case Comment action for an organization that doesn’t have actions in the publisher enabled, or that has actions in the publisher enabled but uses the Case Feed Settings page, not the page layout editor, to choose and configure the actions in the Case Feed publisher.
This is the code to use for the custom Post Case Comment action if your organization has actions in the publisher enabled and you’ve opted to use the page layout editor to choose and configure actions in the Case Feed publisher.
The following sample shows an Apex class containing a controller extension to be used with either version of the Visualforce page above.
After creating a Visualforce page, make it available to users.
First, give profiles access to the page:
- From Setup, enter
Visualforce Pagesin the Quick Find box, then select Visualforce Pages. - Click Security next to the name of the page you created.
- Choose the profiles you want to be able to access the page.
- Click Save.
Then include the page as a custom action. If you’re using the Case Feed Settings page to choose and configure actions:
- From the object management settings for cases, go to Page Layouts.
- How you access the Case Feed Settings page depends on what kind of page layout you’re working with..
- For a layout in the Case Page Layouts section, click Edit, and then click Feed View in the page layout editor.
- For a layout in the Page Layouts for Case Feed Users section, click the down arrow and choose Edit feed view. (This section appears only for organizations created before Spring ’14.)
- In Custom Actions, click + Add a Visualforce page.
- Choose the page you want to add.
- Specify the height of the action. For the best appearance, we recommend a height of 200 pixels.
- In Select Actions, move the custom action from Available to Selected.
- Click Save.
If you’ve opted to use the page layout editor to choose and configure actions, you first need to create the custom action:
- From the object management settings for cases, go to Buttons, Links, and Actions.
- Click New Action.
- Select Custom Visualforce.
- Select the Visualforce page you created, then specify the height of the action window. (The width is fixed.)
- Type a label for the action. This is the text users will see for the action in the publisher.
- If necessary, change the name of the action.
- Type a description for the action. The description appears on the detail page for the action and in the list on the Buttons, Links, and Actions page. The description isn’t visible to your users.
- Optionally, click Change Icon to select a different icon for the action. This icon appears only when you use the action through the API.
Then add the action to a page layout:
- From the object management settings for cases, go to Page Layouts.
- How you access the page layout editor depends on what kind of page layout you’re working with.
- For a layout in the Case Page Layouts section, click Edit, and then click Feed View in the page layout editor.
- For a layout in the Page Layouts for Case Feed Users section, click the down arrow and choose Edit detail view. (This section appears only for organizations created before Spring ’14.)
- Click Quick Actions in the palette.
- Drag the action from the palette to the Quick Actions in the Salesforce Classic Publisher section.
- Click Save.
See Also