Mobile and Offline Developer Guide
 j
jCreate and Configure a Lightning Web Component
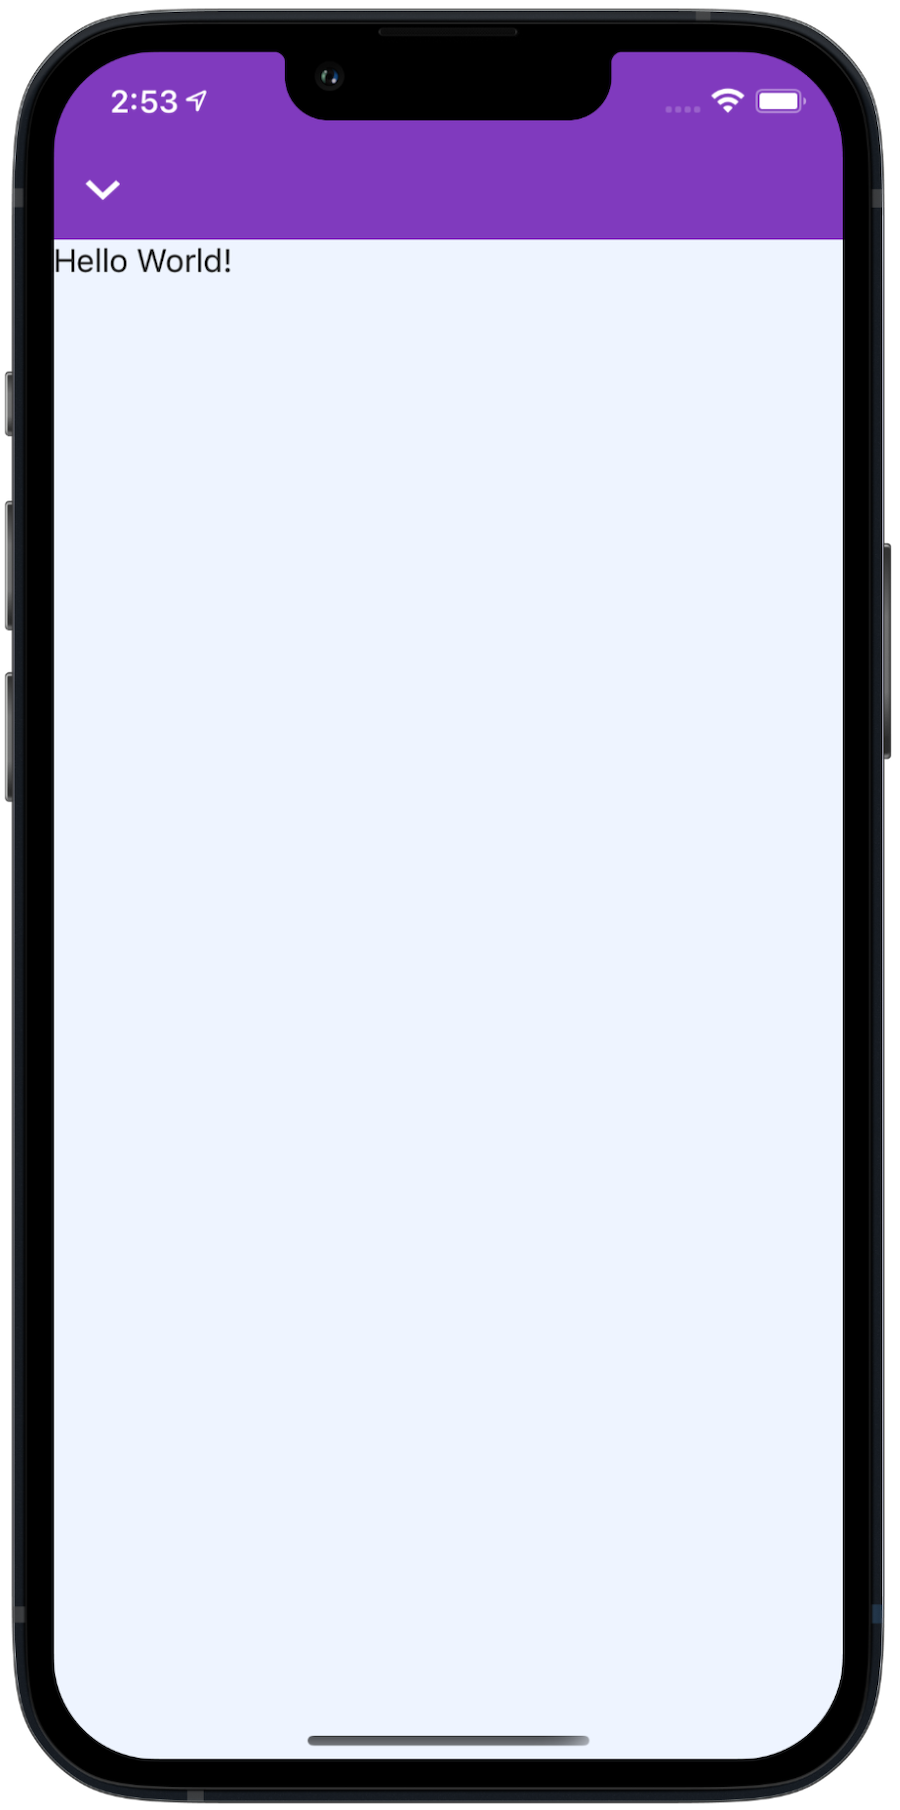
In this section, you’ll create a basic component named demoLWCAction that displays a “Hello World!” message on the screen.
If this is your first Lightning web component ever, you might be tempted to rush through this. Take your time, and make sure you understand what each of these steps accomplishes.
Create and Deploy a Lightning Web Component to Salesforce
Create a simple Lightning web component, configure its metadata, and then deploy the
component to your Salesforce org—all from within VS Code.
- In the VS Code explorer, right-click the force-app/main/default/lwc folder and select SFDX: Create Lightning Web Component.
- Enter demoLWCAction as the name for the component and press Enter, and then press Enter again to save it to the default location.
-
In the newly created demoLWCAction.html, replace the default code with
the following, and then save the file:
1<template> 2 <p>Hello World!</p> 3</template> -
In the newly created demoLWCAction.js-meta.xml, replace the default
code with the following and save the
file:
1<?xml version="1.0" encoding="UTF-8"?> 2<LightningComponentBundle xmlns="http://soap.sforce.com/2006/04/metadata"> 3 <apiVersion>56.0</apiVersion> 4 <isExposed>true</isExposed> 5 <targets> 6 <target>lightning__RecordAction</target> 7 </targets> 8 <targetConfigs> 9 <targetConfig targets="lightning__RecordAction"> 10 <actionType>ScreenAction</actionType> 11 </targetConfig> 12 </targetConfigs> 13</LightningComponentBundle> - In the VS Code explorer, right-click the force-app/main/default/lwc/demoLWCAction folder and select SFDX: Deploy Source to Org.
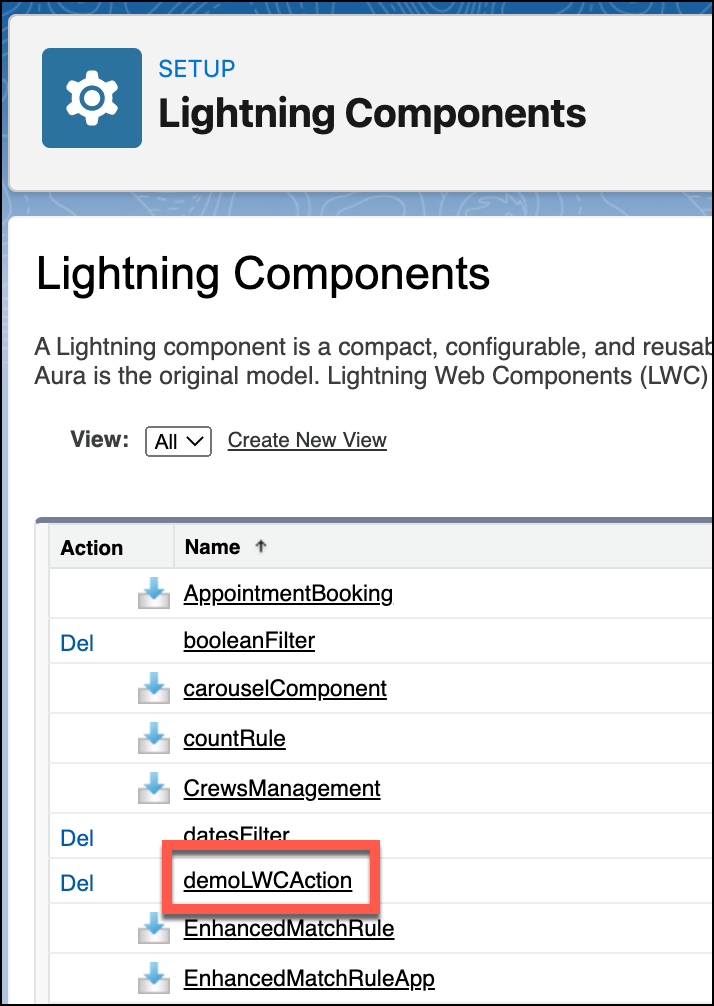
Verify the Component Was Deployed to Your Org
The simplest way to verify that a Lightning web component is available in your org is to
view the list of components in Setup in Salesforce.
- From Setup, enter Lightning Components in the Quick Find Box and select Lightning Components.
-
Scroll through the list of components to see demoLWCAction.
Create a Quick Action in Salesforce
To access your Lightning web component, you must assign your component to a new Quick
Action, and then assign the Quick Action to a page layout in Salesforce. This configuration makes
it visible in the Actions launcher in the mobile app.
For this example, the action is added to the Service Appointment object.
- From Setup, click Object Manager.
- In the Quick Find box, enter Service Appointment, and click Service Appointment.
- Click Buttons, Links, Actions.
-
Click New Action.
- For Action Type, select Lightning Web Component.
- For Lightning Web Components, select c:demoLWCAction.
- For Label, enter My New Action. This label is how the action is displayed in the Actions launcher in the Field Service mobile app.
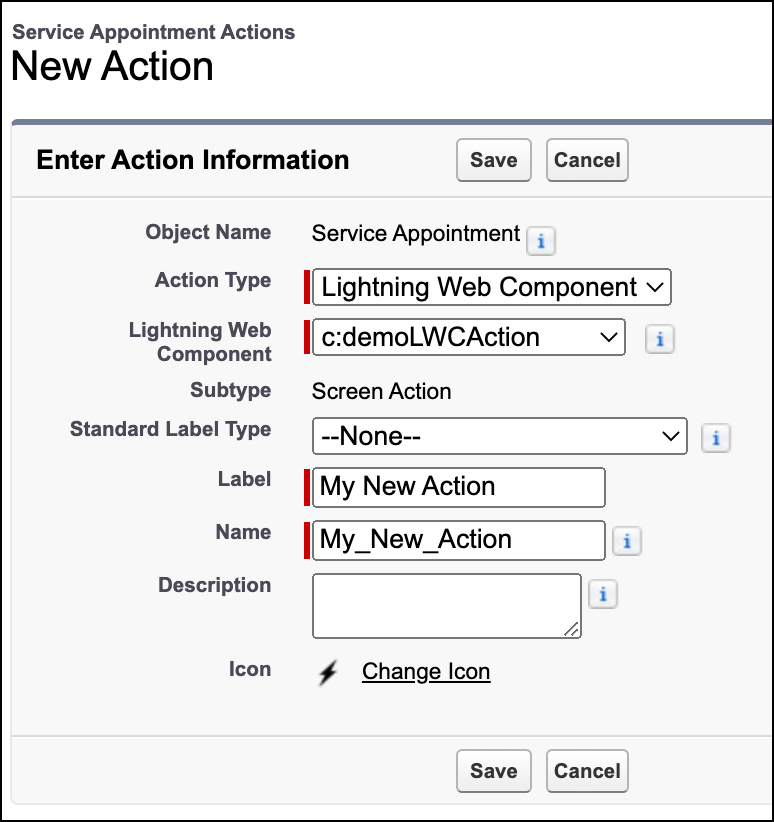
- Click Save.
- Click Service Appointment next to Object Name to return to the Service Appointment object page.
Add the Quick Action to a Page Layout in Salesforce
Make a Lightning web component quick action available in the mobile app by adding it to
the mobile actions section of a page layout.
- From the Service Appointment object page, select Page Layouts.
- Click the layout assigned to your mobile user.
- Select Mobile & Lightning Actions.
- Drag My New Action to the Salesforce Mobile and Lightning Experience Actions section.
-
Click Save.
Clear Cached Metadata
To see changes to a Lightning web component as you develop, cached metadata must be
cleared in the mobile app. Clear cached metadata every time new code is deployed to the org to see
your changes.
- Launch the iOS Simulator or Android Emulator.
- Open the Field Service mobile app.
- Select the Profile tab in the navigation bar.
-
Click
 , then
Advanced Settings, and then Clear Cached
Metadata.
, then
Advanced Settings, and then Clear Cached
Metadata.
- On iOS devices, click OK in the confirmation dialog and then click OK again.
- On iOS, swipe away the app in the app switcher to close it, then reopen the app.
- To close and reopen on Android, in Field Service app settings click Force Quit, then reopen the app.
Run the Quick Action in the Mobile App
Let’s finally see that Lightning web component working in the Field Service mobile
app.
- Click the Schedule tab.
-
Click any Service Appointment.
If none are listed, create one and assign it to your mobile user as an example.
-
Click the Actions drawer and drag it up.
Your action is listed as an option.Android
 iOS
iOS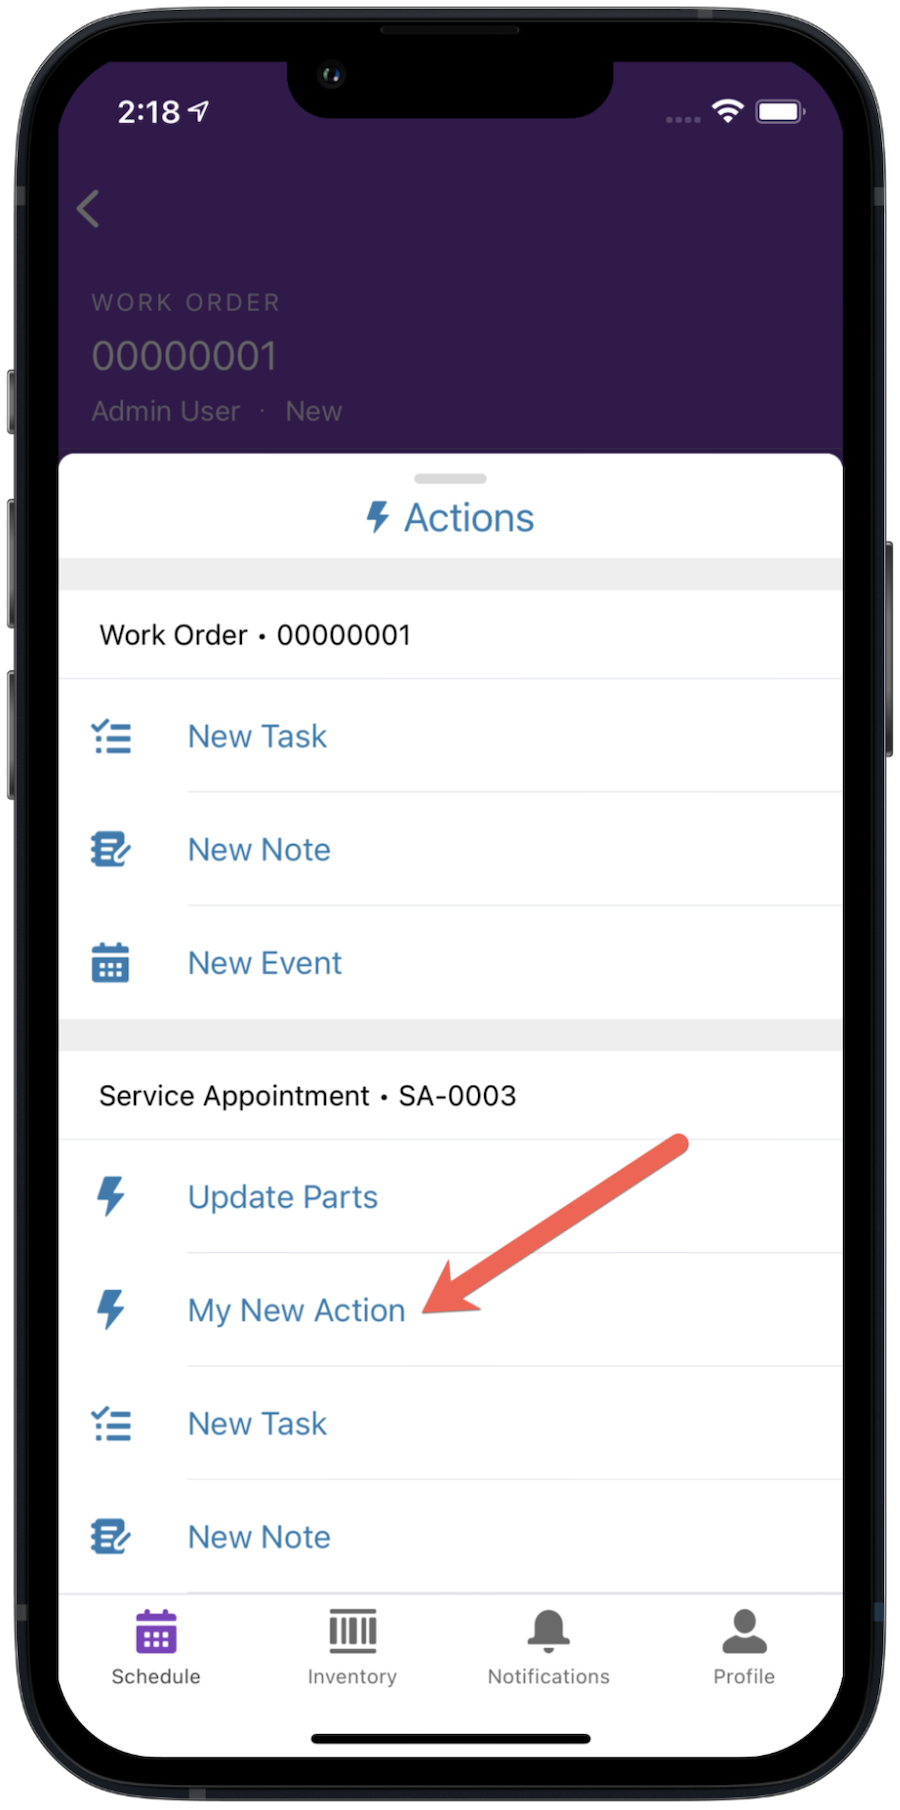
-
Click My New Action.
This opens the screen to your new custom Lightning web component.Android
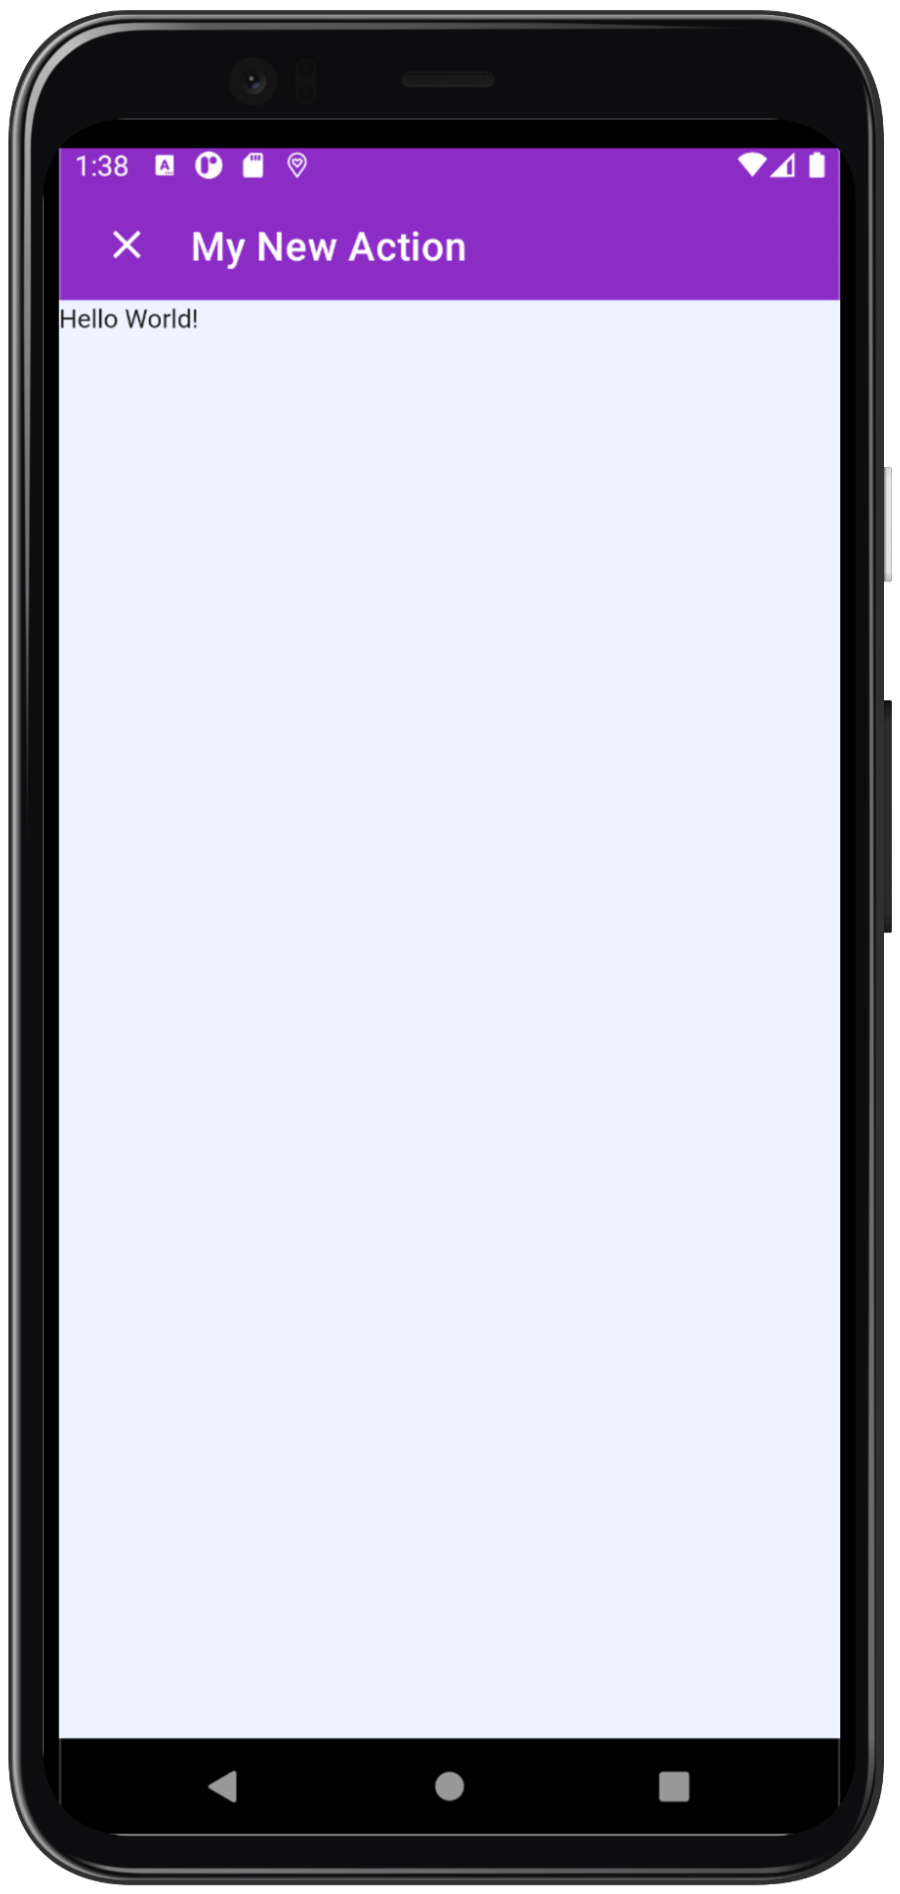 iOS
iOS