ISVforce Guide
 j
jCreate a Stripe Account for AgentExchange Checkout
To use Checkout with your AgentExchange listings, you must create an account with our
payment partner, Stripe.
| User Permissions Needed | |
|---|---|
| To create or update AgentExchange listings: | Manage Listings |
Before you create your Stripe account, have this information available.
- A short description of your business, such as the products that you sell
- Basic information about your business, such as its physical address
- Login information for an external identity provider, such as Google, Facebook, or LinkedIn
- Account and routing numbers for the bank account where you want to receive payments
After you gather this information, you’re ready to go.
- Log in to the Salesforce Partner Community.
- Click Publishing to go to the AgentExchange Partner Console.
- Click Listings.
- Create a listing or edit an existing one.
- Click .
- For pricing model, select Paid.
- For payment method, select AgentExchange Checkout.
- Select when to collect payment details from the customer, before or after they install your solution.
-
Click Connect to Stripe. If you don’t see this option, it’s likely
that your Stripe account is already connected, and you can skip to the last step.
The Stripe website opens in a new browser tab.
-
To create your Stripe account, follow the prompts on the Stripe website.
When you complete this step, the Stripe tab closes and you’re returned to the Partner Console.
-
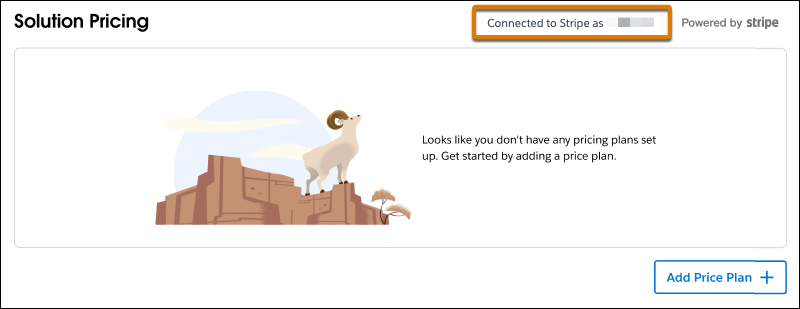
Verify that you were successful. If you see “Connected to Stripe as” in the Solution
Pricing section, you’re all set. You have a Stripe account and it’s connected to the
listing.
After you create the account, you can manage it on the Stripe website.