ISVforce Guide
 j
jSubmit Your AppExchange Listing for Approval
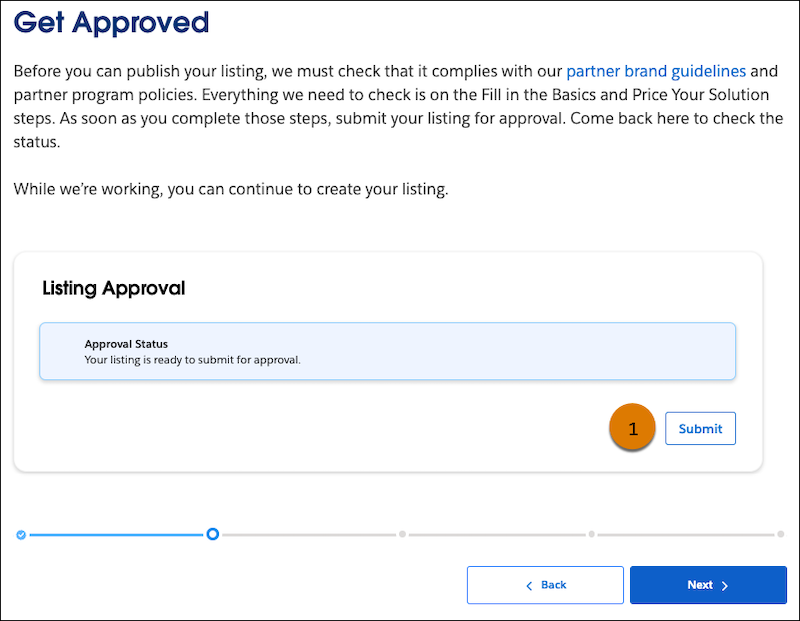
Before you can publish your listing, we must make sure that it complies with our partner
brand guidelines and partner program policies. In the AppExchange Partner Console, provide some
basic information, set up your solution pricing, and then submit your listing for
approval.
This process assumes that you have an AppExchange listing in progress in the Partner Console. It also assumes that you’ve completed the Fill in the Basics and Price Your Solution steps.
- From your listing in the Partner Console, click Set Pricing.
- Click Get Approved.
-
Click Submit (1).
-
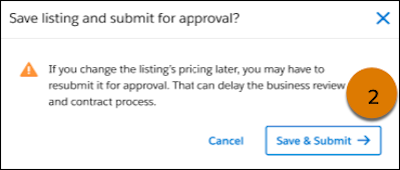
Click Save & Submit (2).
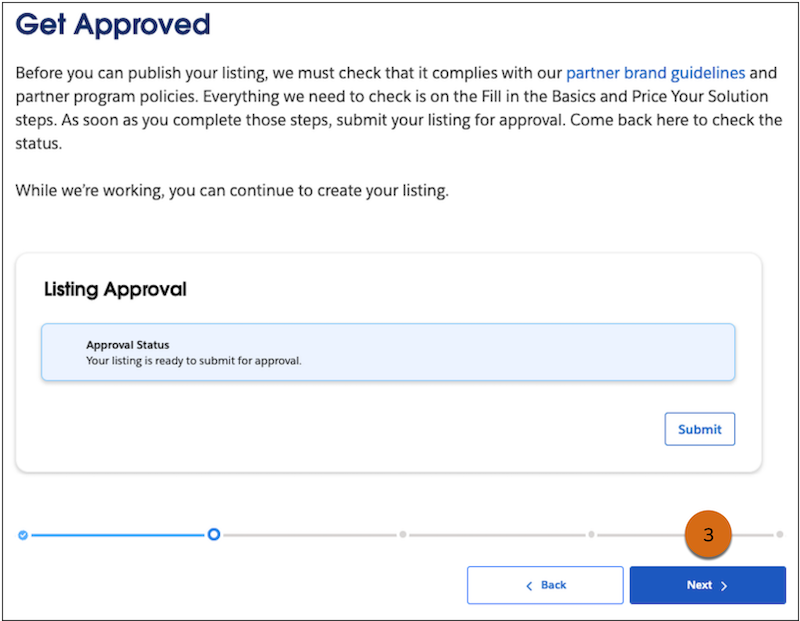
 Your listing is in review. To check its approval status, return to your listing’s Get Approved step.
 -
In the meantime, to continue working on your listing, click Next
(3).
If your solution uses AppExchange Checkout as its payment management system, you must read and digitally sign a clickthrough Partner Application Distribution Agreement. If your listing is a Paid solution that doesn't use Checkout, or if you’re listing a Freemium or Paid Add-On Required solution, contact your Account Manager to sign a PADA offline, outside of the Partner Console.