Digital Commerce Web Component Setup
Follow the steps in this section to configure ServerSDK to take advantage of the Digital Commerce Web Components.
-
Add SDK and digitalcommerce-components-src in your package.json file., as shown here:

-
Add the
.npmrcfile. The.npmrcfile is required to authenticate with the Vlocity private npm registry. For public access, use the default access token. Contact Salesforce Customer Support to obtain the authorization token.
-
In the
index.htmlfile, add and define the meta tag as shown here: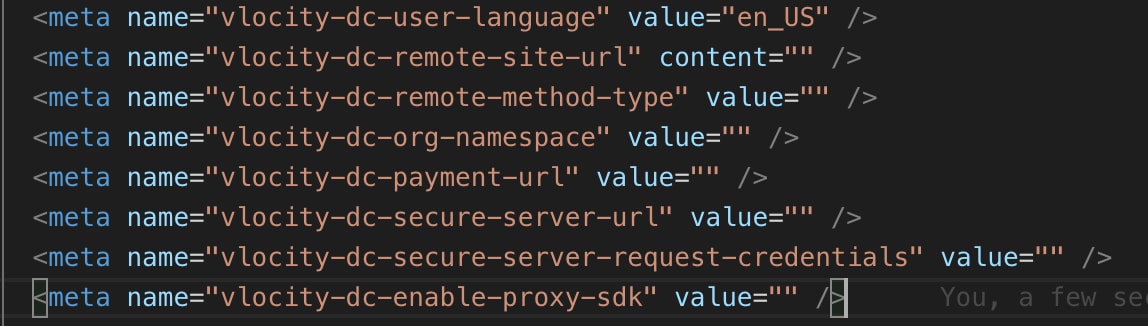
Meta name definitions:
Meta tag name attribute Description vlocity-dc-remote-site-url Contains the content attribute, which may be a SalesForce instance URL for known users or an AWS URL for anonymous users. vlocity-dc-remote-method-type Contains an attribute value that specifies the logon method, which can be either “knownUser” for known users or “anonymousUser” for anonymous users. vlocity-dc-org-namespace Contains value attributes that specify the org namespace. vlocity-dc-payment-url Contains value attributes that specify the checkout payment URL. vlocity-dc-secure-server-url Contains value attributes that specify the URL where ServerSDK is hosted. vlocity-dc-secure-server-request-credentials) Contains value attributes that specify a value indicating whether the user agent should send cookies to the secure server if it is hosted on another domain in the case of cross-origin requests. Possible values are: include, omit and same-origin (default value) vlocity-dc-enable-proxy-sdk Contains value attributes that specify the value “enable”. If set to enable, the Digital Commerce, Account, and Translation Proxy SDK instance will be created. -
In your
index.htmlfile, import the SDK using the script tag, as shown here:-
If using the Client-Side SDK:

-
If using the Proxy SDK

-
-
To initialize a Firebase SDK strategy in your Web Component application, you must configure Firebase authorization details. You can initialize Firebase from any component simply by importing
vlocity-dc-authentication-utiland passing Firebase authorization configuration to the initAuthConfig method.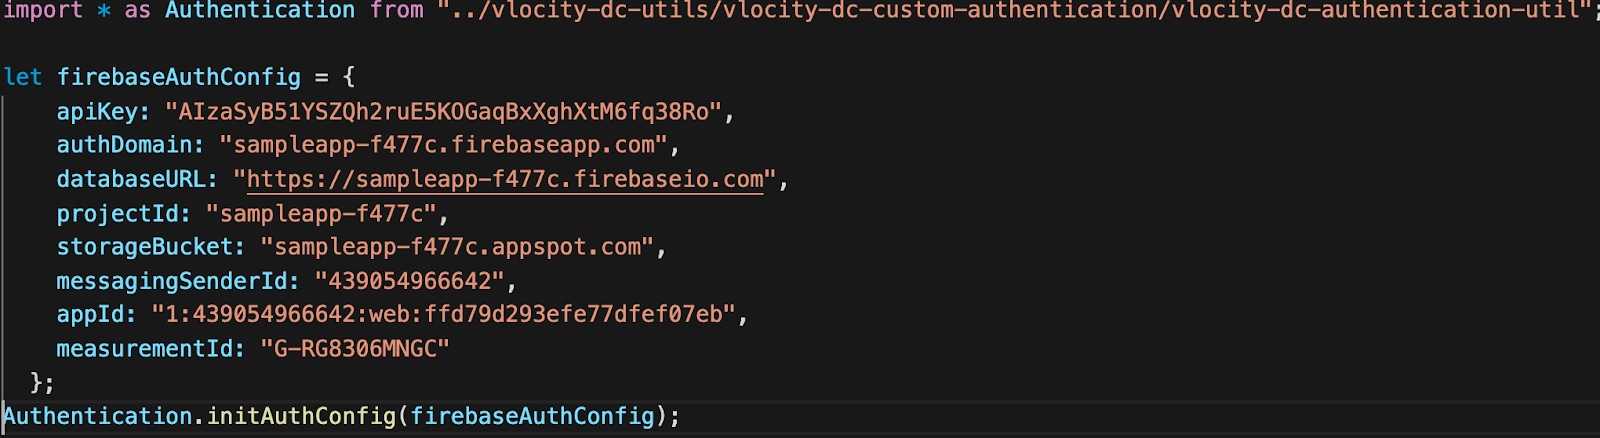
You can configure a custom authentication by creating your own authorization strategy and then importing it and passing it as an input parameter to the configureAuthentication method of the vlocity-dc-authentication-util component. Once configured, you can initialize it and use your custom authorization strategy.

-
From your JS file, import the
SDK-utilfile:Get the SDK instance:
Call the SDK methods: