Get Started with AMPscript Development—Lesson 1
This lesson introduces you to the basics of using AMPscript in your messages.
- Creating variables
- Using variables to refer to values in a data extension
- Displaying the value of a variable in a message
Northern Trail Outfitters (NTO), the fictitious company that we refer to in this lesson, has a sendable data extension that contains several pieces of information about their subscribers.
| Data Extension Column Name | Description |
|---|---|
MemberID | A unique member ID number for the subscriber |
FirstName | The subscriber’s first or given name |
LastName | The subscriber’s surname or family name |
PrefName | The subscriber’s preferred name |
Address | The subscriber’s street address |
City | The city that the subscriber lives in |
State | The state, province, or other subnational unit where the subscriber lives |
PostalCode | The subscriber’s postal code |
MemPref | The subscriber’s preferred outdoor activity |
Plat | A true or false value that indicates whether the subscriber is a platinum rewards member |
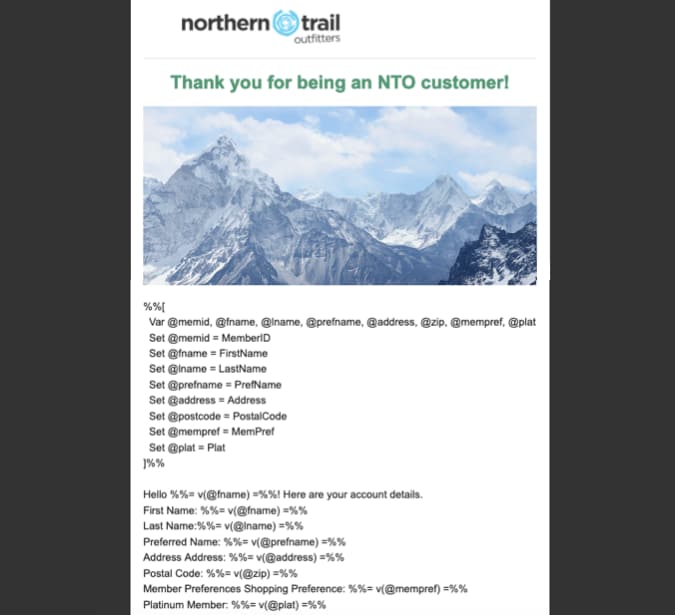
This code example contains the message content for this lesson.
If you’re new to AMPscript, it’s helpful to move through the AMPscript sample code line by line so that you can better understand how AMPscript works.
The example begins with %%[, which indicates the beginning of a block of AMPscript code.
The second line of the example begins with Var, followed by several names that begin with @. Each of these names is used as a variable later in the code example. The @ sign is required at the beginning of each AMPscript variable. At this point, all of the variables have been declared, but the value for each one is null.
The next several lines begin with Set, followed by the name of one of the declared variables. These lines assign a value to each of the declared variables. The value of each variable is set to equal the corresponding column in the sendable data extension that this email targets. When the email is sent, the system retrieves the value in the specified column for each subscriber and assigns that value to the variable.
After the variable assignments is the string ]%%. This string indicates the end of a block of AMPscript code.
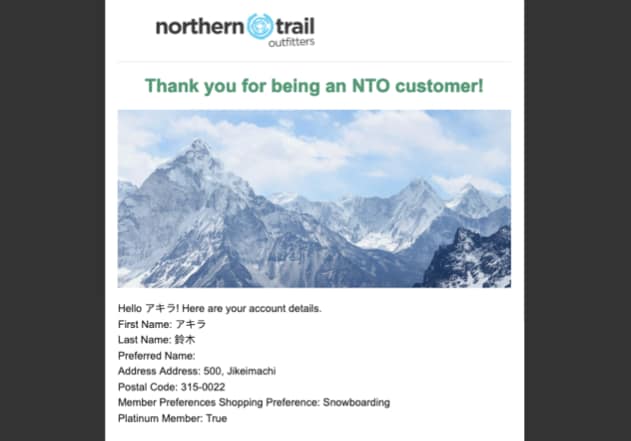
After the initial AMPscript block is closed, we see the first line of the message body. This line is the first that produces content that’s visible to the subscriber.
This line contains the text %%= v(@fname) =%%. The %%= indicates the beginning of a string of inline AMPscript code, and the =%% indicates the end. Between these tags is the function v(@fname). The v() function is a utility function that outputs the value of a variable. The function refers to the @fname variable.
When a subscriber receives an email that contains this code, their name appears in the text instead of the AMPscript code.
If you’re new to Marketing Cloud Engagement, see Get Started with Email Studio to learn more about creating an email.
This lesson assumes that you’re familiar with creating an email and that you already set up Marketing Cloud Engagement to send emails.
- In the Email Studio editor, paste the sample AMPscript into a content area.
- When you finish editing the message content, click Next.
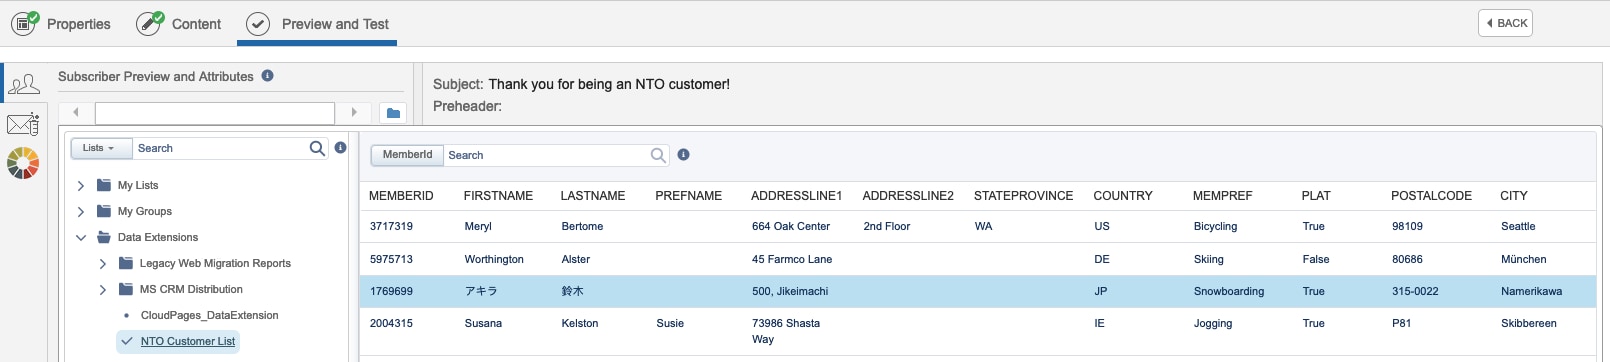
- On the Preview and Test page, click the Subscriber Preview tab.
- Click the folder icon.
- Expand the Data Extensions folder, and then select a data extension that contains the data for your target subscribers.
- Select a subscriber. When you send the email, that subscriber’s information is populated in the message body.
- On the Test Send tab, choose whether to send the test message to Individuals or to a Test data extension. If you choose to send to individuals, enter their email addresses. If you choose to send to a data extension, choose a testable data extension.
- Click Send Test.
- Review the test message. In the test message, the inline AMPscript code in the message body is replaced with subscriber data from the row you selected in the data extension.