Customize Your Storefront
Modify the storefront by adding a custom page and component.
- Generate a Storefront Next app by following the steps in Create a Storefront in Business Manager with Local Code or Explore Storefront Next Code Locally.
- An Integrated Development Environment (IDE), such as VS Code, Cursor, or your favorite IDE. See Download VS Code or Download Cursor.
-
Create a component that displays a banner. Later, add this component to a new page.
a. In
{project-folder}/src/components, create a folder with the namecustom-banner.b. In the new
custom-bannerfolder, create theindex.tsxfile with this code.The
CustomBannercomponent in/custom-banner/index.tsxrenders a centered banner with a large title and optional subtitle. It acceptstitle(required),subtitle(optional), andclassName(optional) viaCustomBannerProps. It uses Tailwind classes for responsive typography, primary theme colors, and spacing, and centers content within a max-width container. The component returns a React element with the title as an<h1>and conditionally renders the subtitle as a paragraph, if provided. -
Add a page that includes this new component. The new page is created as a route file. In
{project-folder}/src/routes, create a route file with the name_app.custom-page.tsxand add this code.The
_app.custom-page.tsxfile defines a React Router page at/custom-page. The_app.prefix in the file name causes the React Router to nest your custom page route under the_app.tsxlayout. That layout renders the header, your page content, and the footer. It exports a default page viacreatePage, which wrapsCustomPageViewwith Suspense and loading handling.CustomPageViewrenders theCustomBannercomponent inside a container with bottom padding. The page usesCustomPageData, an empty record. It doesn’t require loading data so it renders immediately without async data fetching. -
In a terminal window, go to the storefront folder.
-
If you haven’t already, install Storefront Next project dependencies that are specified in
package.json. -
Build the storefront and then run the development server.
-
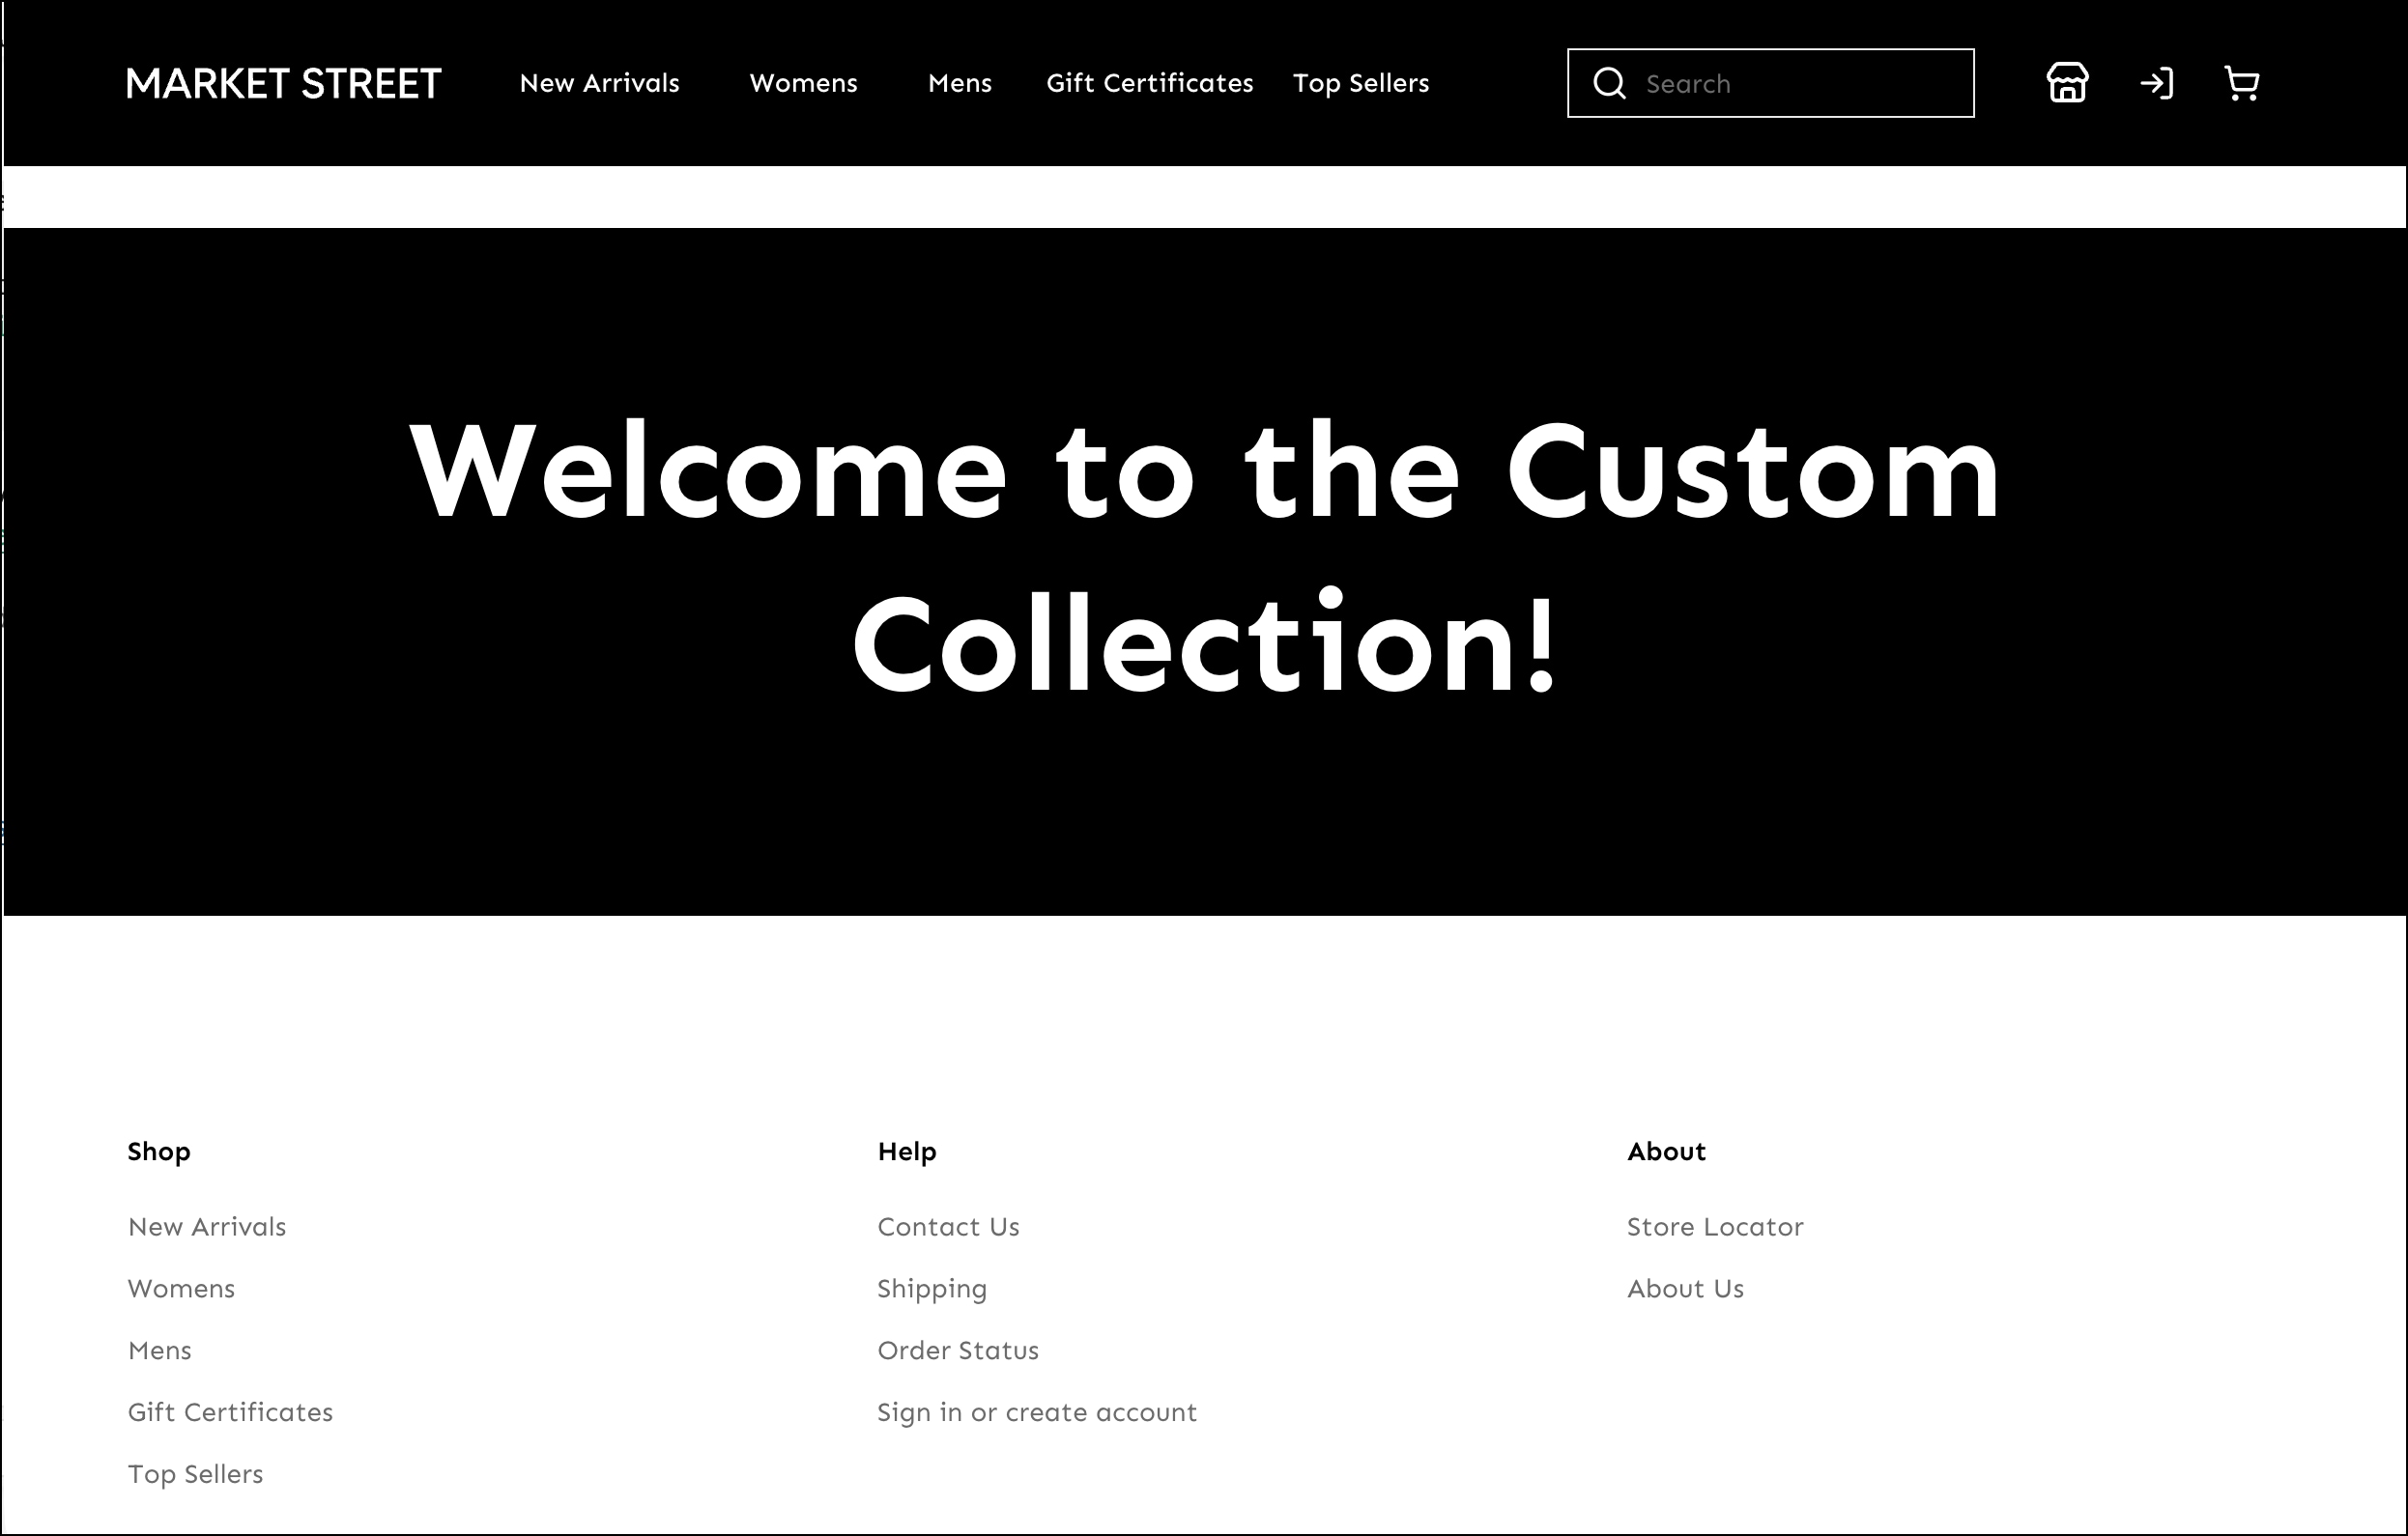
Navigate to the new page that you created by appending
/custom-pageto the storefront URL. For example, go to this default URL:http://localhost:5173/custom-page. The new page shows the banner with a title.