Add a New Column to Industries CPQ Cart
In this task, Felix needs to modify the default CPQ product cart so that the new field – Billing Zip Code – displays as a column in Industries CPQ Cart.
-
Using the Lightning App Launcher in the upper left, click the Vlocity Cards app.
-
In the Find in page field, enter
cpq-product. -
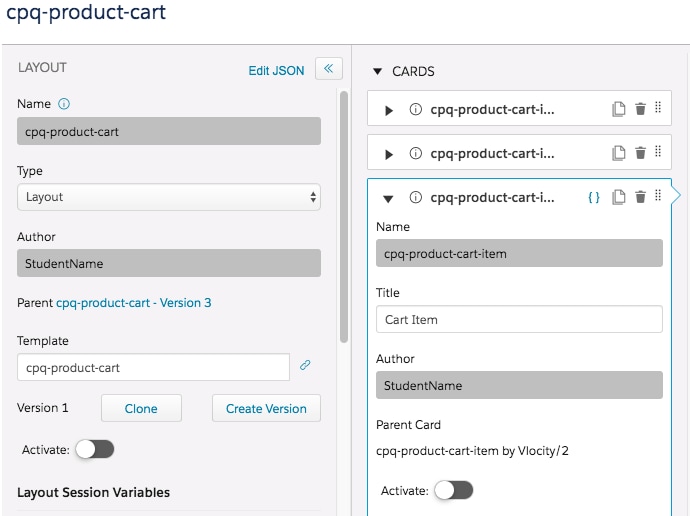
Expand cpq-product-cart and select Version 3.

-
In the LAYOUT pane, scroll down to the DATA SOURCE section. Notice the selection is Dual. This means that the API query will be performed using Apex when running on a desktop, while a REST call will be performed while running on a mobile.
-
Notice the Remote Class, Remote Method and fields under the Desktop ApexRemote Config section. The CPQ API CpqAppHandler.getCartItems returns all products currently in the Cart. The fields parameter controls which fields are returned in the API for each product.
-
Scroll back to the top of the LAYOUT pane and click Clone.

-
In the Clone Layout window, change the Layout Author to your name. Do NOT change the Layout Name or Layout Type.
-
Click Clone.
-
After cloning the card layout, it should contain an active card called cpq-product-cart-item.
-
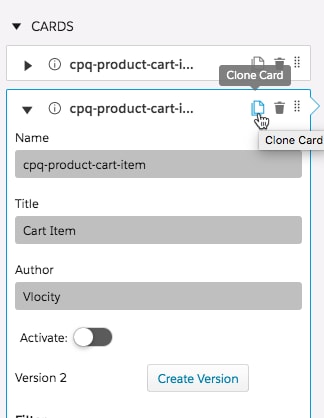
Open the active cpq-product-cart-item card. You can ignore any inactive versions of this card that may also display.
-
Click the Activate button to deactivate it.
-
Click the Clone Card icon.
-
In the Clone Card window, type
cpq-product-cart-itemas the Card Name. -
Type your name for the Card Author.
-
Click Clone.
-
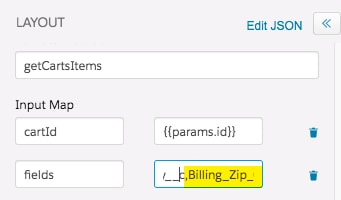
On the LAYOUT pane, navigate to the fields parameter from the Input Map. This is a comma-separated list of product fields that will be queried as part of the API call to getCartItems(). We need to append this list of fields to include the Billing Zip Code custom field.
-
In the box next to fields, scroll to the end of the list to enter the following:,Billing_Zip_Code__c. You must precede the custom field name with a comma.
-
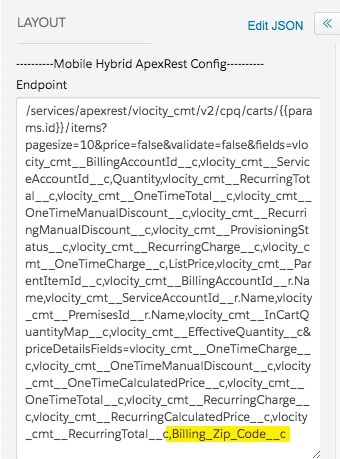
On the LAYOUT pane, navigate to the Mobile Hybrid ApexRest Config Endpoint field, expand the field, and type the following:,Billing_Zip_Code__c. Remember, you must precede the custom field name with a comma.
-
Remember, the DATA SOURCE field is Dual. If you want the new column to be added to mobile versions of the CPQ cart you need to add the field to the Endpoint under Mobile Hybrid ApexRest Config.
-
Make sure you have the correct cpq-product-cart-item card selected. It will be the one with your name as the Author.
-
If you have enabled Loyalty Pricing, select CustomView_CPQAdvancedPricingLoyalty in the STATES pane. Otherwise, select CustomView_CPQAdvancedPricing.
-
In the blank Fields box, select <<Custom Field>> and click Add.
-
Delete <<Custom Field>> and replace it with the following:
Name Label ['Billing_Zip_Code__c']['value']['Billing_Zip_Code__c']['label']The Name and Label field input must be entered exactly as displayed using straight quotes and no space between brackets.
-
Click the Activate button on the CARDS and LAYOUT pane.

See Add the Billing Zip Code as a Custom Field in Industries CPQ Cart.