Configure the React Native Plugin for iOS Apps
After you install and configure the MobilePush SDK React Native plugin, configure the plugin to enable push support for the iOS platform.
Before you configure the MobilePush SDK React Native plugin for iOS apps, make sure that the plugin is installed and configured for your app. See Marketing Cloud React Native Plugin.
To enable push notifications in your iOS app, follow these steps.
After you've installed the React Native plugin using npm or Yarn, navigate to the ios directory and install the MobilePush SDK pod.
-
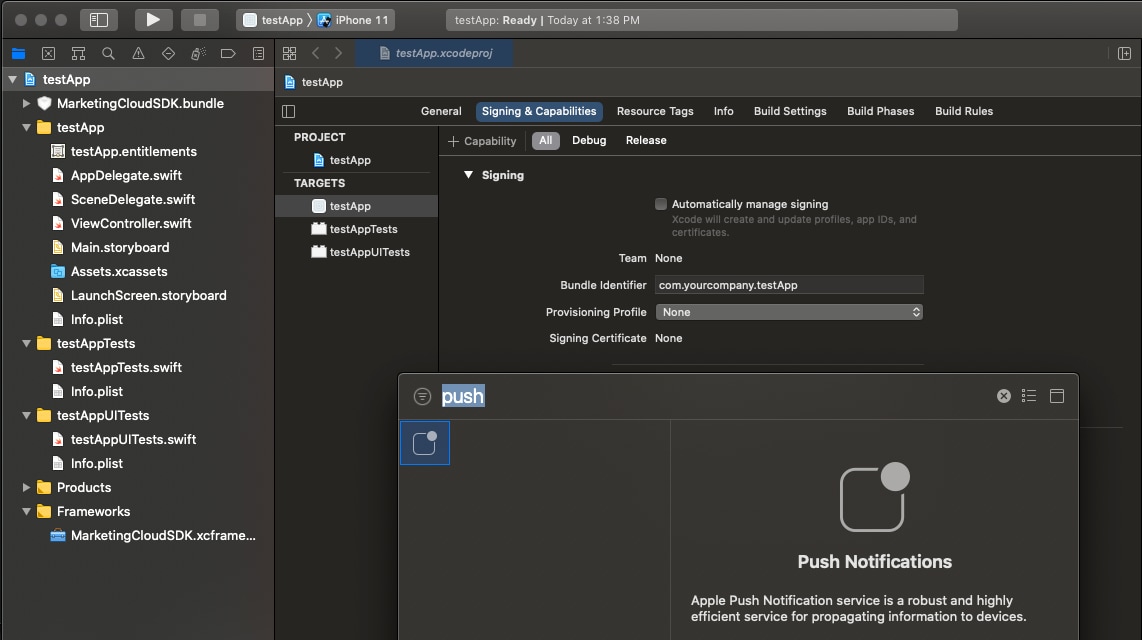
Enable push notifications in your target’s Capabilities settings in Xcode by clicking + Capability and then selecting Push Notifications.
-
Set your
AppDelegateclass to adhere to theUNUserNotificationCenterDelegateandSFMCSdkURLHandlingDelegateprotocols. -
Set up push notifications by updating
AppDelegate.
Rich notifications include images, videos, titles and subtitles, and mutable content. Mutable content can include personalization in the title, subtitle, or body of your message. To enable rich notifications, create a notification service extension.
For implementation details, see Send Rich Notifications.
The SDK doesn’t automatically present URLs from these sources.
- CloudPages URLs from push notifications.
- OpenDirect URLs from push notifications.
- Action URLs from in-app messages.
To handle URLs from push notifications in Android apps, use the code in this example.
To handle URLs from push notifications in iOS apps, use the code in this example.
For more information, see URL Handling.