Prerequisites
Before you integrate the MobilePush SDK with your app, complete these steps to set up and configure your environment.
- To manage user permissions in Engagement, navigate to Setup > Administration > Users.
- Select a user and click Manage Roles > Edit Permissions.
- Navigate to the MobilePush section of the permissions tree. To grant access, select all of the checkboxes under General, Message, and Reporting. These permissions are required to set up your app, send messages, and review analytics.
- Navigate to the Contact Builder section of the permissions tree. Make sure that you have permission to access and view all contacts in Contact Builder. These permissions are required to test and verify registration information that is sent from the SDK and to review the MobilePush data model before sending attributes from the SDK.
- To test and verify messages in Journey Builder, such as in-app messages, navigate to the Journey Builder section of the permissions tree. Select all checkboxes under General and Automation.
- To create, test, and verify Inbox messages, navigate to the CloudPages category of the permissions tree. Select all the checkboxes under General.
Ask your marketing admin to create an app in MobilePush, or create it yourself.
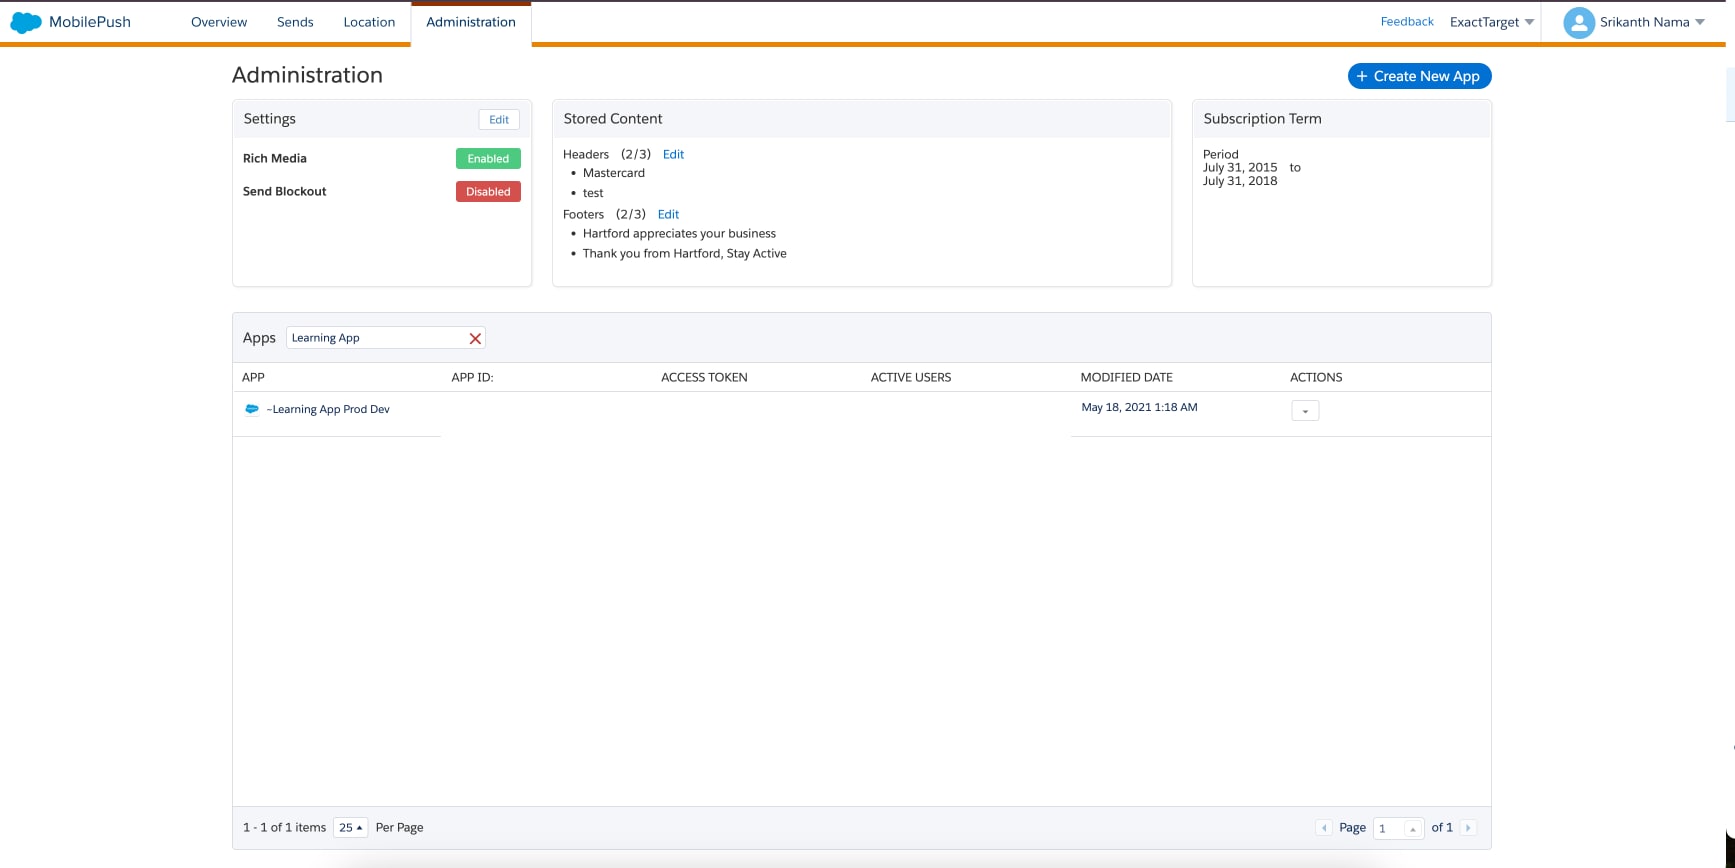
- In Engagement, navigate to Mobile Studio > MobilePush.
- Select Administration. If you don’t see this option, your user doesn’t have permission to administer MobilePush.
- Click Create New App and complete the workflow.
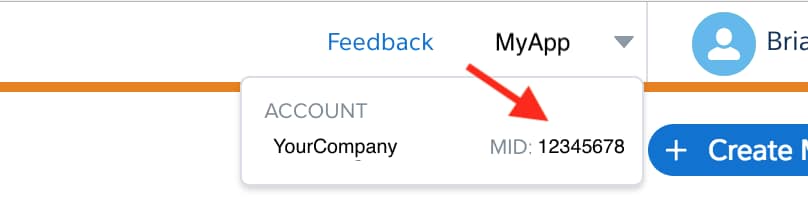
Ask your marketing admin to locate the following required SDK configuration data on your app’s administration page in MobilePush, or locate the information yourself.
To connect your app to your Engagement account, add the four required configuration data from MobilePush to your SDK config file.
-
App ID
-
Access token
-
App endpoint
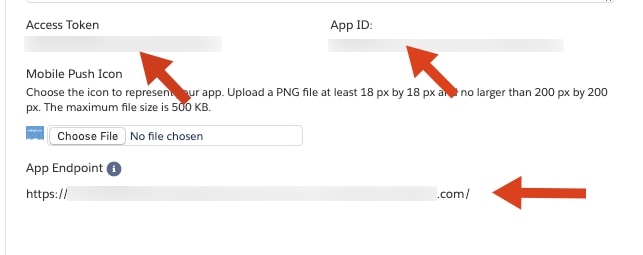
-
MID
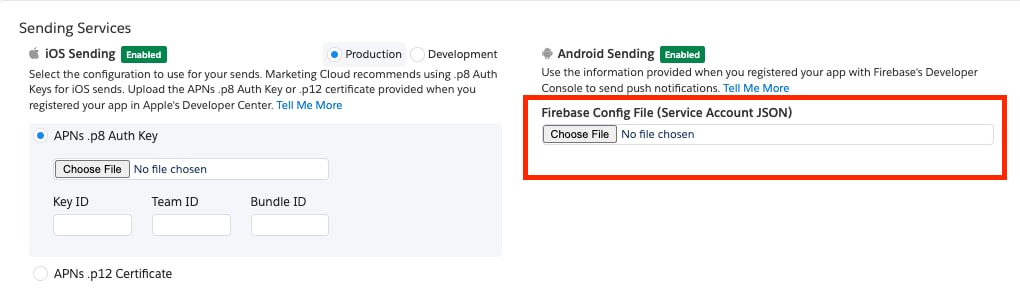
Provisioning with Firebase Cloud Messaging facilitates the delivery of push messages to users of your app. To retrieve the Firebase config file for your app and add it to Engagement, follow these steps.
-
Log in to Firebase.
-
Select an existing project or create a project for your app in the Firebase console.
-
Navigate to Cloud Messaging under Project Settings. Note of the Sender ID for your project.
-
Navigate to Service accounts under Project Settings.
-
Generate a Server Key by clicking Generate new private key, and then clicking Generate key.
-
Securely store the JSON file containing the key.
-
Upload the Server Key JSON file in the Android Sending section of MobilePush’s Administration page, as shown in this image.
-
Provide the Firebase Project ID as the Sender ID to the SDK during initialization via
setSenderId.
Provisioning your app with Apple ensures that your users receive push messages from your app. Apple provides the following two ways to provision push messaging for your apps.
The first step in provisioning your apps for push messaging is to retrieve the .p8 key or .p12 certificate for your app. After you retrieve the key or certificate, provide this information to Marketing Cloud Engagement.
Apple recommends using authentication keys to provision for push messaging rather than authentication certificates. Therefore, if you’re provisioning your app for push messaging for the first time, use the recommended approach of creating an authentication key.
Apple’s .p8 keys are more secure than certificates and private keys. For information about creating a .p8 key, see Apple Developer Documentation: Create a private key to access a service.
Store your key in a private and secure location. The key isn’t saved in your Apple Developer account, so you can’t download it again if you lose it.
You don’t have to generate environment-specific .p8 keys. Apple uses the same key to send push notifications to apps, regardless of the environment.
We recommend that you use .p8 authentication keys rather than .p12 authentication certificates. If your use case requires you to use .p12 certificates and you have an existing certificate, renew it and then add it to Engagement.
To create or renew a .p12 authentication certificate, follow these steps.
-
Create an app ID by logging in to your Apple Developer account and navigating to Certificates, Identifiers & Profiles > Identifiers.
-
Click the + button and enter an App Identifier name.
-
Enable Push notifications for the App Identifier.
If you’re renewing a
.p12certificate or your app already has an existing App ID or Provisioning Profile, you can skip this step. -
Request a certificate from a Certificate Authority through the Keychain Access app and select the Save to Disk option.
If you’re renewing a
.p12certificate, you can skip this step. -
Proceed to Certificates and create a certificate by clicking the + button.
-
Under Services, select Apple Push Notification service SSL (Sandbox & Production) and click Continue.
This certificate is valid for both Sandbox and Production environments, eliminating the need for separate keys.
-
Select the App ID for which to enable push notification services.
-
Upload the CertificateSigningRequest file generated in step 4.
Upon completion, the certificate is created with a
.cerextension. Export this certificate as a.p12file using the Keychain Access app. -
Add the
.p12file under Sending Services in Engagement’s Administration page.
If you run into trouble while configuring the authentication key or certificate, see Apple Push Notification Service Server Configuration for troubleshooting guidance.