Add CMS Connect (JSON) Components to Your Site Pages
After you set up connections to your JSON CMS content, display the content on your site pages just the way you want, using the property editor in Experience Builder to customize your component layout.
- In Setup, enter
Digital Experiencesin the Quick Find box, then select All Sites. - Next to the site where you want to add CMS content, click Builder.
- Click
 to open the Component panel.
 - Drag a CMS Connect (JSON) component to where you want to display it on the page.
- In the component’s property editor, configure component properties.
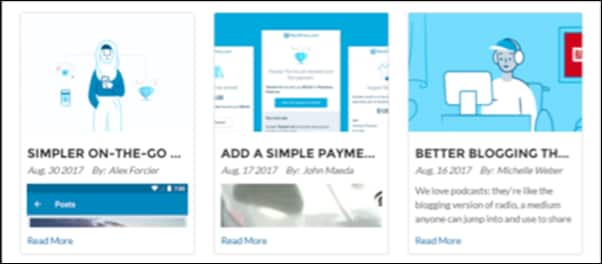
Let’s say you want to display a list of blogs on your page.
-
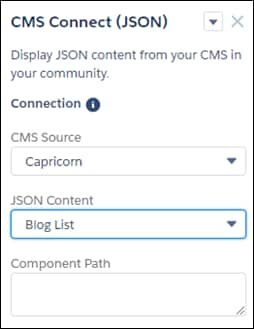
In the property editor, select the CMS source you defined as a connection. Select a content list as your JSON content.
-
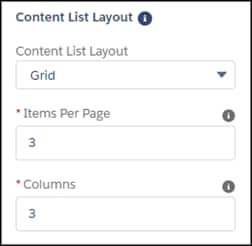
Define the grid layout for your list.
-
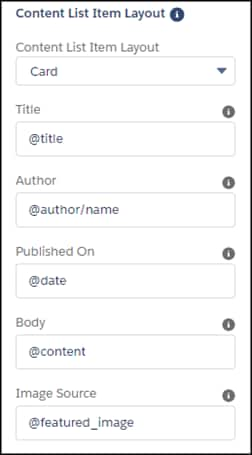
To configure the layout of each list item, enter JSON expressions in that section.
-
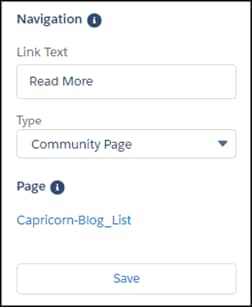
Configure how you display each blog item, either through a site page or an external link.
After you save the settings, you see a preview of the content in the page area.
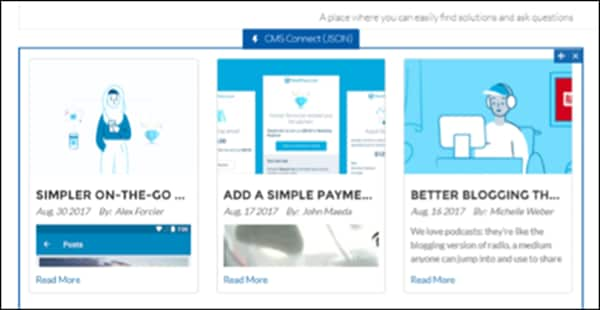
Notice the Read More link for each item. After you publish your changes, you can click a link under a blog item in the series. When you click the link, you see an external page or a site page that’s created dynamically for each content item in your content list. To change the name or URL of this detail page, locate the page in Experience Builder in the Pages menu in the top toolbar, and modify its properties. For search engine optimization (SEO), detail page URLs are added to the sitemap files.
For each content type name, only one detail page is created. If you create more than one content list under the same content type name, you see the same detail page.