Whether you are a new developer just starting your career in the Salesforce ecosystem, or an experienced Salesforce Developer who hasn’t yet switched to our new developer tools, this blog post series is for you. We’ll show you how to set up and use the tools that can help every Salesforce Developer to become much more productive and happy.
Before you begin
If you are new to Salesforce and don’t have an org (Salesforce instance) available for you to practice, sign up for a Developer Edition org. It’s completely free and has most Salesforce features pre-installed for you to try and learn. You’ll need to provide a username in the form of an email address, but it doesn’t need to be a real one. It’s just a username that must be unique across all Salesforce products. After you request an org, you’ll receive an email with the steps to log in. Take note of the org username you provided as you’ll have to use it later.
If you’re an established Salesforce Developer and a user of the Developer Console, then this is the right time to adopt the new developer tooling. While the Developer Console can be a quick way to change a few lines of code, using the most modern tools will be a game changer for you as they include a ton of capabilities that will simplify your job. Using the new tools requires a change of habits at the beginning, but I promise that you’ll understand their benefits very soon. Additionally, know that we’re no longer investing in the Developer Console, and issues like the lack of support for Lightning Web Components are something that we won’t address.
Installing the developer tools
Your org metadata is in the cloud, but to develop in a more productive way, you’ll be developing locally. The modus operandi will be to work with the metadata in your local machine and synchronize it with your org, which means retrieve or deploy it when needed.
An alternative to developing locally is to use Code Builder (Beta), a web-based IDE that you can launch from your org and that has the developer tools installed. However, in this blog, we’ll focus on the local development workflow.
The first step is to install the following tools on your machine:
- Salesforce CLI: This is the command-line interface tool that you’ll use to write commands to move your code between your local environment and your org, execute tests, deploy sample data, and much more. If you don’t like writing commands in a terminal, fear not as we have alternative options as described in this blog post.
- VS Code: This is the IDE that you’ll you use to develop in your local machine.
- Java: Some features in Salesforce Extensions for VS Code depend upon the Java Platform, Standard Edition Development Kit (JDK). Install it following the instructions linked.
- Salesforce Extensions for VS Code: This is a group of VS Code extensions that augment the capabilities of VSCode, exposing most of the Salesforce CLI commands on the VS Code UI, so you can execute them with clicks. The extensions also add features to enable debugging, make testing easier, allow you to browse the metadata in your org, and more.
Creating a Salesforce DX project
When you work with an org’s metadata locally, the metadata files need to be stored in a project folder, following a certain structure. That’s what we call a Salesforce DX project.
Once the developer tools are installed, you can proceed and create a Salesforce DX project that you’ll later connect to your org. One way to do that is by typing a command that uses the Salesforce CLI to create the project. You can type that command on a regular terminal.
sf project generate -n myProject
Note: the Salesforce CLI contains two executables, sfdx and sf. In this blog, we’ll write the commands using the most modern executable and syntax, which is sf.
The -n flag indicates the name of the project. The Salesforce CLI will scaffold a project in a folder with that name. Once the project is created, you can open it in VS Code, with File → Open Folder.

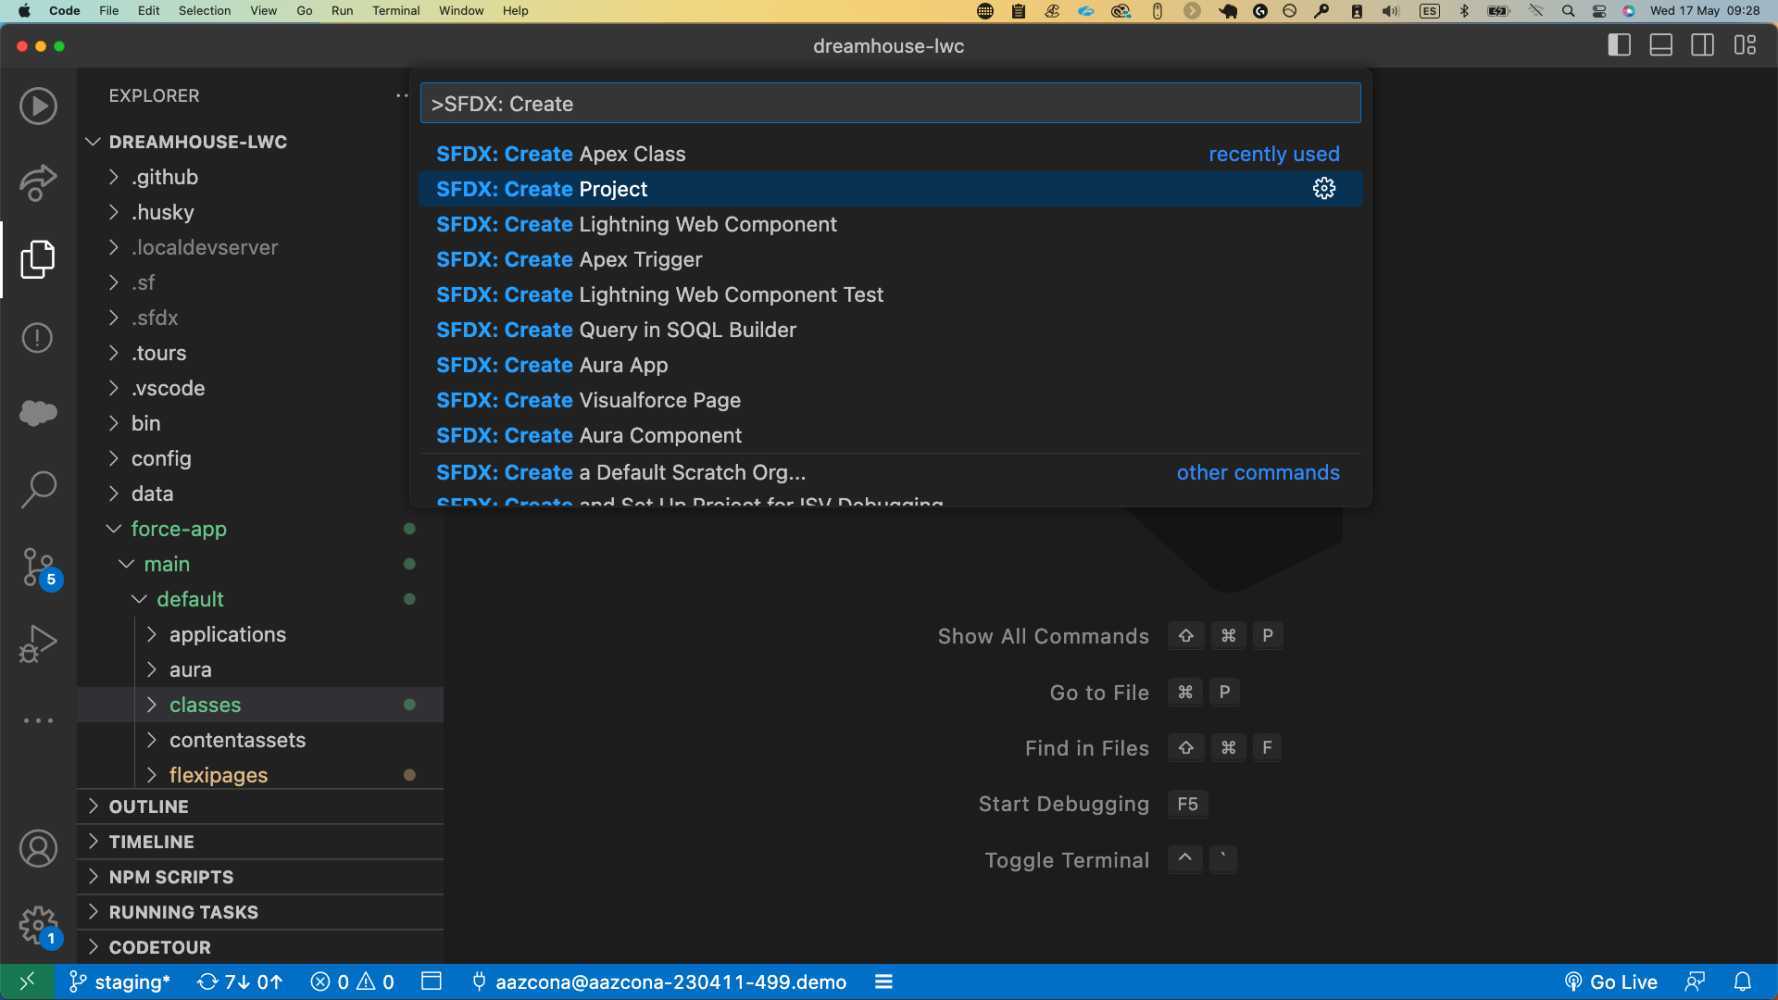
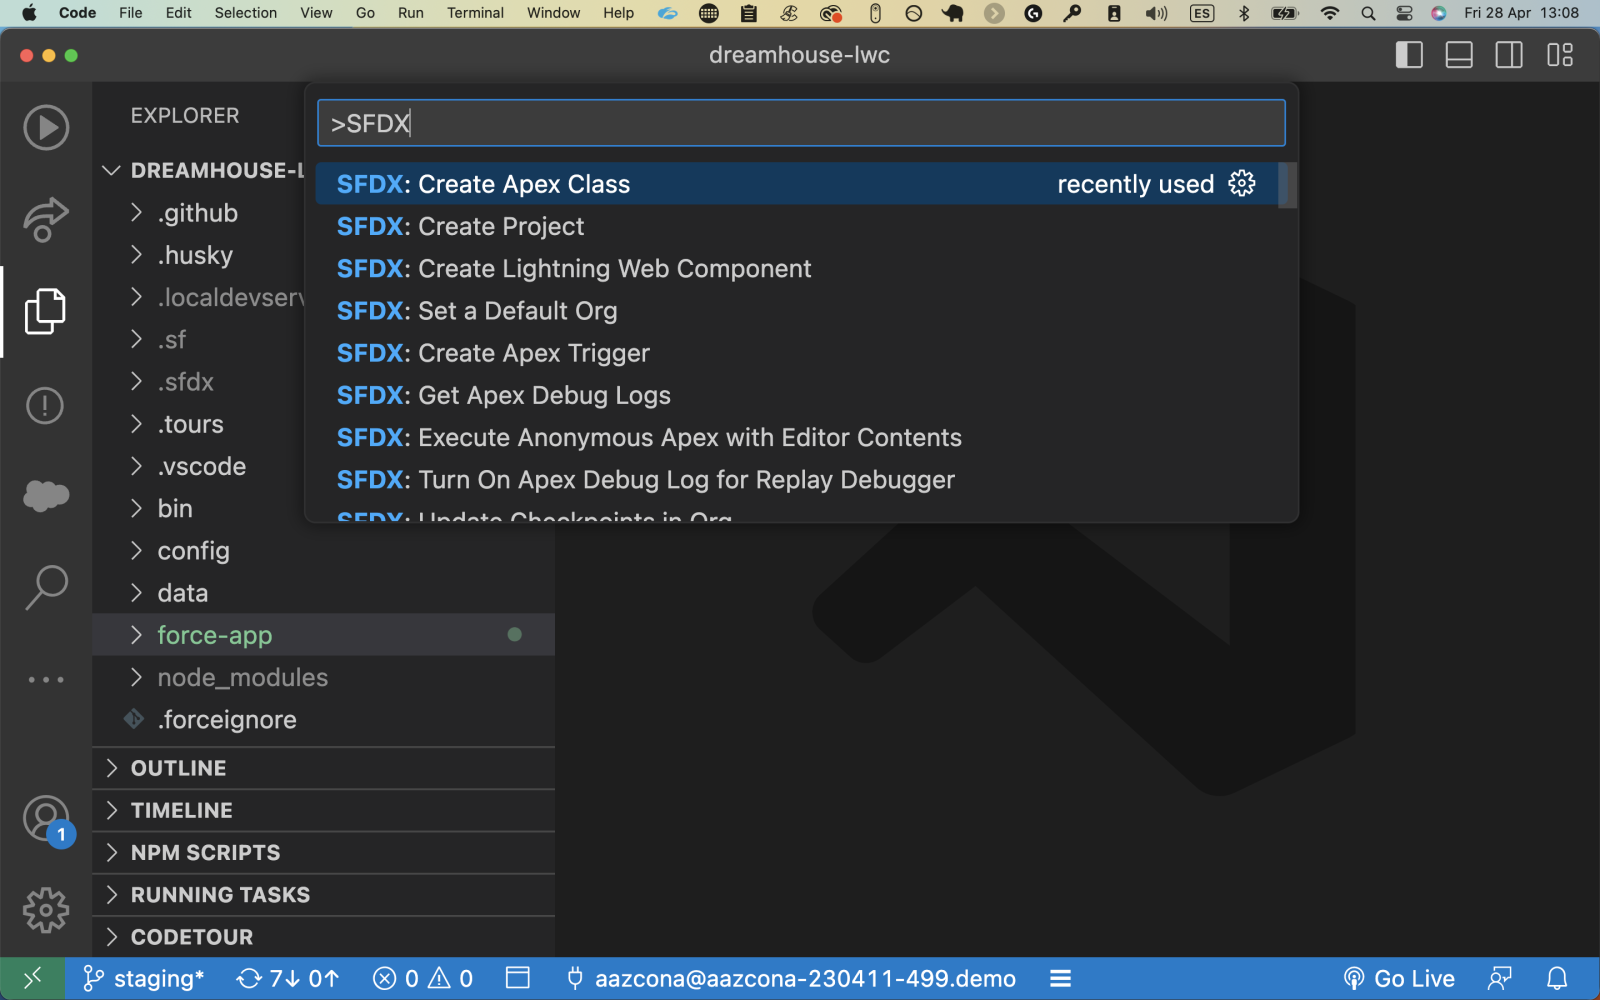
Thanks to the Salesforce Extensions for VS Code, there is a no-typing way to run the Salesforce CLI commands. Just open the VS Code command palette with View → Command Palette and type SFDX to see all the available commands. We could also have created the project with SFDX: Create Project instead of typing the command.
Authorizing and setting an org as default
Once your project is set up, the next step is to authorize the Salesforce CLI to work with your org. Let’s start this time with the no-typing way of doing it. When you open the project for the first time, just click on the No Default Org Set button, and the command palette will pop up, suggesting that you authorize an org. Proceed by following the command instructions.

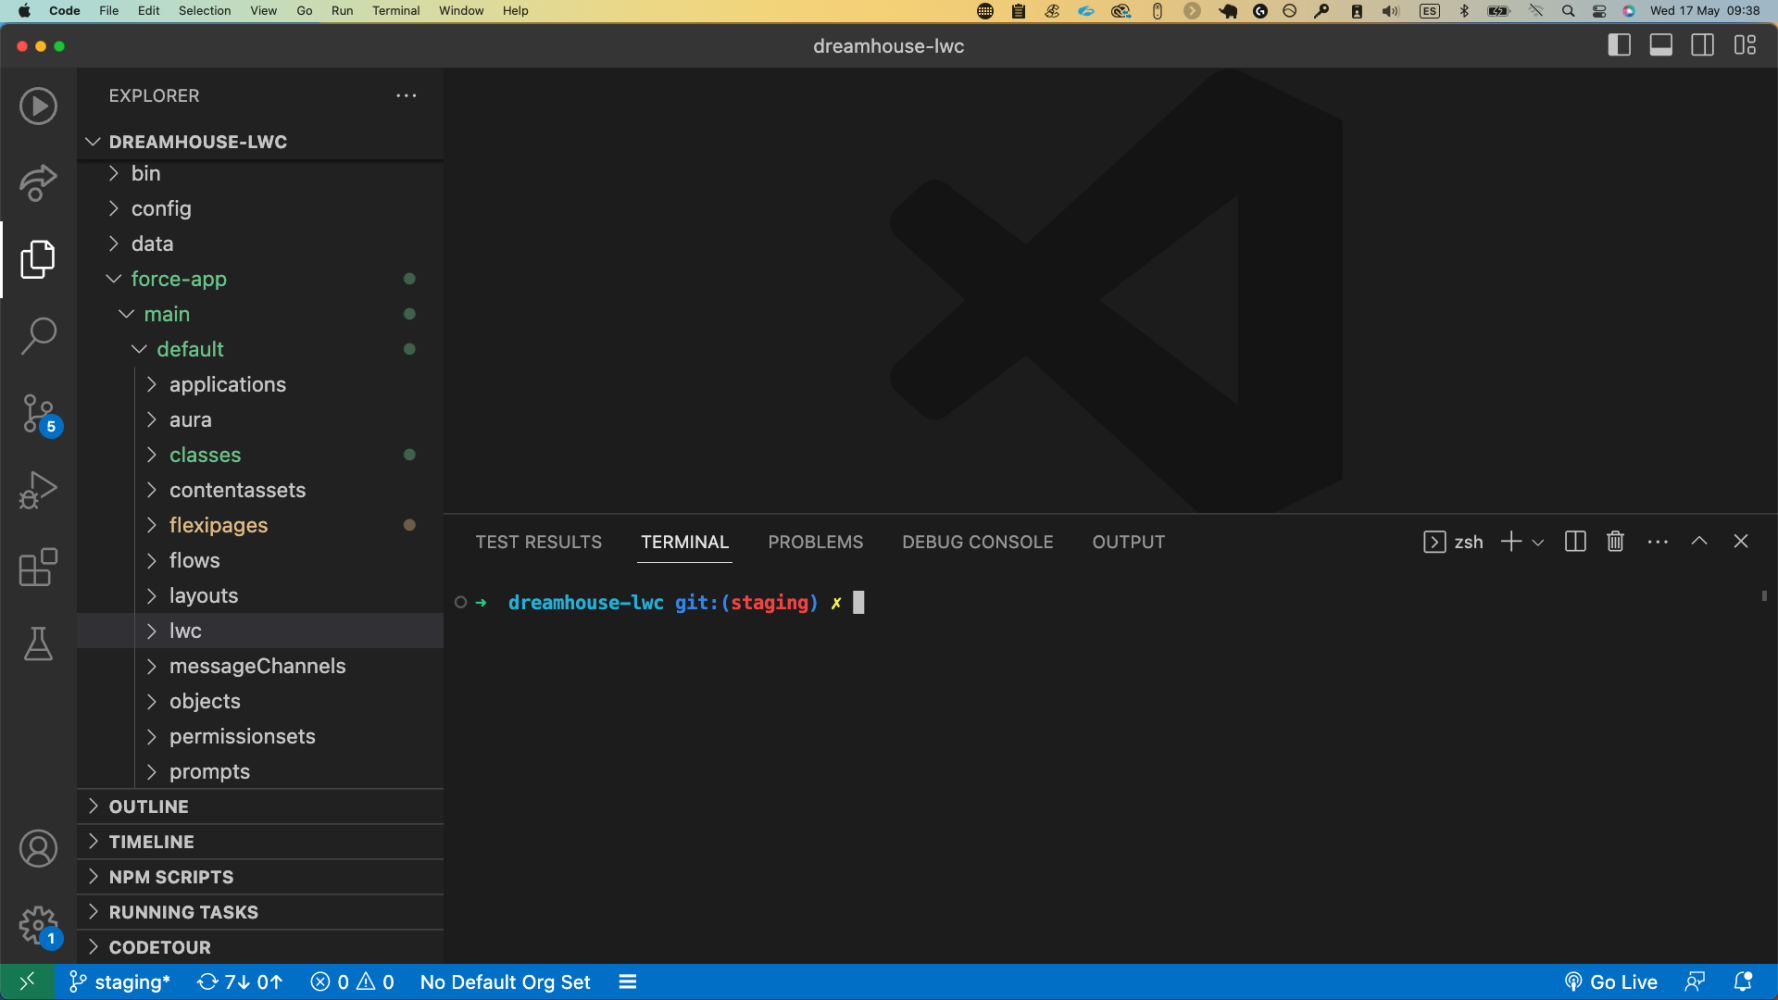
Another way to do that is to run a Salesforce CLI command. This time, and from now on, I recommend that you use the VS Code integrated terminal for running commands as having all the tools on the same screen reduces context switching. You can open it on Terminal → New Terminal.
The Salesforce CLI command used to authorize an org is:
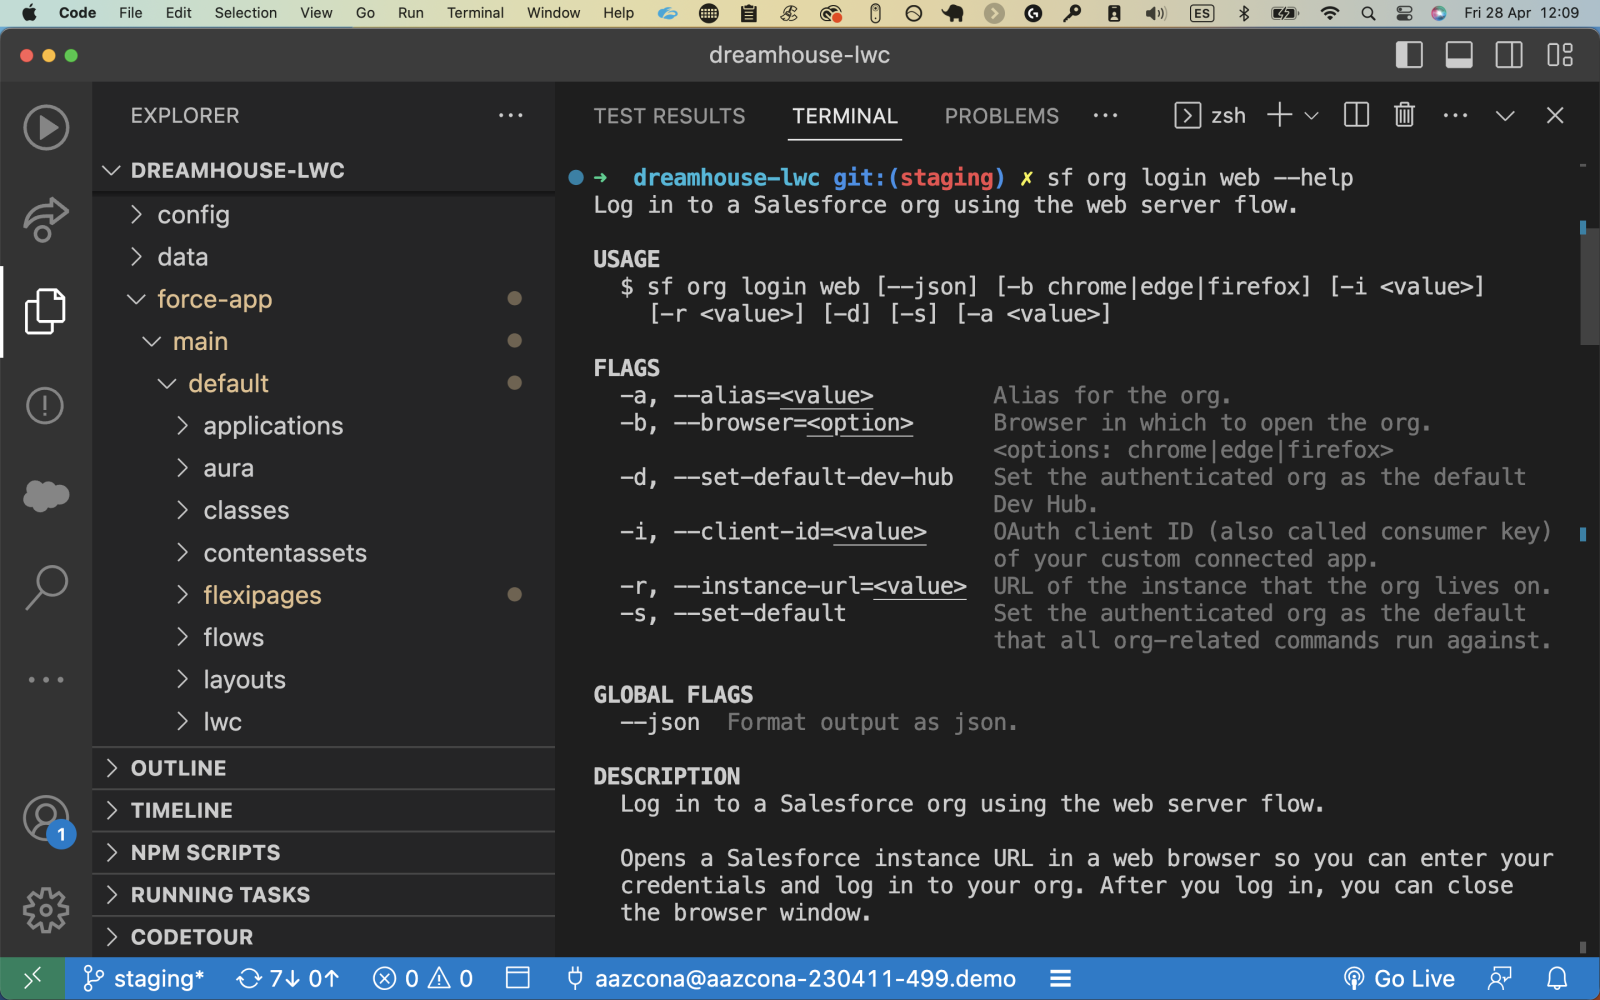
sf org login web -s
Then, follow the instructions given by the command. The -s flag will set up that org as your default org for this project. You can see your project’s default org at the bottom bar of VS Code.

All the Salesforce CLI commands have several flags available. For instance, if you want to connect to a sandbox, you can pass the sandbox instance URL to sf org login web using -r. To see the command help and all its available flags, run the command adding --help at the end.
When you work with multiple orgs, it will be common to authorize the Salesforce CLI with multiple orgs. You can see the orgs that the Salesforce CLI is authorized to access by running sf org list . You can change a project’s default org by clicking on the org name at the bottom bar of VS Code, like we did to authorize for the first time, or by executing:
sf config set target-org=your-org-username@sf.com
Let me share with you one last tip. Orgs can have aliases. This is useful when you don’t want to remember long or complex user names. You set an alias by typing the following command.
sf alias set myalias=your-org-username@sf.com
When an alias is set, you can use the alias instead of the org username in any of the Salesforce CLI commands.
Deploying metadata to the org
Once the Salesforce CLI and your IDE are authorized with your org, and the org is set up as the default org for your project, you can start developing and deploying changes. For instance, let’s say that we want to create an Apex class. You could create the metadata file that represents the Apex class manually on the classes folder. However, it’s much more effective to create the class from the command palette.
You can also create a class by typing the following Salesforce CLI command:
sf apex generate class -n myClass -d force-app/main/default/classes
Once your class is ready to be deployed to your org, there are multiple ways in which you can do it. One way is to specify the metadata in the command.
sf project deploy start -m ApexClass
A second way is to specify a folder to deploy.
sf project deploy start -p force-app/main/default/classes
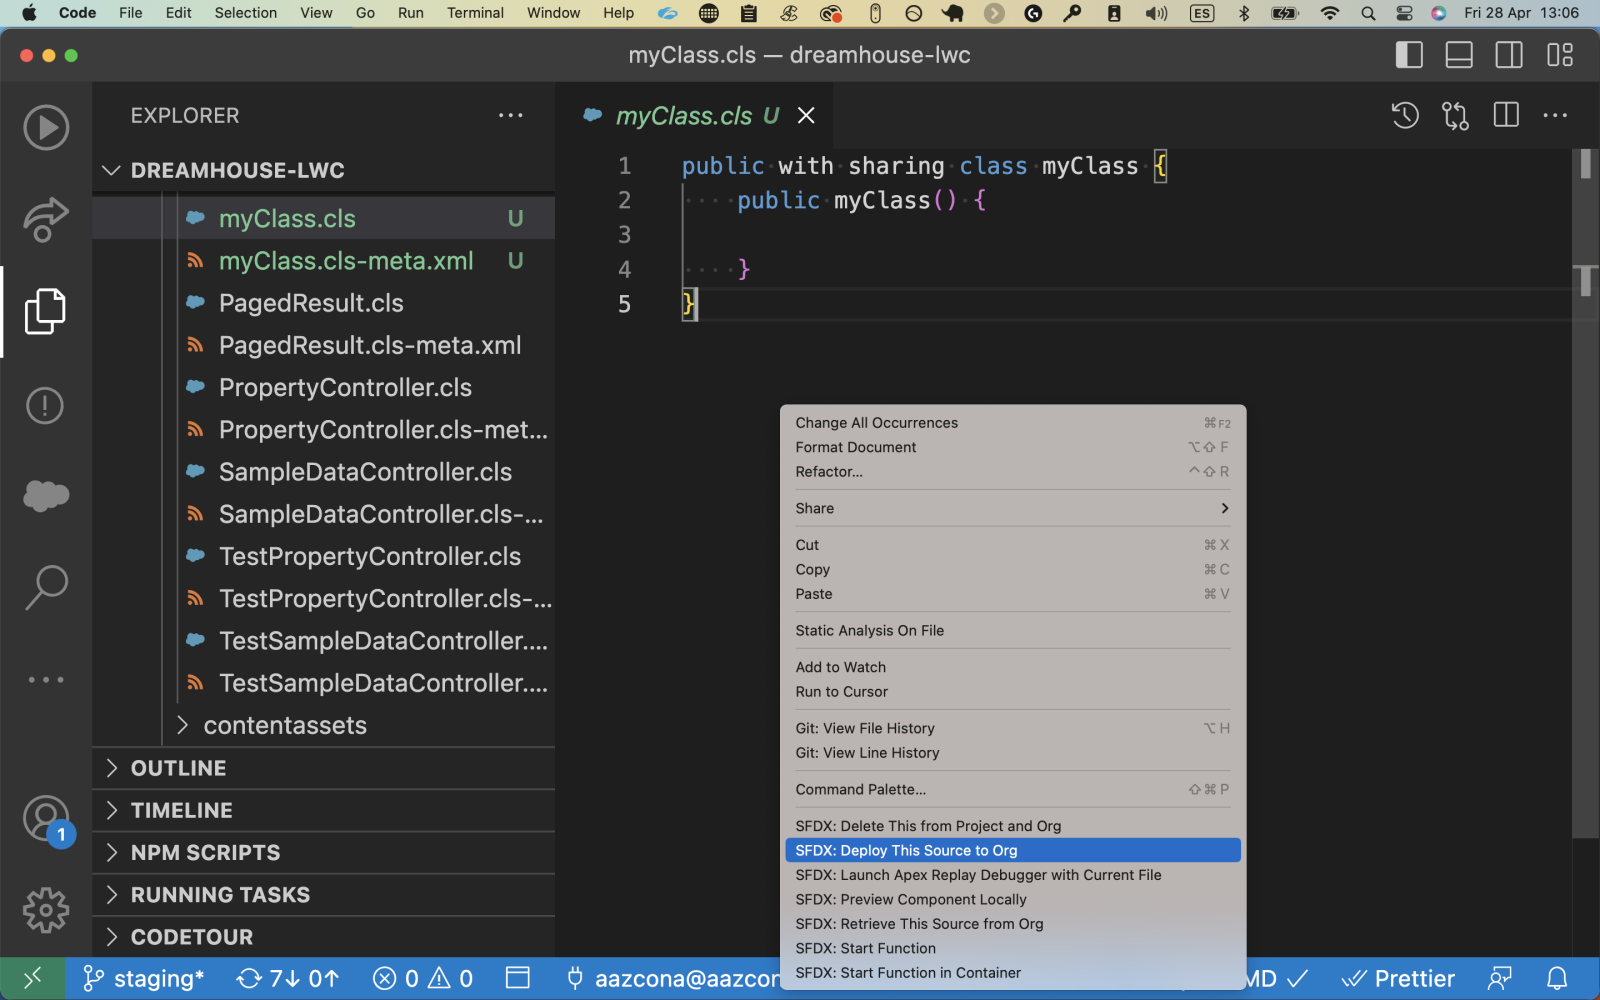
And a third way, available thanks to the Salesforce Extensions for VS Code, is to right-click on the file, and click on Deploy This Source to Org.
All those options allow you to execute deployments yourself. If you want to automate this step and deploy a file every time it’s saved, you can set the Deploy on Save VS Code setting to “True” and save some time.
When your metadata is deployed, you will normally want to open your org for testing. You can log in using your browser as normal. But for developers, it’s more efficient to click on the open org button at the bottom bar of VS Code.
Conclusion
In this blog post, you’ve learned how to obtain a free org for development and how to install the developer tools that every Salesforce Developer should be using today. You’ve understood how to create a project and authorize it with your org, and finally, how to deploy metadata using the Salesforce CLI or VS Code. In Part 2 of this series, you’ll learn how to retrieve metadata, work with source-tracked orgs, and use Node libraries to look after the quality of your code. Additionally, we’ll share other hidden gems from the Salesforce extensions for VS Code. If you like a video format, watch our codeLive episode. And if you have questions, don’t hesitate to ask them in the Salesforce Developers Trailblazer Community. Stay tuned for the second blog post of this series tomorrow!
About the author
Alba Rivas works as a Principal Developer Advocate at Salesforce. You can follow her on Linkedin, Twitter, or GitHub.