Salesforce1 Mobile App Developer Guide
 j
j
No Results
Search Tips:
- Please consider misspellings
- Try different search keywords
Create the DeliveryTrakr Canvas App
In this step, we’ll expose the DeliveryTrakr Web
application as a canvas app.
You’ll need user permissions “Customize Application”
and “Modify All Data” to create a canvas app.
- In the Salesforce application, from Setup, click .
- In the Connected Apps related list, click New.
- In the Connected App Name field, enter DeliveryTrakr.
- In the Contact Email field, enter your email address.
- In the API (Enable OAuth Settings) section, select Enable OAuth Settings.
- In the Callback URL field, paste the URL of the Heroku app you just created and change the protocol to HTTPS. For example, your final URL might look something like https://deep-samurai-7923.herokuapp.com.
- In the Selected OAuth Scopes field,
select Full access and click Add.As a best practice, you’ll want to keep the OAuth scopes as limited as needed for your canvas app functionality.
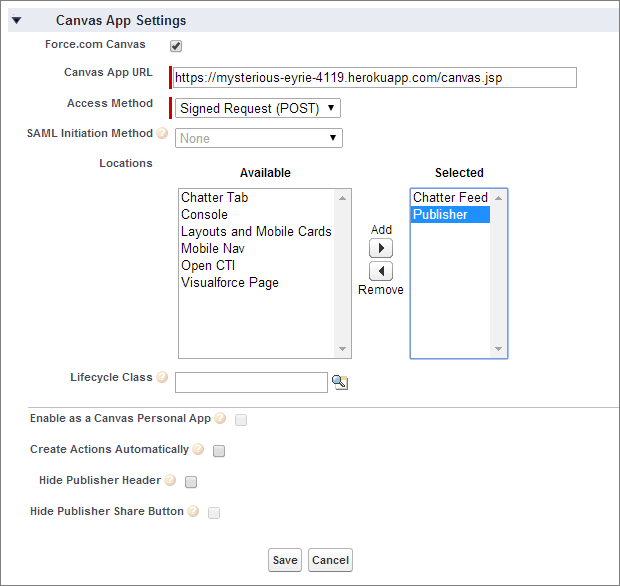
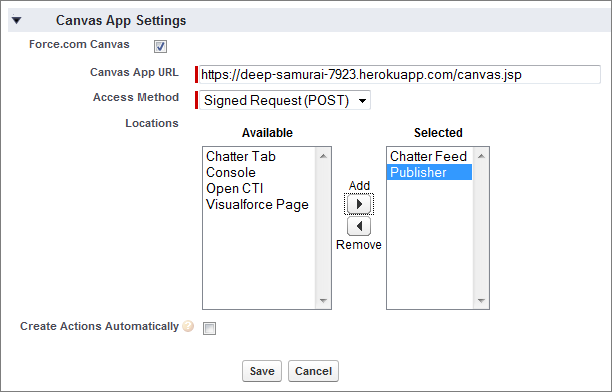
- In the Canvas App Settings section, select Force.com Canvas.
- In the Canvas App URL field, enter the same URL you entered in the Callback URL field with /canvas.jsp appended to it. For example, the URL might look like https://deep-samurai-7923.herokuapp.com/canvas.jsp.
- In the Access Method drop-down list, select Signed Request (POST).
- In the Locations field, select Chatter
Feed and Publisher and click Add.We selected these values because the canvas app appears in the publisher as well as in the feed.
- Click Save. After the canvas app is saved, the detail page appears.
We added the canvas app, and now we’ll specify who can access it.