Visualforce Developer Guide
 j
jNewer Version Available
Creating a Custom Controller with the Messaging Class
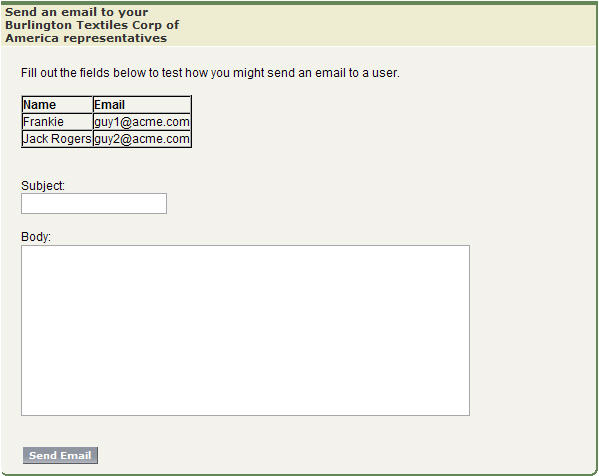
At minimum, a custom controller that uses the Apex Messaging namespace needs a subject, a body, and a recipient for the email. You will need a page that acts as a form to fill out the subject and body and deliver the email.
Create a new page called sendEmailPage and use the following code:
Notice in the page markup that the account ID is retrieved from
the URL of the page. For this example to render properly, you must
associate the Visualforce page with a valid account record in the URL. For example, if 001D000000IRt53 is the account ID, the
resulting URL should be:
The following code creates a controller named sendEmail that implements the Messaging.SingleEmailMessage class,
and uses the contacts related to an account as recipients:
Notice in the controller that:
- The subject and body of the email are set through a separate Visualforce page and passed into the controller.
- The method that sends the email is called send(). This name must match the name of the action for the Visualforce button that sends the email.
- The recipients of the email, that is, the email addresses stored in toAddresses[], come from the addresses of the contacts available in an associated account. When compiling a list of recipients from contacts, leads, or other records, it is a good practice to loop through all the records to verify that an email address is defined for each. The account ID is retrieved from the URL of the page.
Example of the Form on sendEmailPage