Salesforce Voice with Partner Telephony Developer Guide
 j
jNewer Version Available
Set Up Single Sign-On
Set Up the SSO External Client App and Salesforce with Identity Provider (IdP)
- From Setup, enter Identity Provider in the Quick Find box, then select Identity Provider and enable it.
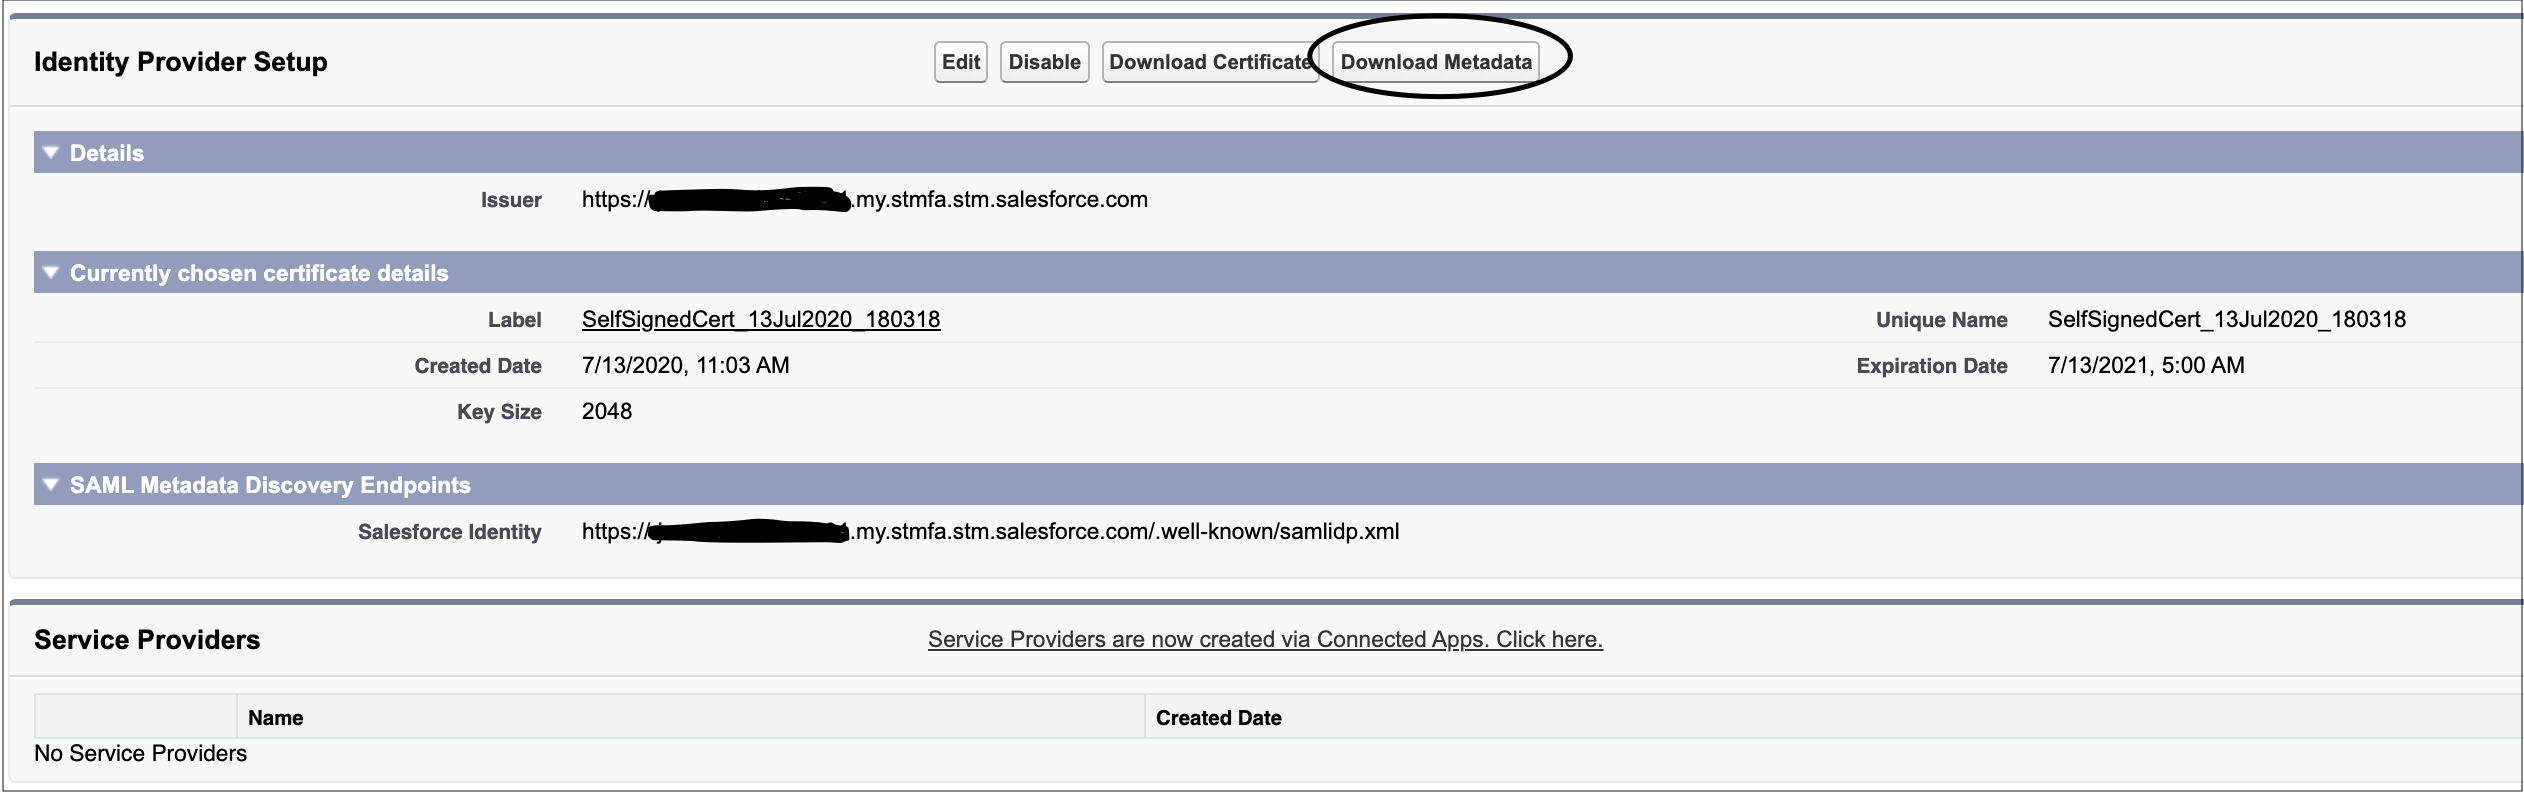
- To download the certificate and metadata file for using Salesforce as an IdP, under
Identity Provider Setup, click Download Metadata.
- Create an external client app (ECA) to use for authentication.
- Create an external client app and set Distribution State set to Local.
- To enable and configure SAML, configure the external client app's SAML 2.0 settings and policies.
- To allow access to the app, update the ECA App policies.
- From Setup, enter External Client App Manager in the Quick Find box. Select your external client app.
- Click Edit.
- On the Policies tab, under App Policies, select profiles for users who need access to SSO login or select permission sets that you’re using for Salesforce Voice.
- Save your changes.
- To test the IdP SSO login, in the Policies tab under SAML Policies, expand SAML Login Info, and click the IdP-Initiated Login URL.
Perform Headless SSO
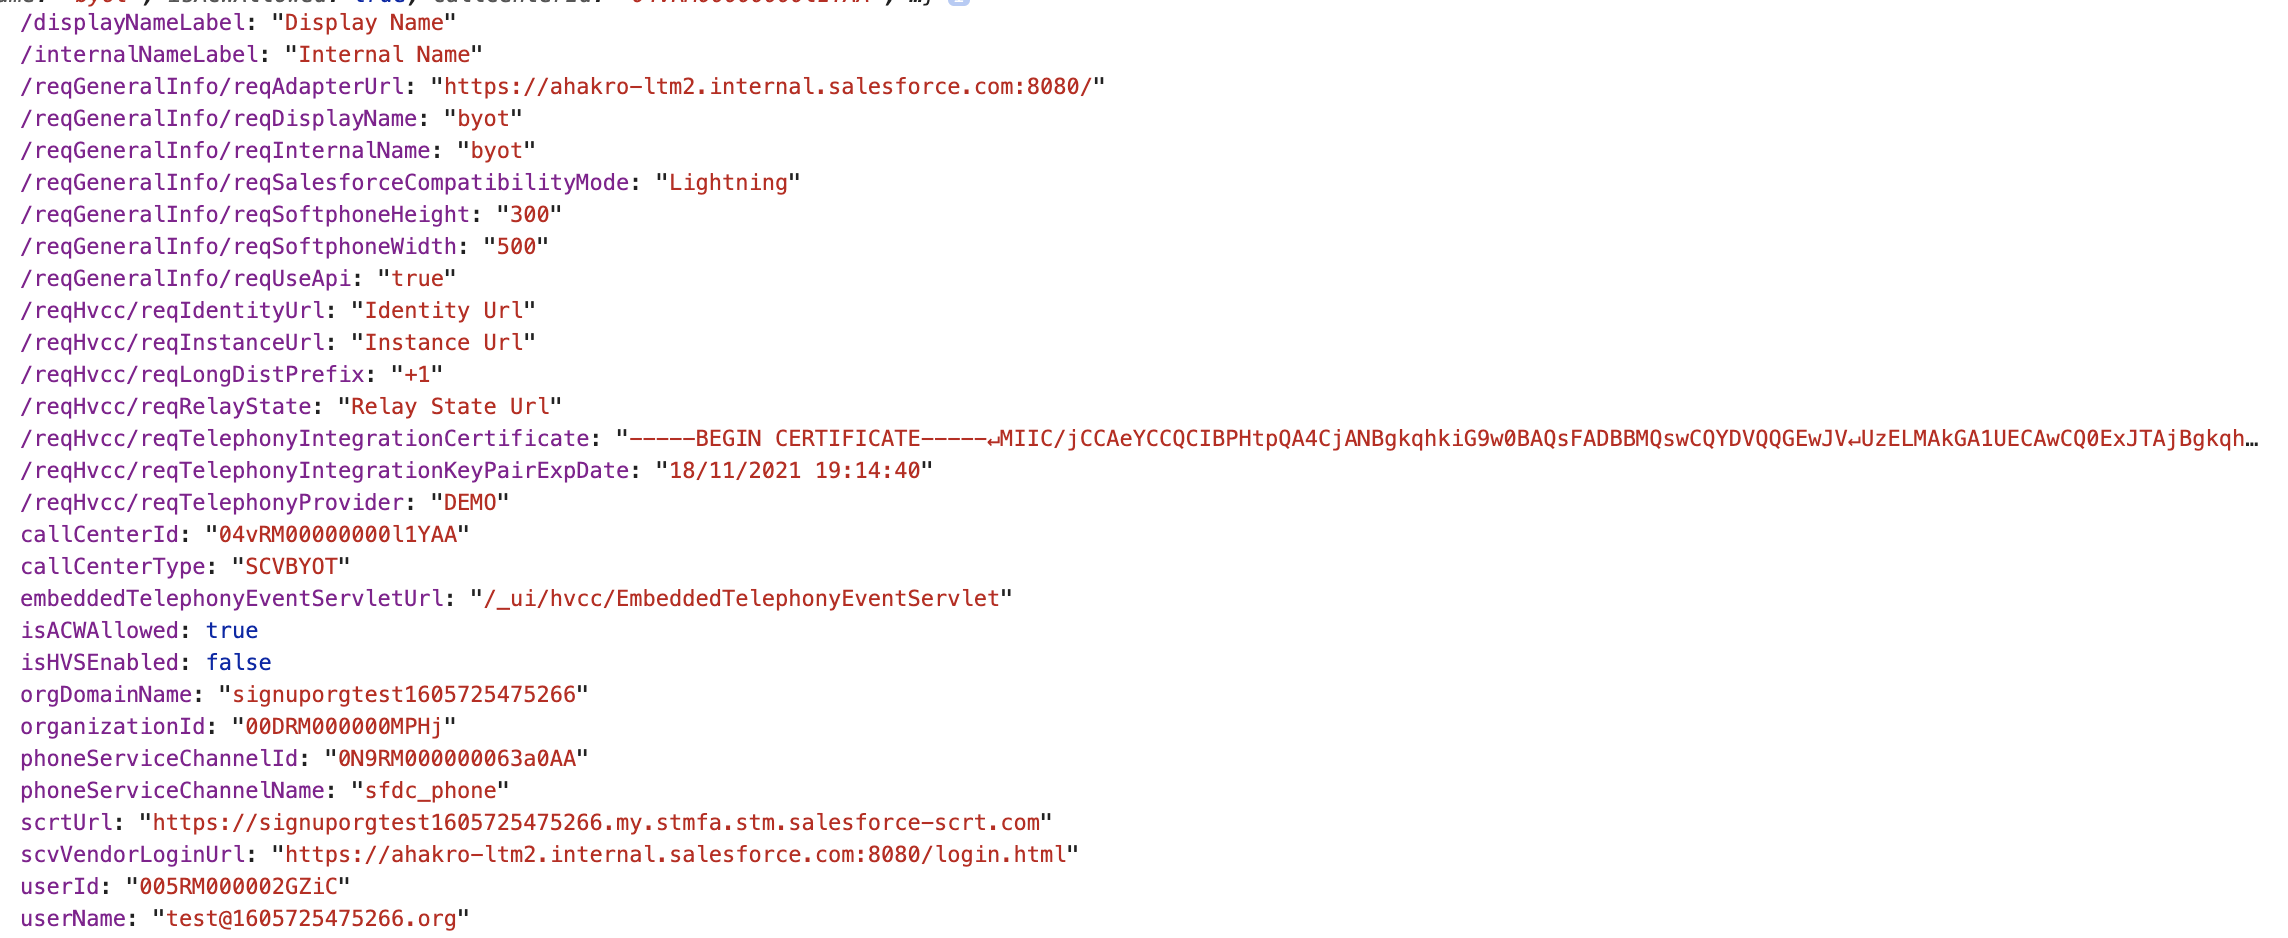
If a telephony system login page isn’t needed, you can use a headless single sign-on (SSO) to your service. Salesforce sends a message to the connector iFrame with the entire contact center configuration as defined in {contactCenterName}.callCenter. Use these details to allow SSO, and notify Salesforce by returning a fulfilled Promise with a value of type InitResult when the Promise is successful or rejected.
To set up single sign-on (SSO), configure your Salesforce org as the SAML identity provider. For help, see:
- Set Up SSO External Client App and Salesforce with Identity Provider
- Salesforce as an Identity Provider
Here’s a sample contact center configuration sent from Salesforce during connector init:
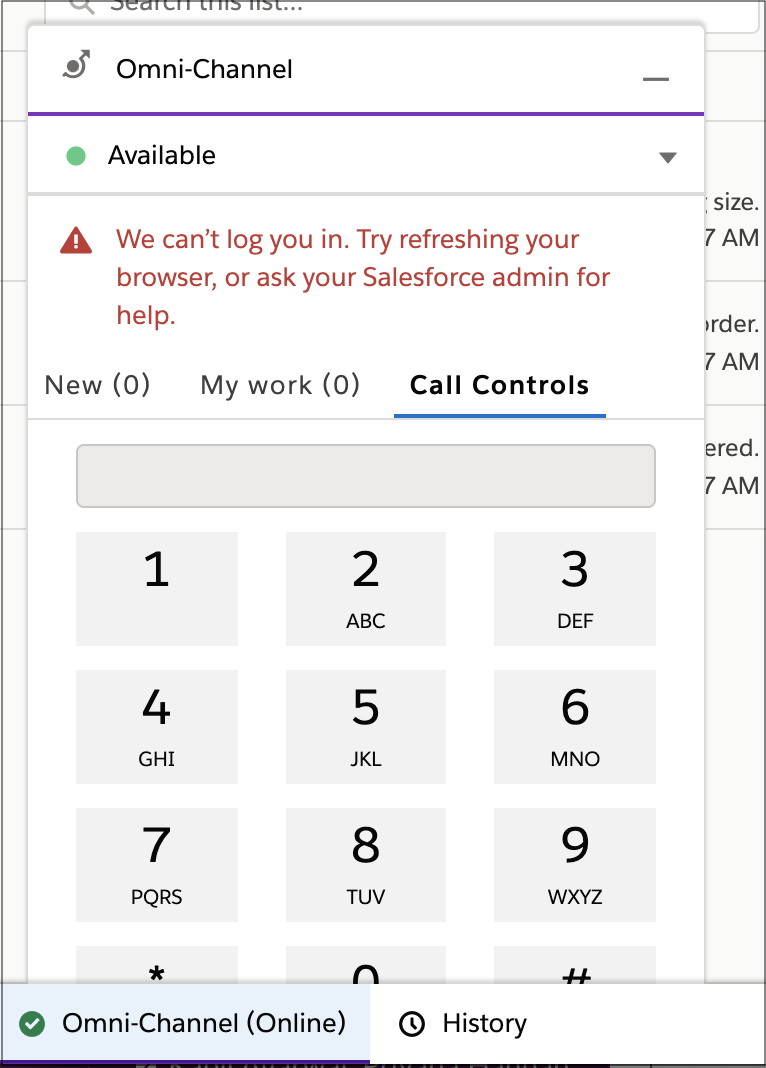
If SSO is successful, the SSO dialer is enabled to allow the rep to make outbound calls.