Page Designer Content Management for Merchants
Page Designer contains Storefront Next template pages that merchants can add and customize out of the box with new content and components. Merchants can connect Page Designer to a site’s storefront, and then customize the storefront and publish live updates.
Storefront Next provides a Home Page, About Us Page, Product Detail Page (PDP), and Product Listing Page (PLP). These pages include layout components and other content components. After an administrator has set up the storefront in Business Manager, merchants select the site associated with the storefront to access and customize its pages in Page Designer.
There can be a delay between when you make changes in Page Designer in staging and when those changes appear in the storefront in production. See Page Designer Change Deployment to Storefront Next.
Create a storefront in Business Manager. See Quick Start: Create Storefront Next. For existing storefronts created outside of Business Manager via the CLI or the MRT API, connect them to Business Manager. See Connect an Existing Storefront to B2C Commerce.
To customize your storefront in Page Designer:
- In Business Manager, click App Launcher
 and then select Merchant Tools, select a site, then click Content > Page Designer.
The selected site maps Page Designer to your storefront because each site can have only one storefront.
and then select Merchant Tools, select a site, then click Content > Page Designer.
The selected site maps Page Designer to your storefront because each site can have only one storefront.
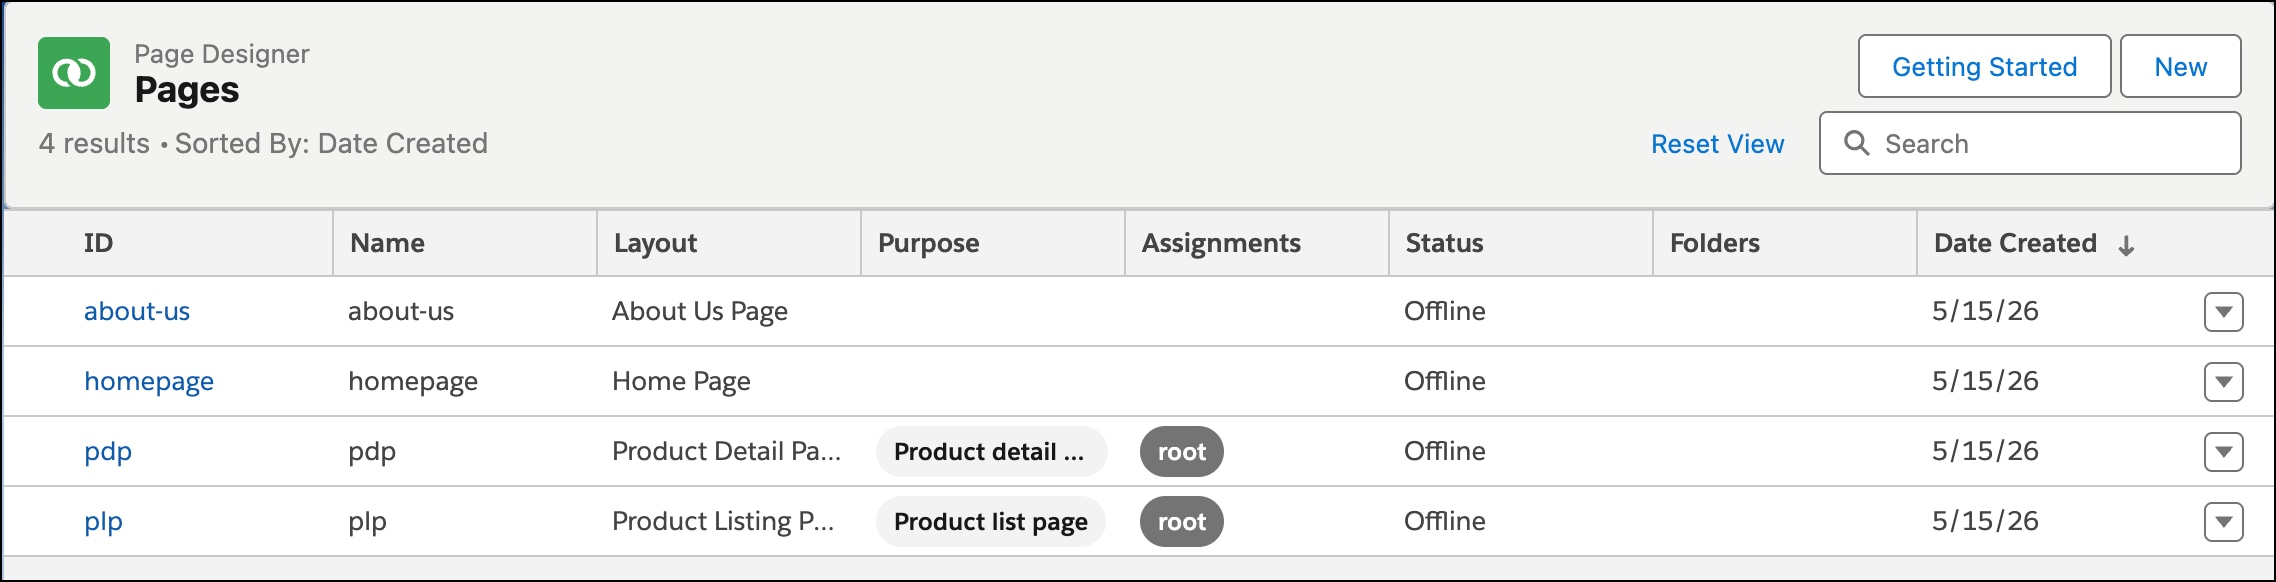
- In Page Designer, click one of the listed pages to customize it.
- To add a page, click New and select a page to add.
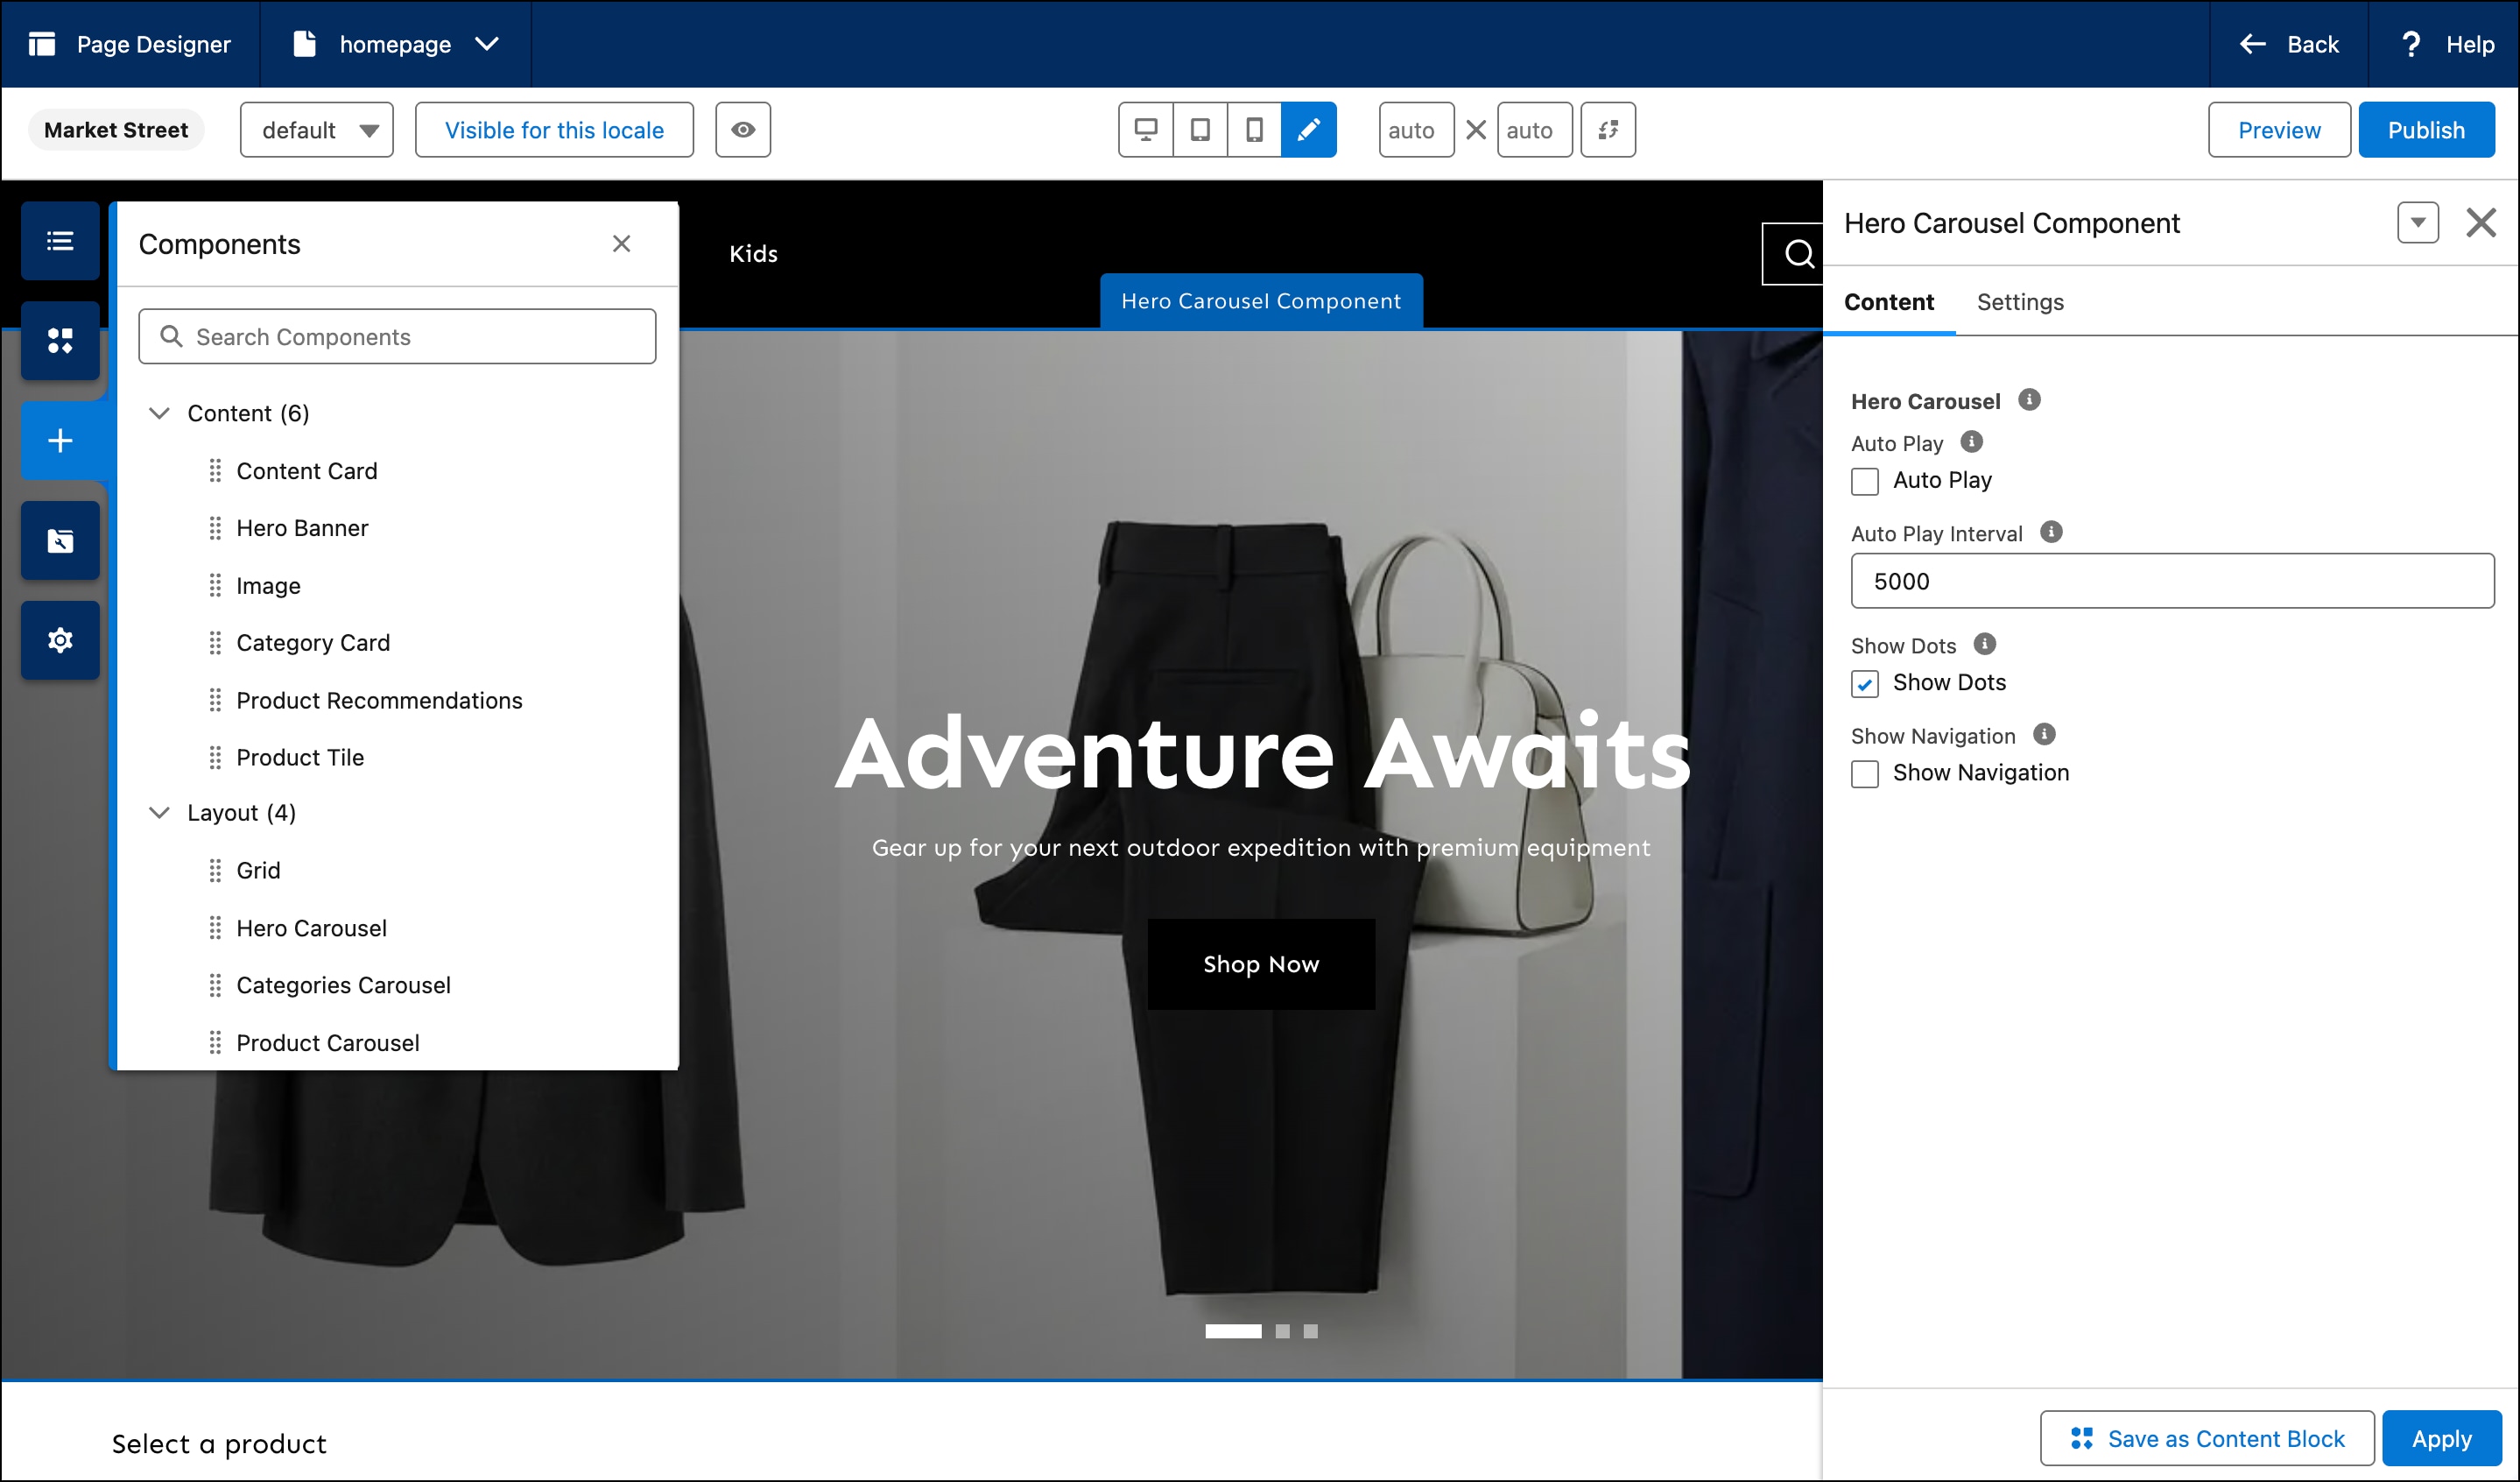
- To add components, drag a component from the Components panel and set component properties.
 g
g
- To preview the changes, click Preview, and then select the desired locale, device sizes, and resolution.
- To publish the changes to the live site, click Publish.
See how the storefront looks when specific campaigns and promotions are applied.
- Make sure that shopper context is enabled. For storefronts created in Business Manager, shopper context is enabled. For other storefronts, enable shopper context. In Business Manager, select Administration > Global Preferences > Feature Switches, and select Enable Shopper Context. For more information, see Shopper Context.
- (Optional) To target a customer group, enable the
effectiveDateTime,customerGroupIds,clientIp, andgeoLocationqualifiers in the Shopper Context API. See Qualifier Support in the Shopper Context documentation. - (Optional) To target campaigns and promotions, set up your site based on the functionality you want to validate in Storefront Preview. Examples:
- Set up custom qualifiers and customer group IDs using customer groups in Business Manager to apply rules for personalized pricing, products, or promotions.
- To see a personalized shopper experience, set up source code that calls the Shopper Context endpoints. This is required because Storefront Preview uses context information for personalization.
- Set up the pricing that you want to offer on a particular date. That way your specified pricing appears when you select that date in Storefront Preview. See Personalized Promotions, Shipping, and Payment Methods.
- In Page Designer, open a page, and then select a component. The properties panel appears.
- In the properties panel, click Settings.
- To apply a campaign, click Add to Campaign and select a preconfigured campaign.
- To apply a promotion, click Add to Promotion and select a preconfigured promotion.
- To apply custom targeting, click Custom Targeting and fill out the fields. This option requires that you set up a customer group. See the Prerequisites section.

Locale fallback for Page Designer content follows the storefront’s locale fallback chain. Typically: requested locale → parent locale → site default). The manifest carries content for every site locale, and the storefront picks the right one by using its own locale configuration. Verify that your storefront’s locale settings produce the desired fallback path.