Test and Validate Basic Push Implementation
After you finish implementation, contact registration, and push notification provisioning, test and validate your setup by sending your first push notification through Marketing Cloud Engagement.
To confirm your device is registered and opted into Engagement, follow these steps.
- Review the information for testing and validating registrations.
- Copy the device ID for later use.
Use the Engagement UI to send a test push notification. Alternatively, use our create and send APIs to send a push notification.
To send a test push notification using the Engagement UI, follow these steps.
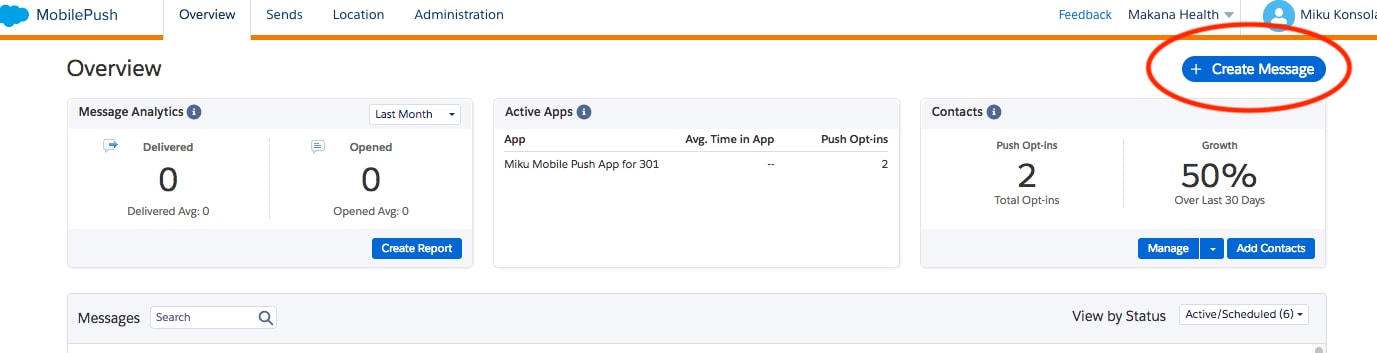
- Navigate to Mobile Studio > MobilePush.
- Click Create Message.
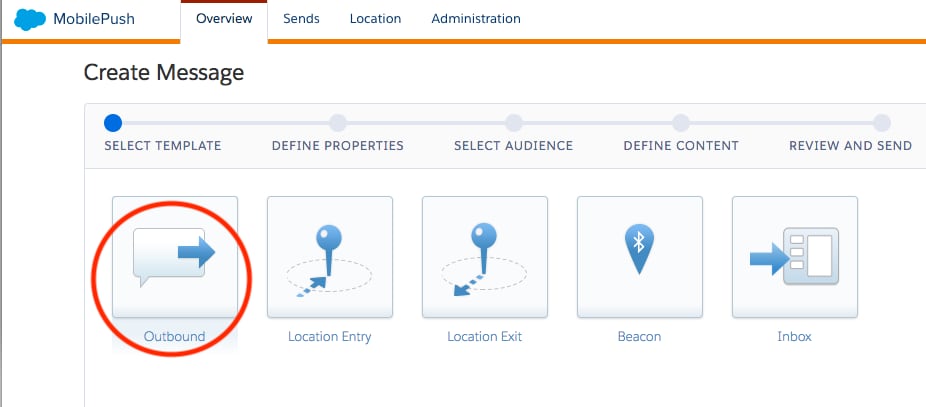
- Create a message using the Outbound template.
- On the Define Properties form, provide this information.
- Message Name: Enter a message name.
- App: Select the app you created during setup.
- Send Method: Select Schedule.
- Push Method: Select Alert.
- Click Next.
- Choose Contact List from the dropdown menu for Audience Type.
- Click Create List.
- Click MobilePush Data and then select MobilePush Demographics.
- Drag the Device ID attribute onto the canvas.
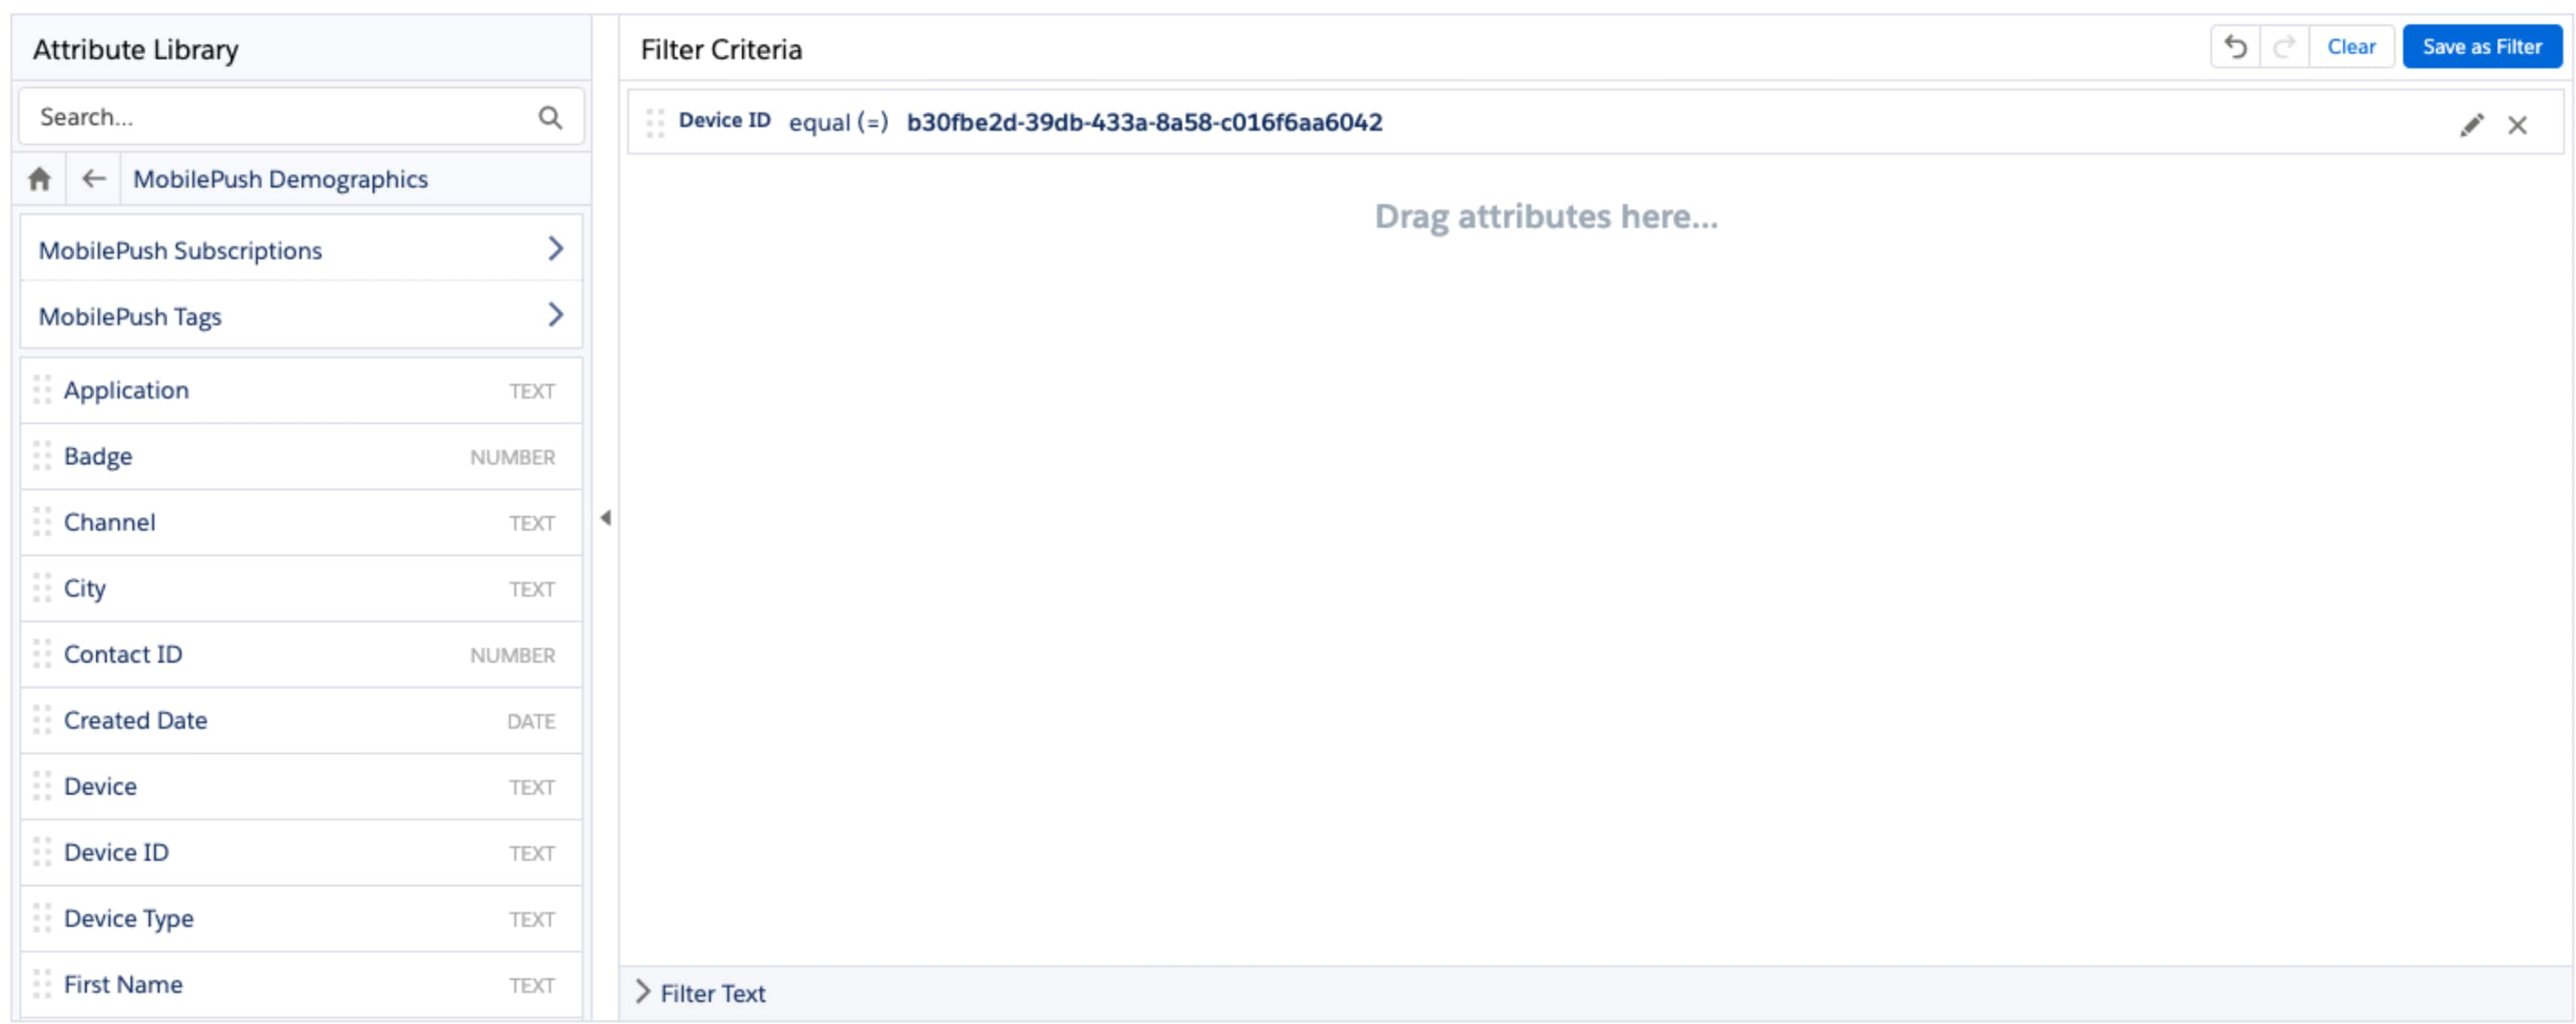
- Paste the device ID that you copied from the registration validation step.
- Click Done.
- Click Save as Filter and name the contact list.
- Select the newly created list, and then select the Auto-refresh before send checkbox in the bottom-right corner.
- Click Next.
- Create your test push notification by specifying the Title, Message, and so on.
- Click Next.
- Schedule your test push notification’s Delivery as Immediately.
- Click Send.
- Navigate to the Sends tab of MobilePush to review the progress of your test push notification.
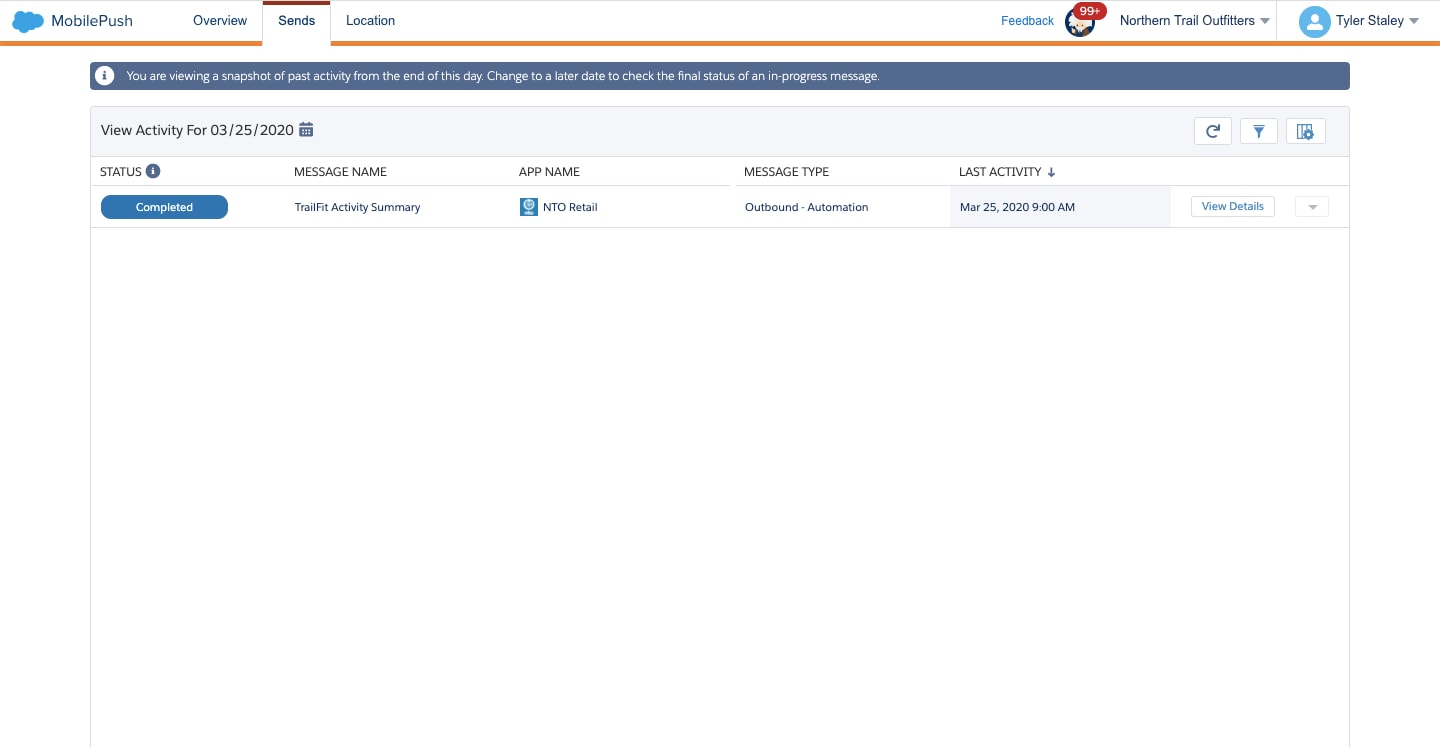
Engagement compiles, renders, builds, and sends the message to your Push Notification Service (Google FCM or Apple APNs), which in turn delivers the message to the device.
If the status shows Completed but you didn’t receive a push notification, there’s likely an issue with the implementation. For troubleshooting guidance, see Troubleshoot Your Push Implementation.
After you've successfully sent a push notification to your test device, test that your implementation is correctly configured to send back analytics.
- Open and interact with the test push notification on your device.
- Send the app to the background.
- On the Engagement Dashboard, navigate to Mobile Studio > MobilePush. Allow a few minutes for the data to populate.
- Select or search the name of the message that you sent.
- Review analytics and message details.
If you don’t see analytics data even after 5 minutes, there’s likely an issue with your push implementation. For guidance on identifying and troubleshooting issues with your push implementation, see Troubleshoot Push Implementation.