Force.com Platform Fundamentals
 j
j
No Results
Search Tips:
- Please consider misspellings
- Try different search keywords
Newer Version Available
Becoming Familiar with the Setup Area
Since we’re going to spend most of our time working in the Setup area of the platform, let’s first become familiar with what it is and how to navigate to it.
The Setup area is a place to build and customize applications and to administer and monitor
organizations and users, all in one. We perform almost every task we need to
create our app in the Setup area, so most of the “Try It Out” sections of the book
are going to start with an instruction like “From Setup, click .” This is a short way of saying:
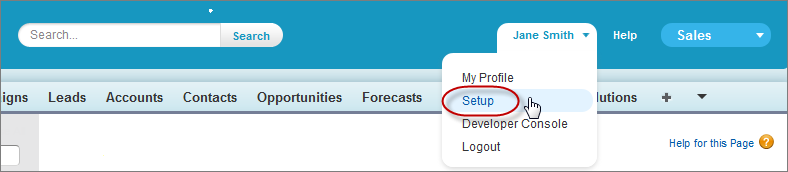
- Depending on your organization settings, you’ll access the Setup area in one of two
ways. Look at the header at the top of the page.
If you see Setup in the header, click it.

If you don’t see Setup in the header, click your name, then select Setup.
- Once you’re in the Setup area, you’ll see a menu on the left side of the page. From that menu, click .
The final link that you click (in this example, Apps) will change depending on the task you’re performing, but you get the general idea.
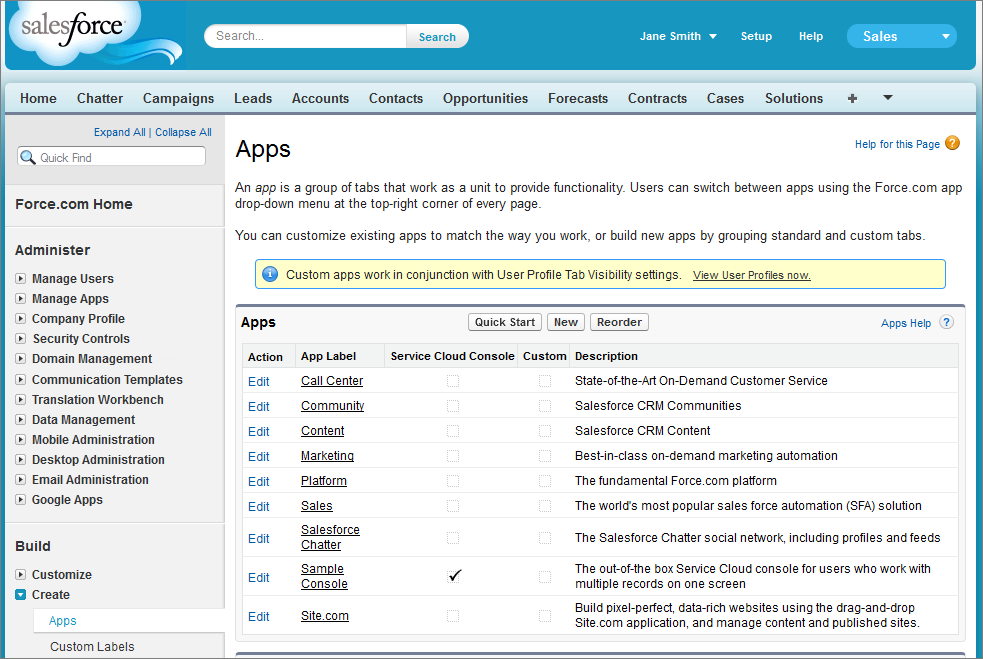
Similar to the other parts of the application, the Setup area consists
of a tab bar, a navigational sidebar, and a main window.
- The tab bar is made up of the same tabs that appear in the regular application. Just click on any one of the tabs to exit the Setup area and go to that tab in the main application.
- The navigational sidebar includes expandable lists of all the tools that are available in the Setup area. The tools include options for setting up, maintaining, and customizing your organization, as well as building, extending, and managing apps.
- The main window is where the navigational links or a selected setup tool are actually displayed.
Now that we know what we’re looking at, let’s start creating our simple app.