Lightning Platform Fundamentals
 j
jNewer Version Available
Try It Out: Create the “Notify Recruiting Manager” Scheduled Action
Before we create our scheduled action, let’s go copy the ID value of the Recruiting Manager
role so that we can assign the task to that role in our process.
- From Setup, enter Roles in the Quick Find box, then select Roles.
- Expand the CEO role and the VP Human Resources role so you can see the Recruiting Manager role in the role hierarchy. Click the Recruiting Manager role.
- In the address bar of your browser, copy the 15-digit ID number at the end of the page address, for example, 00ED0000000xEVv. This is the ID for the recruiting manager. We’ll paste this ID value when we assign our task.
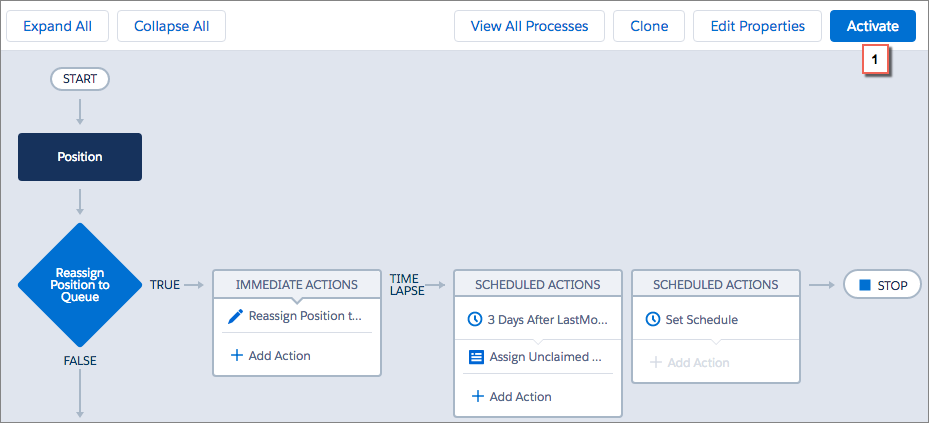
Now let’s return to the Process Builder and open the Assign Position to Recruiter process.
Before we create an action that assigns a task, we must first specify a schedule. The schedule determines when the time-dependent actions should fire.
- Click Set Schedule.
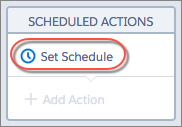
In this case, we want our recruiting manager to be notified three days after a position has been assigned to the Unclaimed Positions queue.
- Use the text box and drop-down lists to specify 3 Days After Last Modified Date.
- Click Save.

Our schedule is now shown on the scheduled actions node on the canvas. The Add Action button is now active, and we can define our action as usual.
| Field | Type | Value |
|---|---|---|
| Action Type | default | Create a Record |
| Action Name | default | Assign Unclaimed Position Record to Recruiter |
| Record Type | default | Task |
| Priority | Picklist | High |
| Status | Picklist | Not Started |
| Assigned To ID | ID | Paste the Recruiting Manager role value you just copied into the Value column. |
| Subject | String | Unclaimed Position |
| Due Date Only | Formula | [Position__c].CreatedDate + 4 |
Great! Now let’s activate the
process by clicking Activate (1).