Force.com IDE Developer Guide
 j
jCreate a Project
If you’re new to using the Force.com IDE, set up a project. If you
plan to debug an existing Force.com IDE project, skip these steps.
- In Eclipse, select .
-
Enter a descriptive project name and your Salesforce sandbox org’s credentials.
Choose Sandbox from the Environment drop-down menu.
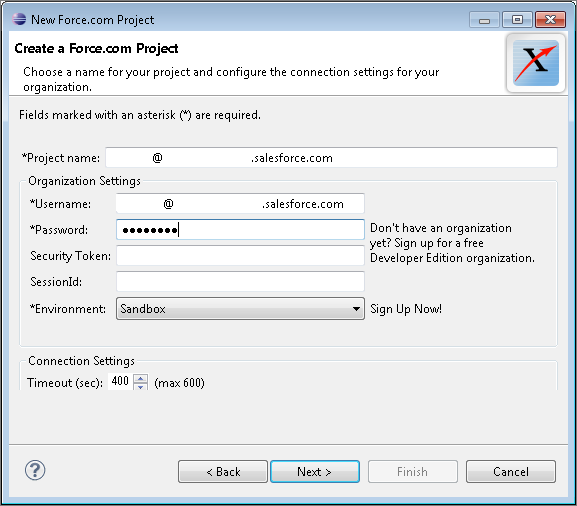
- Click Next, and then complete the New Project wizard.
-
To save changes to the server automatically, right-click
the name of the project that you created, then select . By default, your changes are saved only locally, but
Work Online is the recommended setting for using the Apex Debugger. When Work Online is enabled, the icon next to your
project name looks like this:
 , rather than like this:
  .
.
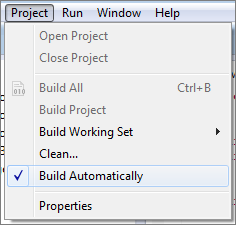
Work Online saves your changes to the server if Build Automatically is enabled. If you’ve enabled Work Online but your changes aren’t saving to the server, make sure that you’ve selected .