Lightning コンポーネント開発者ガイド
 j
jコンポーネントのコンポジション
コンポーネントをどのようにまとめられるか見てみましょう。まず、簡単なコンポーネント docsample:helloHTML と docsample:helloAttributes を作成しましょう。その後で、ラッパーコンポーネントの docsample:nestedComponents を作成し、簡単なコンポーネントを囲みます。
helloHTML.cmp のソースは次のようになります。
1<!--docsample:helloHTML-->
2<aura:component>
3  <div class="white">
4    Hello, HTML!
5  </div>
6
7  <h2>Check out the style in this list.</h2>
8
9  <ul>
10    <li class="red">I'm red.</li>
11    <li class="blue">I'm blue.</li>
12    <li class="green">I'm green.</li>
13  </ul>
14</aura:component>
CSS ソース
1.THIS {
2    background-color: grey;
3}
4
5.THIS.white {
6    background-color: white;
7}
8
9.THIS .red {
10    background-color: red;
11}
12
13.THIS .blue {
14    background-color: blue;
15}
16
17.THIS .green {
18    background-color: green;
19}
出力

helloAttributes.cmp のソースは次のようになります。
1<!--docsample:helloAttributes-->
2<aura:component>
3    <aura:attribute name="whom" type="String" default="world"/>
4    Hello {!v.whom}!
5</aura:component>
nestedComponents.cmp では、他のコンポーネントをマークアップ内に追加するコンポジションを使用します。
1<!--docsample:nestedComponents-->
2<aura:component>
3    Observe!  Components within components!
4
5    <docsample:helloHTML/>
6
7    <docsample:helloAttributes whom="component composition"/>
8</aura:component>
出力
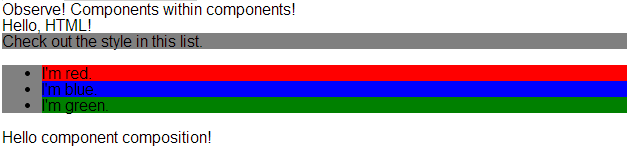
既存のコンポーネントを追加するのは、HTML タグの挿入に似ています。コンポーネントをその namespace:component 形式の「記述子」で参照します。nestedComponents.cmp は、docsample 名前空間内に存在する helloHTML.cmp コンポーネントを参照します。したがって、その記述子は docsample:helloHTML です。
nestedComponents.cmp が docsample:helloAttributes をどのように参照しているかについても注目してください。HTML タグに属性を追加するのと同様に、コンポーネント内の属性値をコンポーネントタグの一部として設定できます。nestedComponents.cmp では、helloAttributes.cmp の whom 属性を「component composition」に設定しています。
属性の渡し方
属性をネストされたコンポーネントに渡すこともできます。nestedComponents2.cmp は nestedComponents.cmp と似ていますが、passthrough 属性が含まれている点が異なります。この値は docsample:helloAttributes の属性値として渡されます。
1<!--docsample:nestedComponents2-->
2<aura:component>
3    <aura:attribute name="passthrough" type="String" default="passed attribute"/>
4    Observe!  Components within components!
5
6    <docsample:helloHTML/>
7
8    <docsample:helloAttributes whom="{!v.passthrough}"/>
9</aura:component>
出力
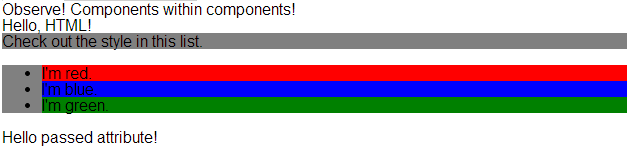
helloAttributes が渡された属性値を使用しています。
定義とインスタンス
オブジェクト指向プログラミングでは、クラスとそのクラスのインスタンスには違いがあります。コンポーネントにも同じような概念があります。.cmp リソースを作成することで、そのコンポーネントの定義 (クラス) を指定します。.cmp にコンポーネントタグを追加することで、そのコンポーネント (のインスタンス) への参照を作成します。
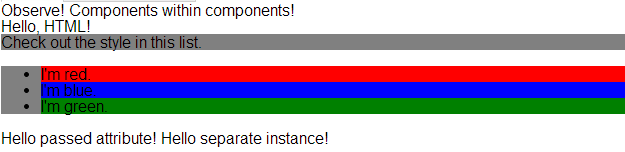
もちろん、異なる属性を持つ同じコンポーネントのインスタンスを複数追加することもできます。nestedComponents3.cmp では、異なる属性値を持つ別のインスタンスの docsample:helloAttributes を追加します。docsample:helloAttributes コンポーネントの 2 つのインスタンスでは、それぞれの whom 属性の値が異なっています。
1<!--docsample:nestedComponents3-->
2<aura:component>
3    <aura:attribute name="passthrough" type="String" default="passed attribute"/>
4    Observe!  Components within components!
5
6    <docsample:helloHTML/>
7
8    <docsample:helloAttributes whom="{!v.passthrough}"/>
9
10    <docsample:helloAttributes whom="separate instance"/>
11</aura:component>
出力