


 j
jAnnouncements
Agentforce Commerce Vibes
Install the Extension
Get Started with Agentforce Commerce Vibes
Chat with the Agent
Telemetry
Settings
Troubleshooting
B2C Commerce Release Notes
Ask the Community
Build and administer a Storefront Next project with Agentforce Commerce Vibes. The B2C workflows require that you install the extension and connect to a Salesforce org.
Install the Commerce Vibes extension and log in to your Salesforce org as described in Install and Launch the Commerce Vibes Extension.
If you haven’t done so, lauch the extension by clicking the  in the Activity Bar.
A Welcome page appears.
in the Activity Bar.
A Welcome page appears.
When you open a folder that doesn’t contain a storefront project, the Welcome page is displayed. When you open a chat panel in Commerce Vibes, the chat displays project-aware example prompts: prompts to get started or prompts that apply to your storefront type after creating a storefront project.
Tip
To create a sample project for Storefront Next, click the Storefront Next tile in the Welcome page.
Answer the questions that the agent asks you to provide inputs for the new storefront. The questions include how you want the storefront created, the vertical template, the storefront name, and so on. The output of the executed commands is displayed in the Terminal tab. Provide inputs to any question in the Terminal.
As the agent executes tasks, it asks you to approve some tasks. You can configure when the agent asks for approval to run actions in Settings. See Agentforce Commerce Vibes Settings.
Tip
Provide the configuration information of your sandbox instance or accept the defaults to use the B2C demo sandbox instance. Salesforce provides the B2C sandbox demo instance to use for samples but you don’t have administration privileges to manage this instance. After the storefront is created, VS Code opens the project folder.
Go to Commerce Vibes by clicking the in the Activity Bar.
Optionally, write more prompts to customize the storefront.
To understand the contents of the project that was created, write this prompt: Explain Storefront Next project structure.
To build and run the storefront locally, type this prompt: View my storefront.
Commerce Vibes runs agent skills from the Agentic B2C Developer Toolkit that perform administration tasks in your B2C Commerce instance. Here’s an example prompt for running a job on a sandbox instance.
Run the search indexing job on my sandbox specified in the dw.json file.
This action runs an agent skill that invokes the B2C CLI. Make sure you configured a dw.json file with the B2C Commerce credentials so that the skill can run. See Optional: Configure B2C Commerce Credentials.
Note
The toolkit includes a B2C agent skill that searches all B2C admin and developer documentation. Start your prompt with ‘Search the docs’. The agent searches the B2C documentation and returns answers in the chat. Here are some example search prompts.
Search the docs about data fetching in Storefront Next.Search the docs about the headless architecture in Page Designer.Familiarize yourself with the MCP server tools and agent skills from the Agentic B2C Developer Toolkit available in Commerce Vibes.
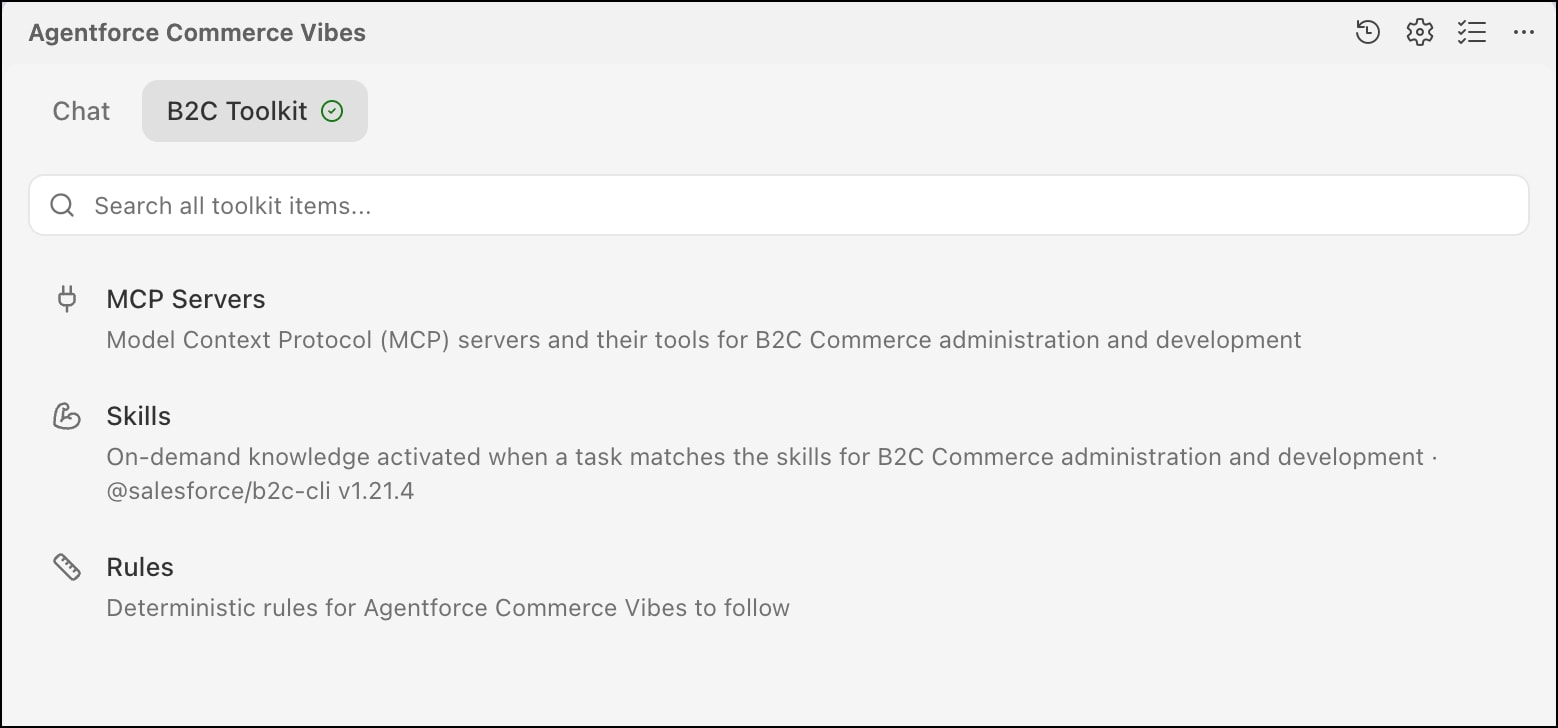
To complement the built-in toolkit and provide more development assistance, add other MCP servers, skills, and rules. For example, reference an MCP server that assists with React development, or add a rule for team development instructions to follow. Rules are saved in .afv/ folder in your project.
Note
j