Configure Checkout for Storefront Next
Streamline the checkout experience for shoppers in Storefront Next for B2C Commerce. When a first-time shopper checks out, they can save their checkout information for future use. If the shopper selects Save for Future Use, a one-time password (OTP) window appears where they can enter the code sent to their email address. After the shopper verifies their email address, the system creates an account for them with your store and saves their shipping and payment information for future use.

If a registered shopper returns to make another purchase, the shopper only has to enter their email address and a verification code to check out. B2C Commerce automatically fills in the shopper’s default or first saved shipping address and payment information.
Shoppers always have the option to check out as a guest. Additionally, shoppers can log into their account to view their saved shipping and payment information.
Prerequisites:
-
Set up Storefront Next.
To create a storefront with a GitHub repository, see Create a Storefront in Business Manager with a GitHub Repository. To create a storefront with local code, see Create a Storefront in Business Manager with Local Code.
-
Create a SLAS private client.
-
Set up Passwordless Login for Storefront Next.
-
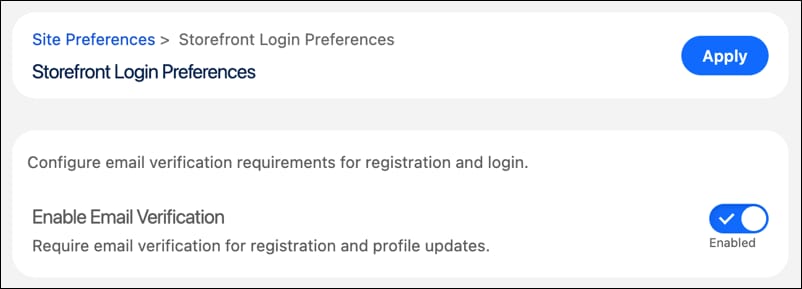
To allow OTP-based logins, enable email verification.
a. In Business Manager, click App Launcher, and then select Merchant Tools | Site | Site Preferences | Storefront Login Preferences.
b. Turn on Enable Email Verification.
c. Click Apply.
-
To protect passwordless login and account registration from bots, in
.env, configure Turnstile bot protection.a. Enable Turnstile and map your Cloudflare site key to your domain.
b. To validate the challenge token against Cloudflare’s Siteverify API before processing the request, enable server-side verification.
See eCDN Turnstile.