
Appearance
Exercise 4: Configure Health Check
In this exercise, you'll go back to Health Check to fix additional risks, import your own custom baseline, and configure it to notify you when your Security Score changes.
Scenario
You've manually resolved a few identity, session, and user-based security settings, but there's still a lot more to do. Health Check is more than a one-time check — it's your ongoing risk mitigation dashboard.
Step 1: Return to Health Check
From the Home Page, open Setup.
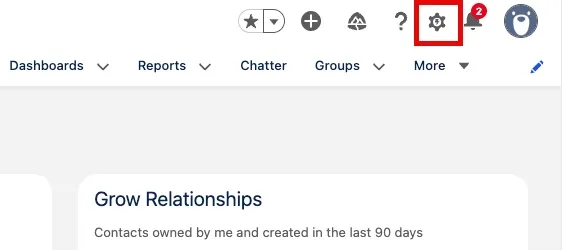
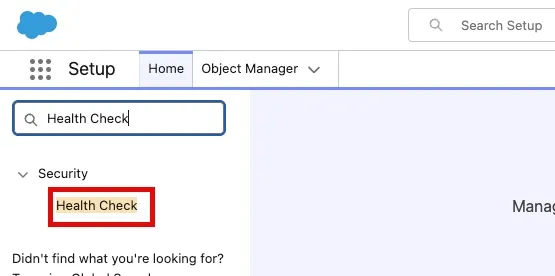
Type
Health Checkinto the Quick Find.Select Health Check.
Step 2: Update Password Policies
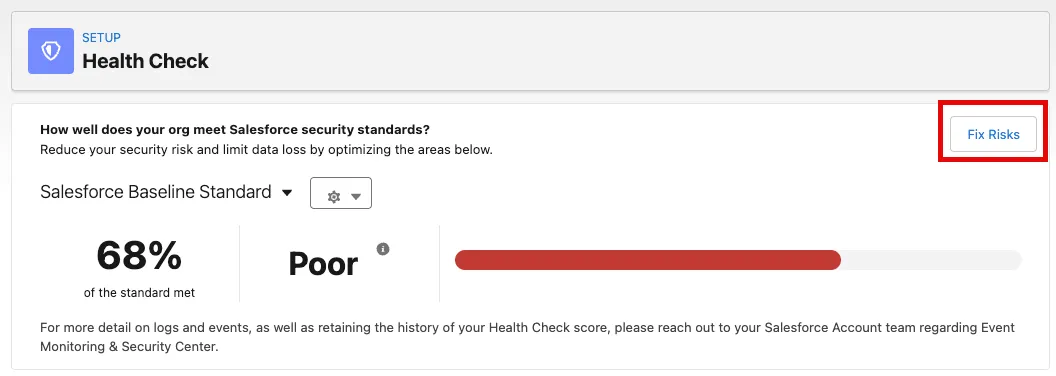
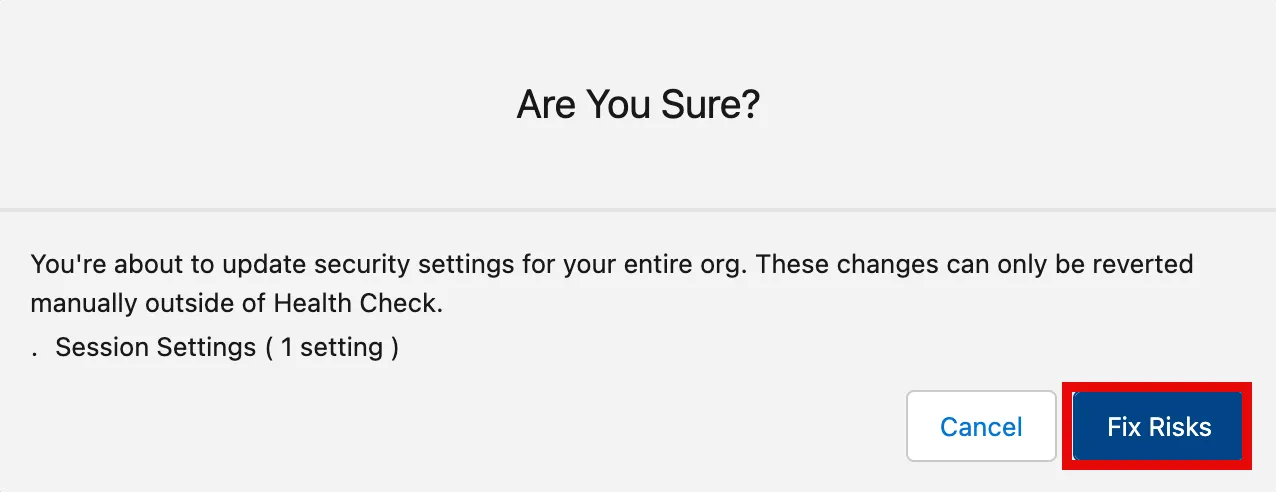
Click Fix Risks.
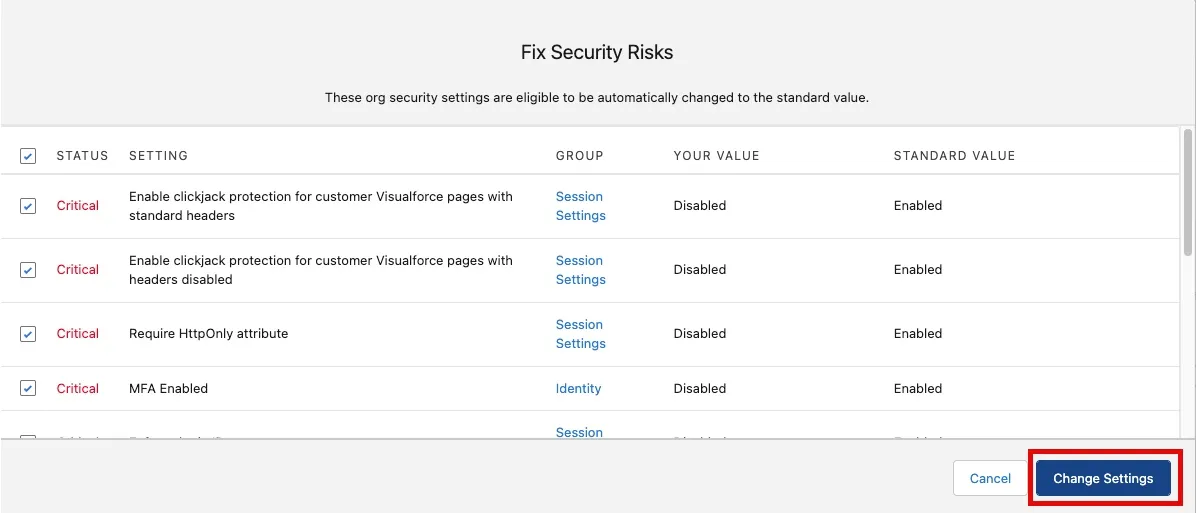
Select the checkbox next to each of the following Password Policies:
Setting Status Require a minimum 1 day password lifetime Critical Obscure secret answer for password resets Critical Maximum invalid login attempts Warning Password complexity requirement Warning Lockout effective period Warning Click Change Settings.
Click Fix Risks.
Your Security Score and Status will now reflect the improvements — you've increased your security posture by addressing these risks.
Step 3: Set Up Email Notifications for Score Changes
Scroll down to Email Notification and click the Disabled toggle to set it to Enabled.

Click + Notify All System Admins.

You can also add additional recipients to notify when your Security Score changes. Good people to include are members of your IT and Security Teams.
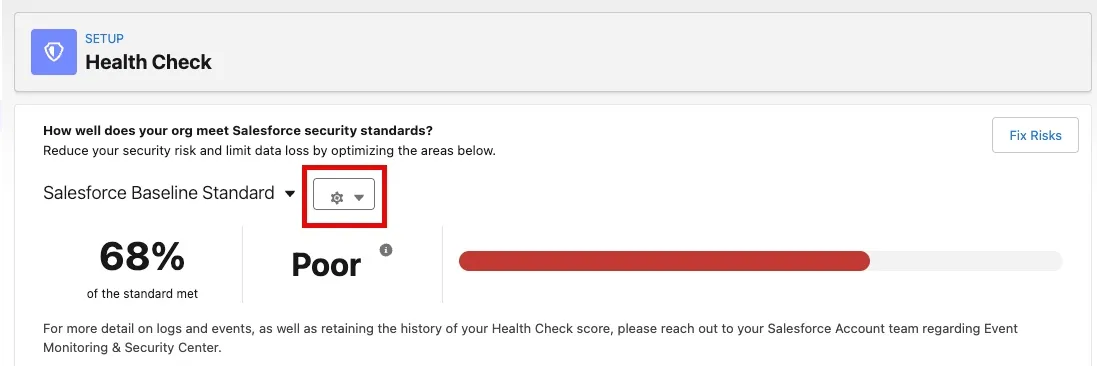
Step 4: Update the Baseline Standard
The settings in Health Check align to the Salesforce Baseline Standard, but your organization may have a stricter internal security policy. Let's export the Standard Baseline, adjust a Password Policy, and then import a new custom baseline so your score reflects your company's goals.
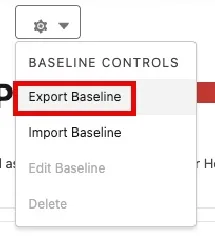
Click the Settings dropdown next to Salesforce Baseline Standard to access Baseline Controls.
Click Export Baseline.
On a Mac, open the xml file with TextEdit. Click Format → Make Plain Text to edit it. On Windows, use Notepad. You can also paste the content into a new browser tab or use the Appendix XML in this workshop.
Make the following change in the
<mediumRiskSecuritySettings>section:
Baseline Standard New Standard compliant="8.0"compliant="11.0"Your XML should now look like this:
xml<numericRangeSetting name="PasswordPolicies.minPasswordLength" compliant="11.0" warning="6.0"/>Save your XML file as
Custom Baseline.xml.Return to Health Check Baseline Controls.
Click Import Baseline.

Fill in the following details:
Field Value Name Custom Baseline API Name Custom_Baseline Set as Default Baseline true Click Choose File and select your
Custom Baseline.xml.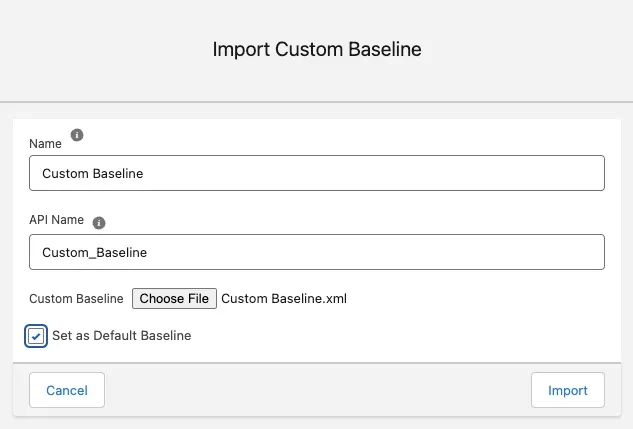
Click Import.
We purposely fixed security settings by group so that we could understand some of the important changes Health Check was going to make. Using the Fix Risks tool, you can update multiple (or all) security settings all at once. Health Check is designed to help protect your users and external vectors from having too much or inappropriate access to your system. It does not, however, dig into your data for potential vulnerabilities — so let's look at that next.
Summary
Health Check is more than just a list of security settings. By setting up notifications when your Security Score changes and importing a custom baseline, it becomes your risk mitigation dashboard and helps you shift from a reactive to a proactive security strategy. You configured Password Policies, exported and customized the Salesforce Baseline Standard, and set up notifications for score changes.