ISVforce Guide
 j
jNewer Version Available
Create or Edit Your AppExchange Listing
Create an AppExchange Listing
Get started on your listing by launching the Listing Bootstrapper and selecting a listing type. To launch the Bootstrapper, go to the Listings tab in the Partner Console, then click New Listing.
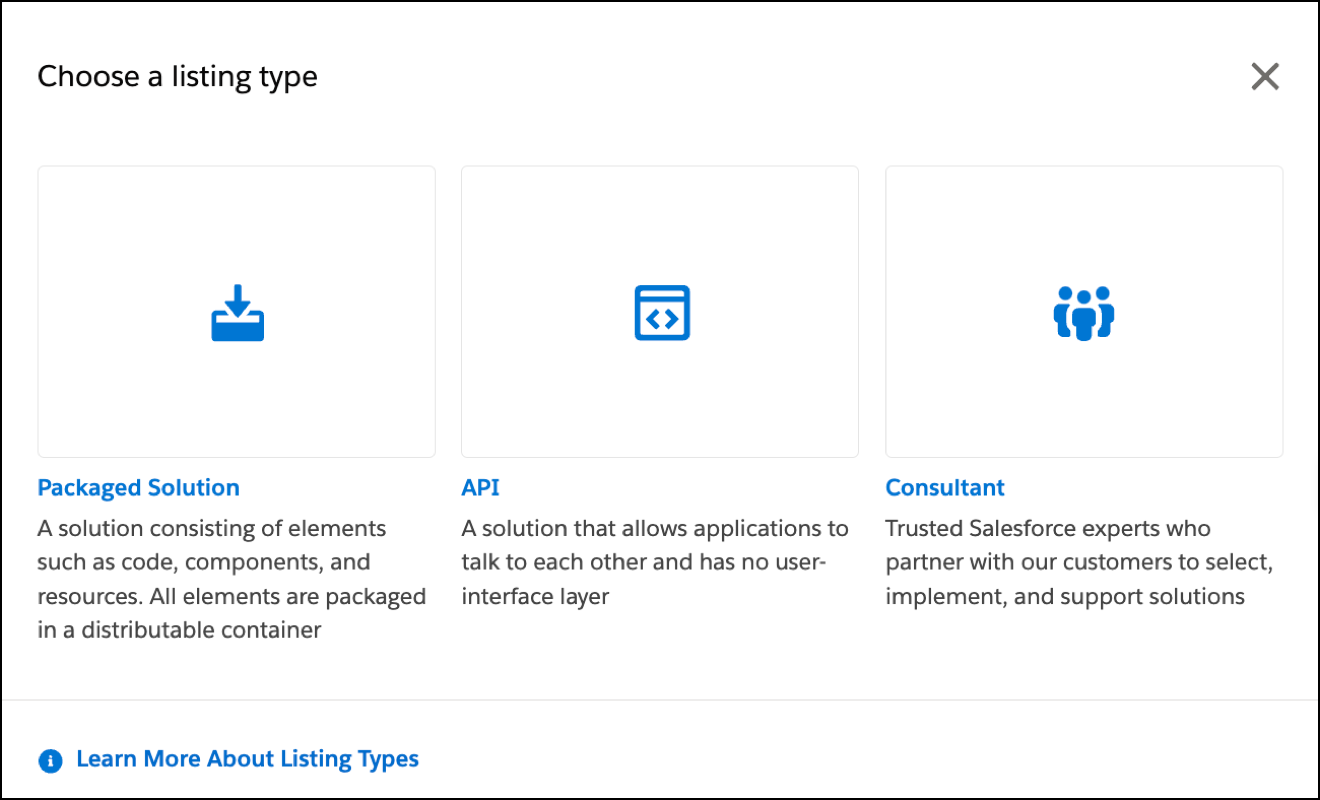
You can add three different listing types to AppExchange: Packaged Solutions, APIs, and Consultant listings.
| Listing Type | Description |
|---|---|
| Packaged Solution | A solution that consists of elements such as code, components,
and resources that are packaged in a distributable container. You can create a listing for these package types.
|
| API | An application programming interface (API) that allows
applications to talk to each other and has no user-interface
layer. You can create a listing for these API types.
|
| Consultant | Consultants are trusted Salesforce experts who partner with our customers to select, implement, and support solutions. By providing a consultant listing, you can target potential clients who can benefit from your consulting services. |
After selecting your listing type, you’re prompted to choose a language. If you plan to publish your listing on AppExchange, select English. If you plan to publish on AppExchange Japan, select Japanese. After making your language selection, the Listing Bootstrapper closes and the Listing Builder for AppExchange launches. The Builder is the tool partners use to create and edit their AppExchange listings.
Edit Your AppExchange Listing
To edit your listing, go to the Listings tab in the Partner Console. Find and click the listing that you want to edit. The Listing Builder launches.
AppExchange Listing Builder Sections
The Listing Builder is the tool partners use to create and edit their AppExchange listings. Here are the sections that you navigate through when creating or editing your listing.
| Section | What you do: | Available on these listing types: |
|---|---|---|
| Fill In the Basics | Enter a title for your solution, and provide a brief description
that quickly tells the customer how they can benefit from using your
solution. Select any required Salesforce products that customers need and any additional products that can enhance their experience with your solution. |
All listings |
| Set Pricing | Set your pricing model, payment management, and collection strategy. After completing your pricing and payment strategies, click Get Approved to submit the listing for approval. | All listings |
| Add Details | Provide additional details to describe your solution and to help
users find your solution through AppExchange’s search and filtering
features. You can also enter the terms and conditions that apply to
your solution. If you have a logo to represent your solution or your company, you can add it in the Include Visuals section. |
All listings |
| Link Your Solution | Select a solution that you want to link to this listing. If the
solution is subject to security review, you can link it to the
listing. However, you can't publish the listing on AppExchange until
the solution passes review. Select the methods that customers can use to install your solution. |
All solution listings |
| Grow Your Business | Configure your AppExchange listings to collect leads and deliver them to your Salesforce org. Specific customer interactions, such as watching your listing’s demo video or downloading a trial, can trigger lead collection. For more information, see AppExchange Leads. |
All listings |
| Listing Status and Listing Summary | View the status for each step in the publishing process. If missing information or an error is detected, a warning icon is displayed next to the incomplete task. When each task is completed, you can publish your listing to AppExchange. You can also remove published listings from AppExchange. |
All listings |