


Mobile SDK Development Guide
 j
jConfigure Your Project’s Build Settings
Customize Your Project’s Build Configuration
- In Project Navigator, select the top-level project.
- In the Project Editor, select Build Phases.
- Under Dependencies, click Add Items (+).
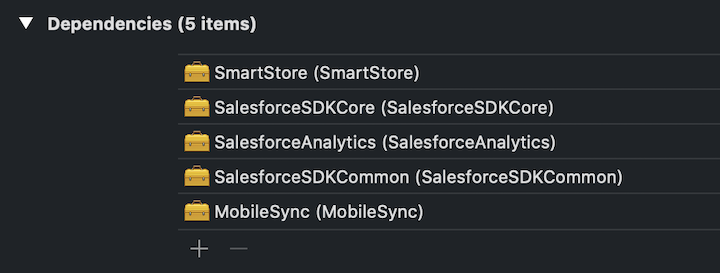
- Use Command+Click to multi-select the gold briefcase icons for all five Mobile SDK libraries,
then click Add.When you’ve finished, you see the following:
- In the Project Editor, select General.
- Scroll to Frameworks, Binaries, and Embedded Content.
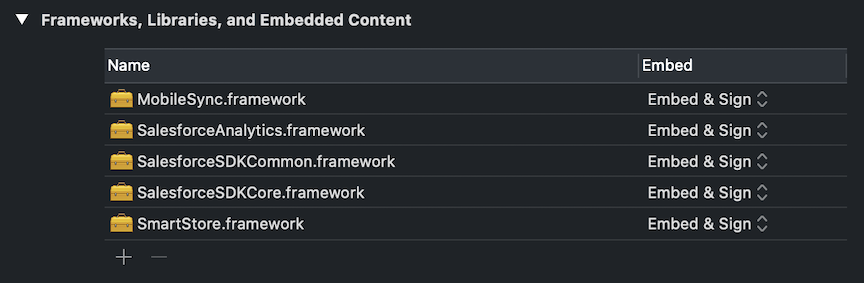
- Click Add items (+) and add the following frameworks:
- SalesforceSDKCommon.framework
- SalesforceAnalytics.framework
- SalesforceSDKCore.framework
- SmartStore.framework
- MobileSync.framework
- Run a test build.
- In Xcode, click Stop.
At this point, Mobile SDK is available in your app, but your app can’t yet use it. Using
Mobile SDK requires coding to initialize the SDK and integrate its services into your app’s
sessions. To finish setting up Mobile SDK, you have a choice of two options:
- Option 1: Import Mobile SDK Template Files
- This option is the quicker, easier route. In your project you remove certain Xcode template files and add files from the iOS native Swift template. Voilà! Your app is ready to use Mobile SDK.
- Option 2: Add Mobile SDK Setup Code Manually
- This hands-on coding option gives you a front-row seat to the code changes required for Mobile SDK integration. Along the way, you also might discover some useful customization opportunities. This option doesn’t ask you to import template files into your project. However, you’ll still benefit from copying a few boilerplate functions found in the iOS native Swift template.