Lightning Communities Developer Guide
 j
jNewer Version Available
Override Template Elements with Custom CSS
Use the CSS Editor in Community Builder to add custom
CSS that overrides the default template and Branding panel styles. You can also use it make
minor changes to the appearance of out-of-the-box components, such as padding adjustments.
However, use custom CSS sparingly because future releases of template components might not
support your CSS customizations.
To make minor CSS modifications to a template item, use Chrome DevTools to inspect the page and discover the item’s fully qualified name and CSS class. Then use the information to override the item’s standard CSS with your custom CSS. To learn more about inspecting and editing pages and styles, refer to the Google Chrome's DevTools website.
The easiest way to inspect a component is to view the page in Preview mode. This example
inspects the Headline component to locate the component’s fully qualified name—forceCommunityHeadline.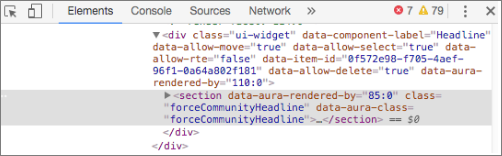
Then find the element that you want to style—for example, headlineTitleText. If the element doesn’t have a class name, you must write a
specific selector targeting the element.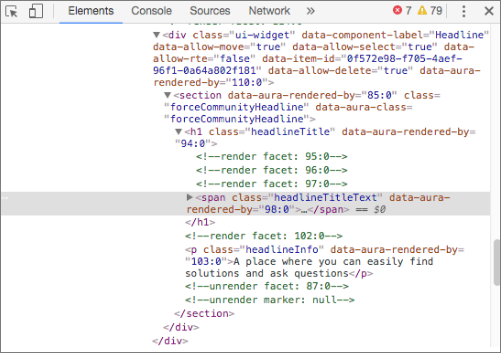
With that information, you can create a custom style to override the default title
color.
1.forceCommunityHeadline .headlineTitleText
2{
3    color: red;
4}
And then add it to the CSS Editor.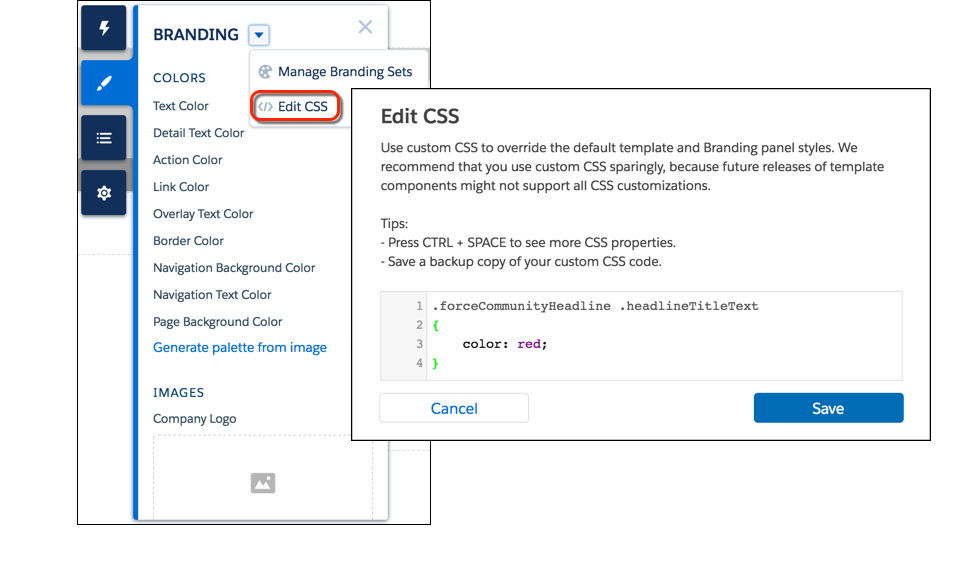
Similarly, you could use custom CSS to hide the component
entirely.
1.forceCommunityHeadline
2{
3    display: none;
4}