Lightning Communities Developer Guide
 j
jNewer Version Available
Use Custom Fonts in Your Community
Upload custom fonts as static resources and use them for primary and header fonts
throughout your community. If you have more than one font file to upload, use a .zip
file.
- In Setup, enter Static Resources in the Quick Find box and click Static Resources.
- Click New, upload the file, and give the resource a name. Keep a note of the static resource name.
-
In the CSS Editor in Community Builder, use the @font-face CSS rule to reference the uploaded font.
To reference a single font file, use the syntax /sfsites/c/resource/resource_name. For example, if you upload a file called myFirstFont.woff and name the resource MyFonts, the URL is /sfsites/c/resource/MyFonts.
To reference a file in a .zip file, include the folder structure but omit the .zip file name. Use the syntax /sfsites/c/resource/resource_name/font_folder/font_file. So if you upload fonts.zip, which contains bold/myFirstFont.woff, and you name the resource MyFonts, the URL is /sfsites/c/resource/MyFonts/bold/myFirstFont.woff.
For example:1/* example font */ 2@font-face { 3 font-family: 'myFirstFont'; 4 src: url('/sfsites/c/resource/MyFonts/bold/myFirstFont.woff') format('woff'); 5}
-
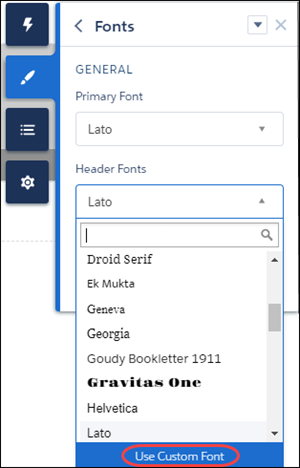
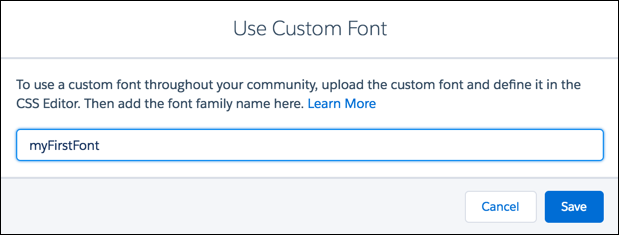
In the Theme panel, select Fonts. At the bottom of the panel, click Use
Custom Font and add the font family name.