
Appearance
Exercise 1: Launch and Explore Agentforce Vibes
In this Exercise, you'll launch Agentforce Vibes and explore it.
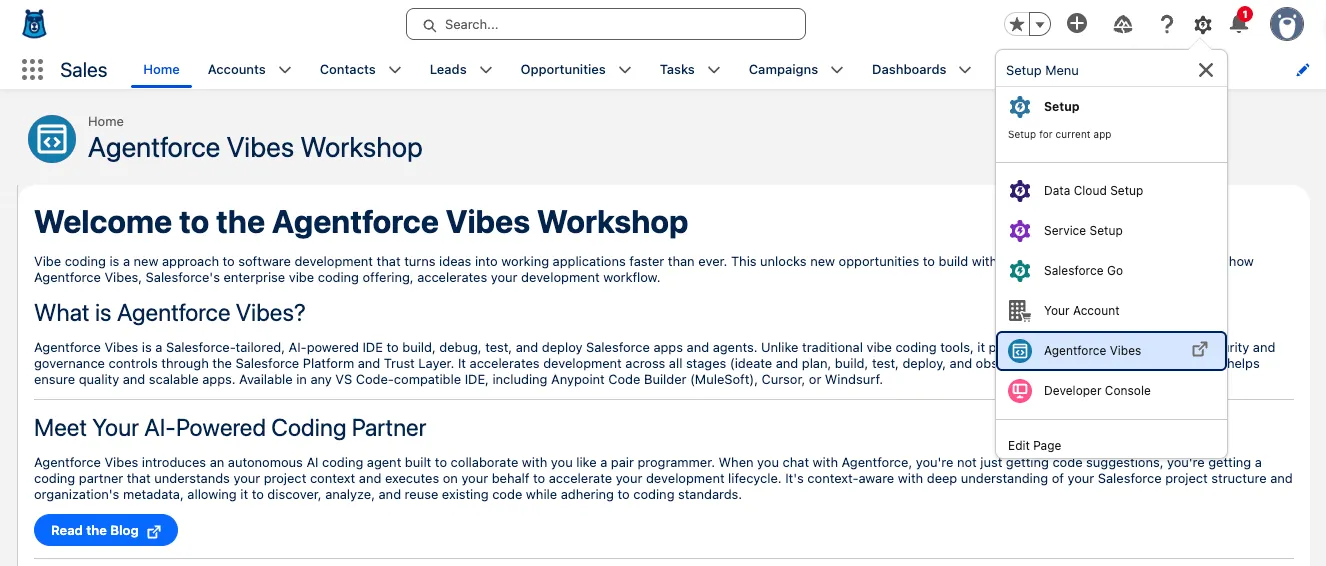
Step 1: Launch Agentforce Vibes
Open the Setup Menu and click Agentforce Vibes.
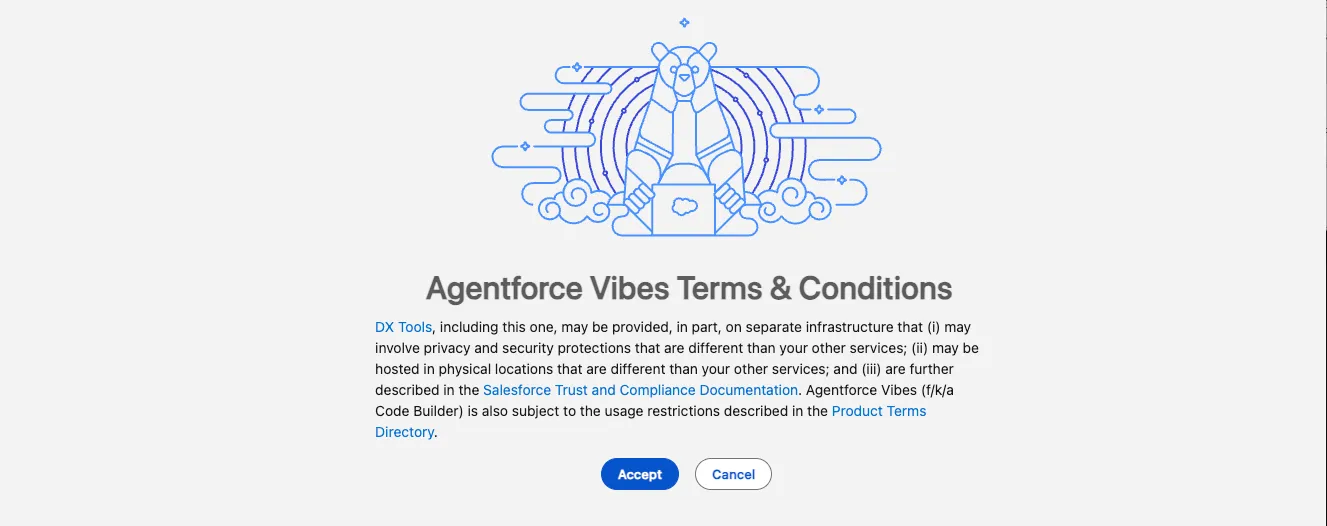
Accept the Terms and Conditions.
TIP
It will take a few minutes for Agentforce Vibes to fully initialize. A Salesforce DX project will be automatically created for you and your org will be authorized by default.
TIP
You may see a large number of notifications in the bottom right of the IDE. This is where any IDE or Extension notifications will be published. You can close any that have appeared on launch.
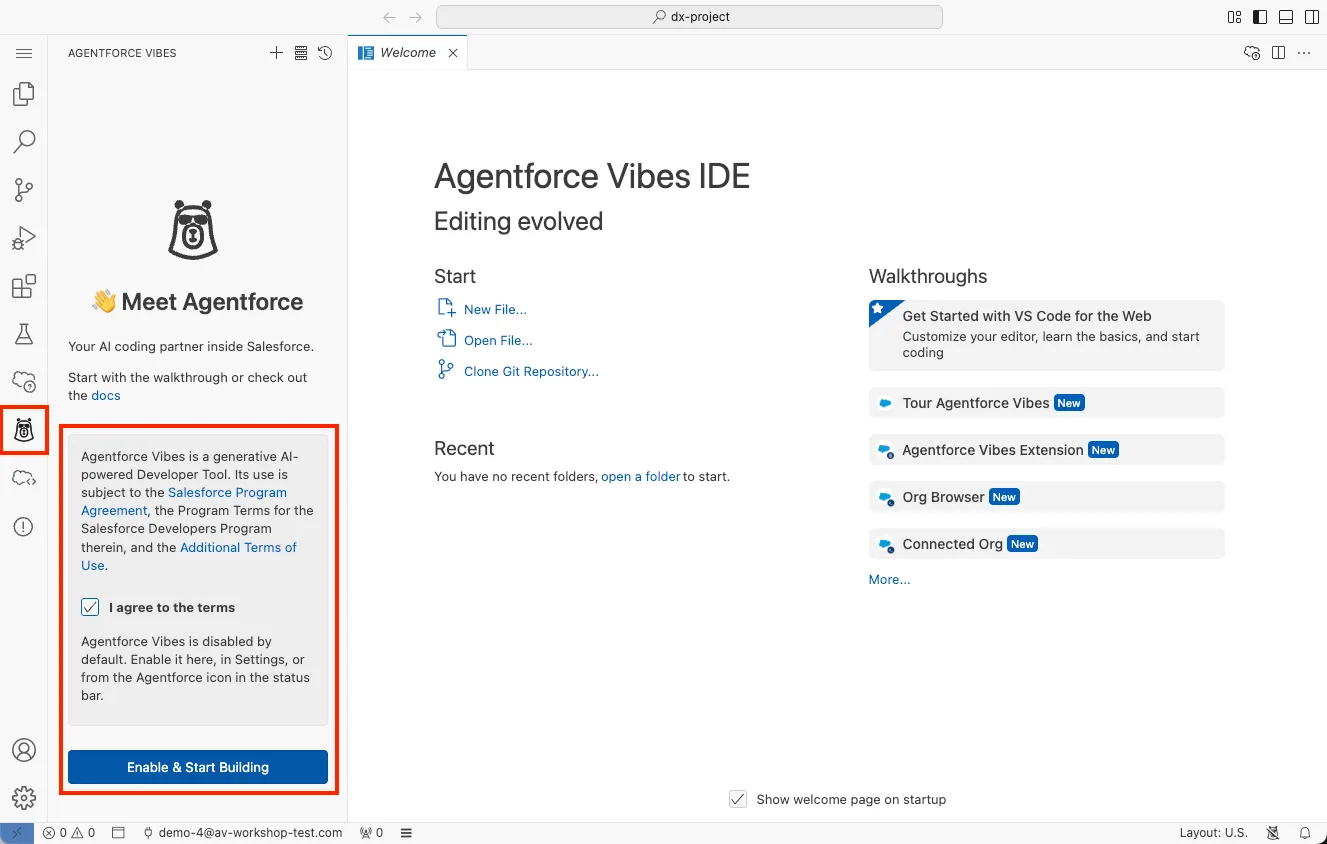
The Agentforce Sidebar should be open by default, if it is not you can select the Agentforce Vibes Icon in the sidebar to open.
Select I agree to the terms and click Enable and Start Building.
Step 2: Get Familiar with the Agentforce Vibes IDE
In this step we familiarize ourselves with the Agentforce Vibes IDE.
Open the Command Palette (press
CMD+SHIFT+Pon Mac orCTRL+SHIFT+Pon PC) to access:- Agentforce Vibes commands
- SFDX commands
- Lightning Preview
- Project tools and utilities
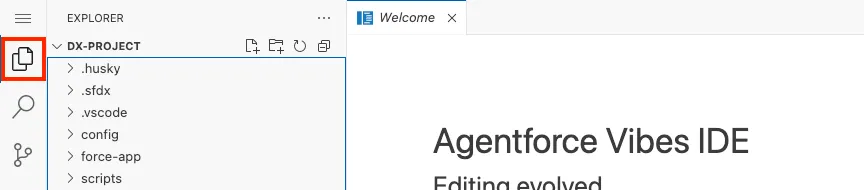
Open the the Explorer Sidebar to view your project files. This is where all generated Apex classes, Lightning Web Components, and metadata will appear.
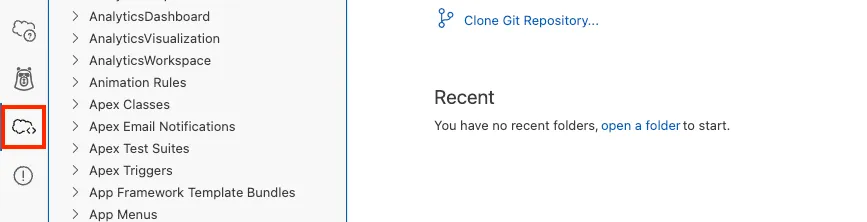
Open the Org Browser Sidebar (click the cloud icon in the Activity Bar or search for
Org Browser: Focus on Metadata Viewin the Command Palette).The Org Browser lets you:
- Browse metadata in your org
- Expand objects, fields, Apex classes, and LWCs
- Download metadata directly into your SFDX project
TIP
Downloaded metadata gives Agentforce Vibes the context it needs for accurate planning and code generation.
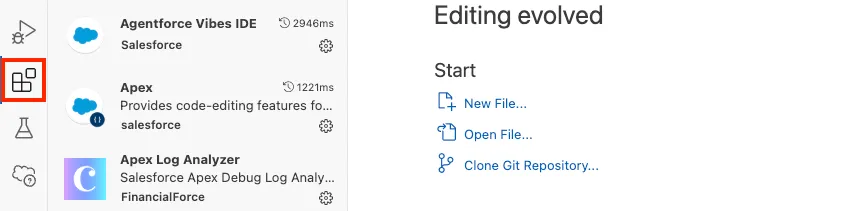
Open the Extensions Sidebar to confirm the Salesforce Extension Pack is installed.
This includes tools for:
- SFDX commands
- Org Browser
- Lightning Preview
- MCP support
Open the Integrated Terminal (press
CTRL+`on both Mac and Windows).You can use the terminal to:
- View output from SFDX commands
- Run optional CLI commands
- Inspect logs or deployment messages
Check the Status Bar at the bottom of the IDE.
The Status Bar shows:
- Your authorized org
- Active project
- Lightning Preview activity
- MCP server status
You can open your org at any time from the status bar:

TIP
If something appears to be “stuck,” the Status Bar is usually where you'll see what the IDE is waiting on.
Step 3: Explore the Agentforce Vibes Sidebar
In this step we take a look at the key features that can be configured as part of Agentforce Vibes.
Open the Agentforce Vibes Sidebar.
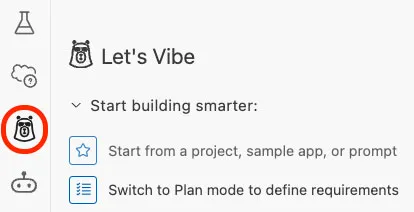
Take note of the Manage MCP Server options, we will visit those in the next exercise.
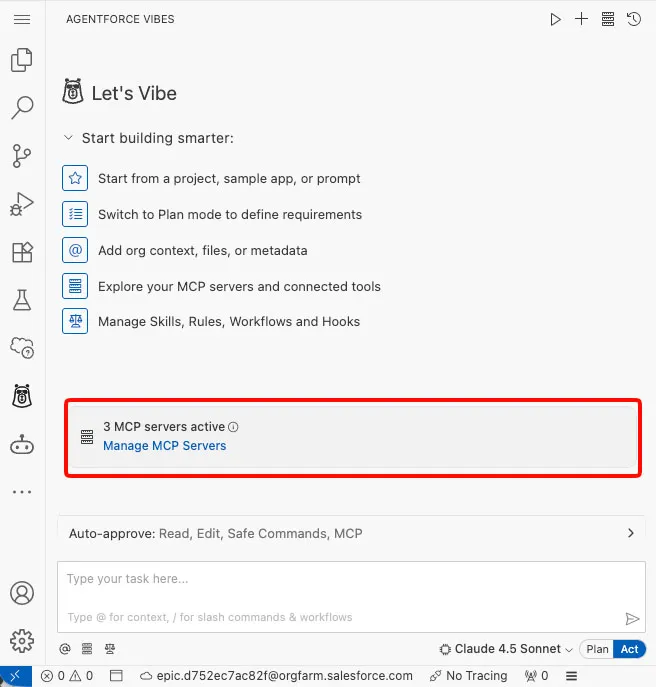
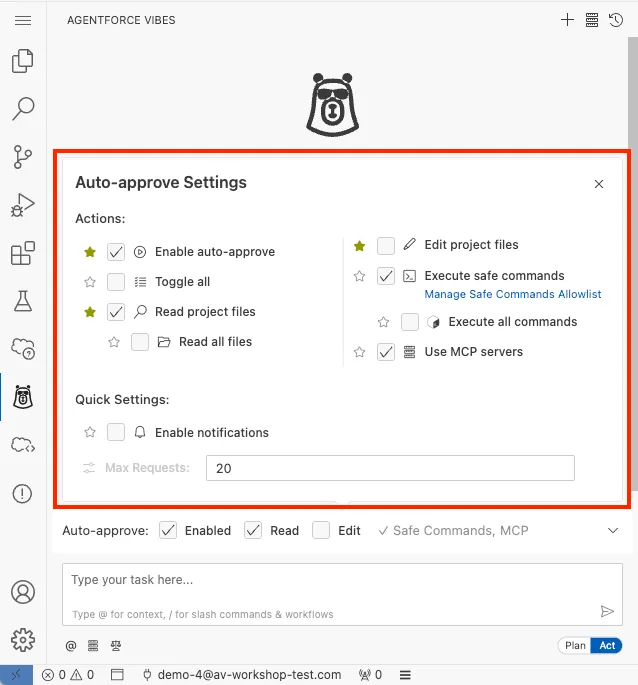
You can modify the Auto-approve settings to adjust the actions an agent can take on your behalf.
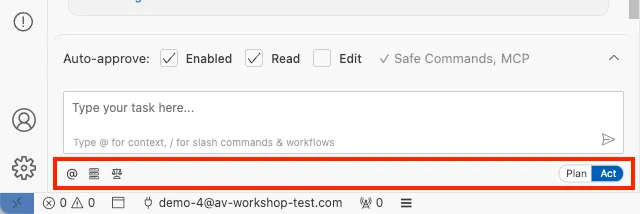
You can adjust the context settings and mode in the toolbar at the bottom of the sidebar.
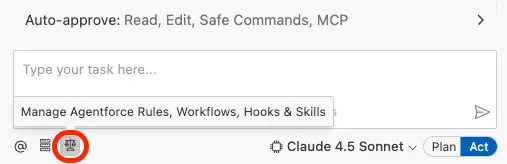
Click on Manage Agentforce Rules, Workflows, Hooks & Skills in the context settings.
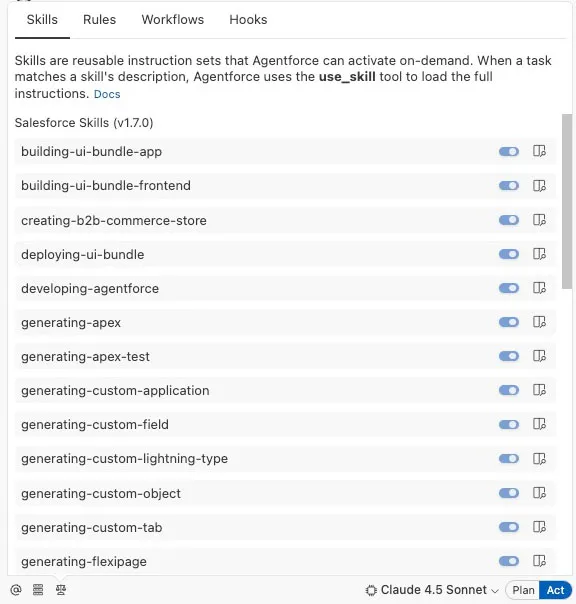
Select the Skills tab and take note of the built-in Salesforce skills available. Skills are modular instruction sets that Agentforce loads on-demand for specific tasks.
Select the Rules tab and take note of the built-in
a4v-expert-global-rule.mdrule. Rules provides persistent guidance that applies to every conversation.
Summary
In this exercise, you launched Agentforce Vibes and became familiar with it. You explored key areas like the Explorer, Extensions, Org Browser, Terminal, and Status Bar. You also explored the Agentforce Vibes sidebar settings and took a look at the available Skills and Rules to understand what's possible.