Service Cloud Voice Implementation Guide
 j
jNewer Version Available
Set Up OAuth in the AWS Lambda Function
Starting with contact center version 19.0, configuration parameters are stored in the AWS Secrets Manager instead of the SSM Parameter Store. The contact center agnostic configuration values are stored in environment variables. The contact center specific configuration values are stored in the respective Secrets Manager for each contact center.
All the Lambda functions read the configuration parameters from the Secrets Manager. For the contact center versions before 19.0, the Lambda functions continue to read the configuration parameters from the SSM Parameter Store
- Log in to the AWS Console > Lambda > Functions. Log in with your root user email which you used to create a contact center during Service Cloud Voice setup. If this is your first login, reset your password.
- Select the {Your Contact Center Name}-InvokeSalesforceRestApiFunction Lambda function.
-
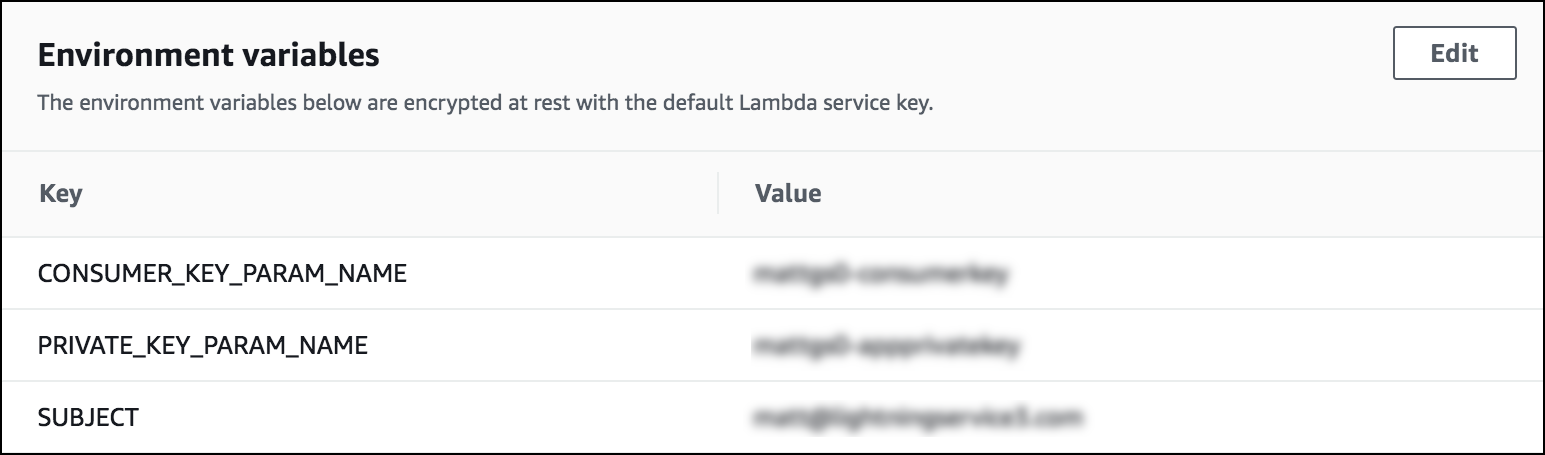
For contact center versions below 19.0, click the Configuration tab and scroll down to
Environment variables. Some of the variables are already
configured for your instance, but you have to set the values for CONSUMER_KEY_PARAM_NAME, PRIVATE_KEY_PARAM_NAME, and SUBJECT
parameters.
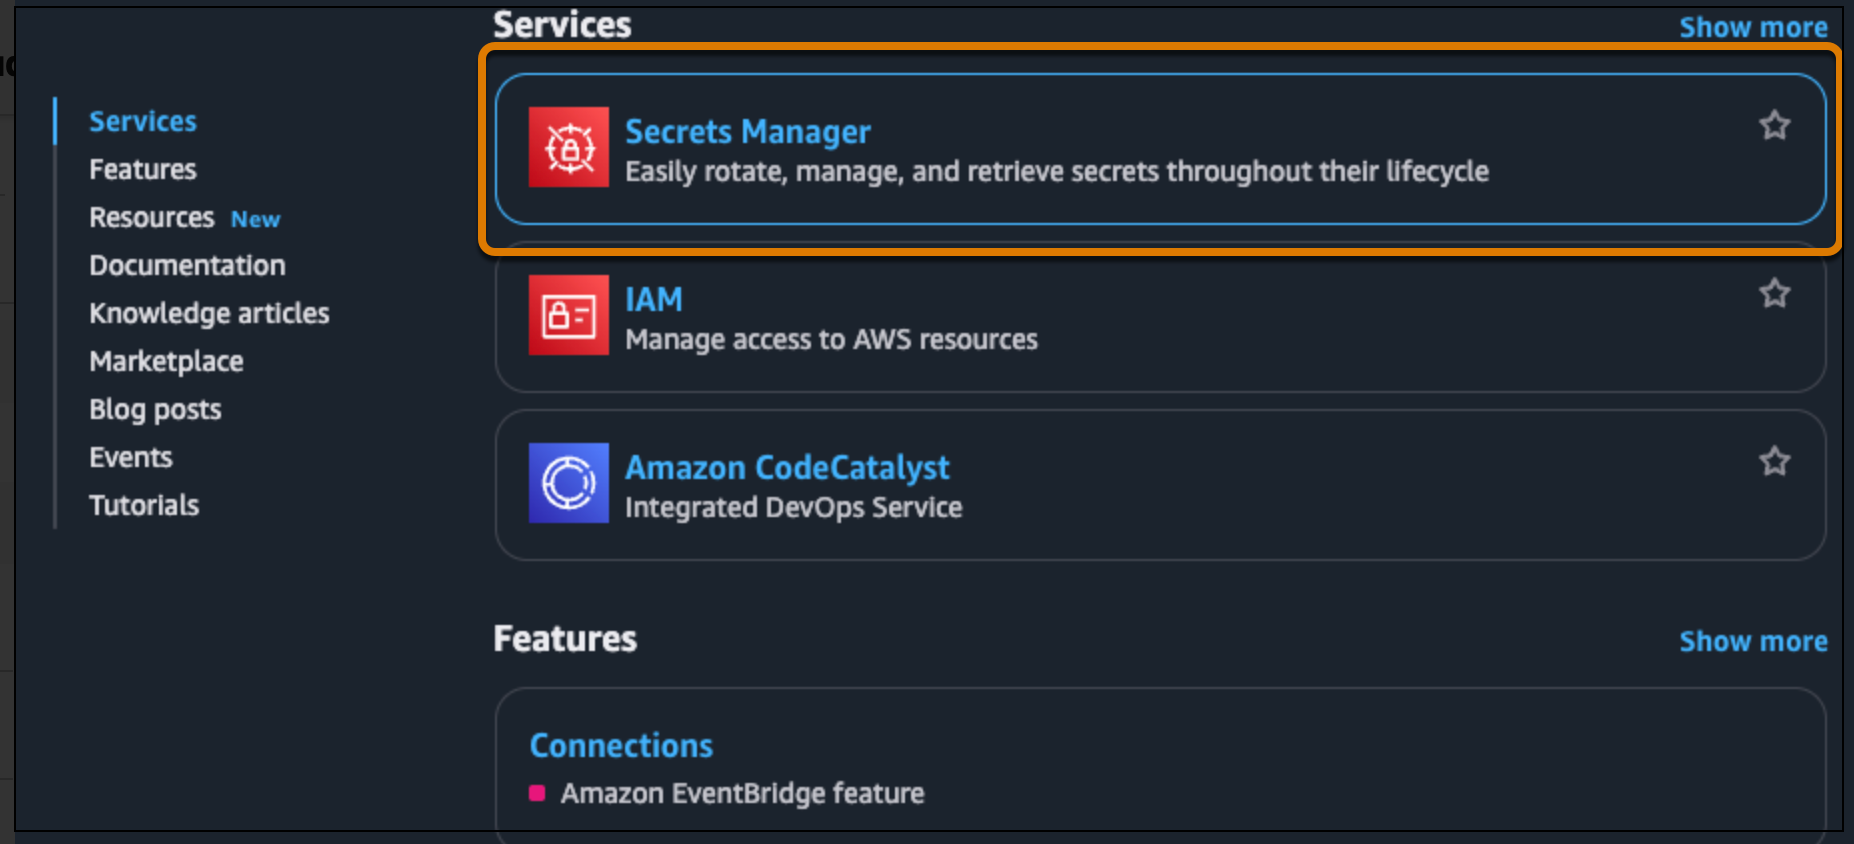
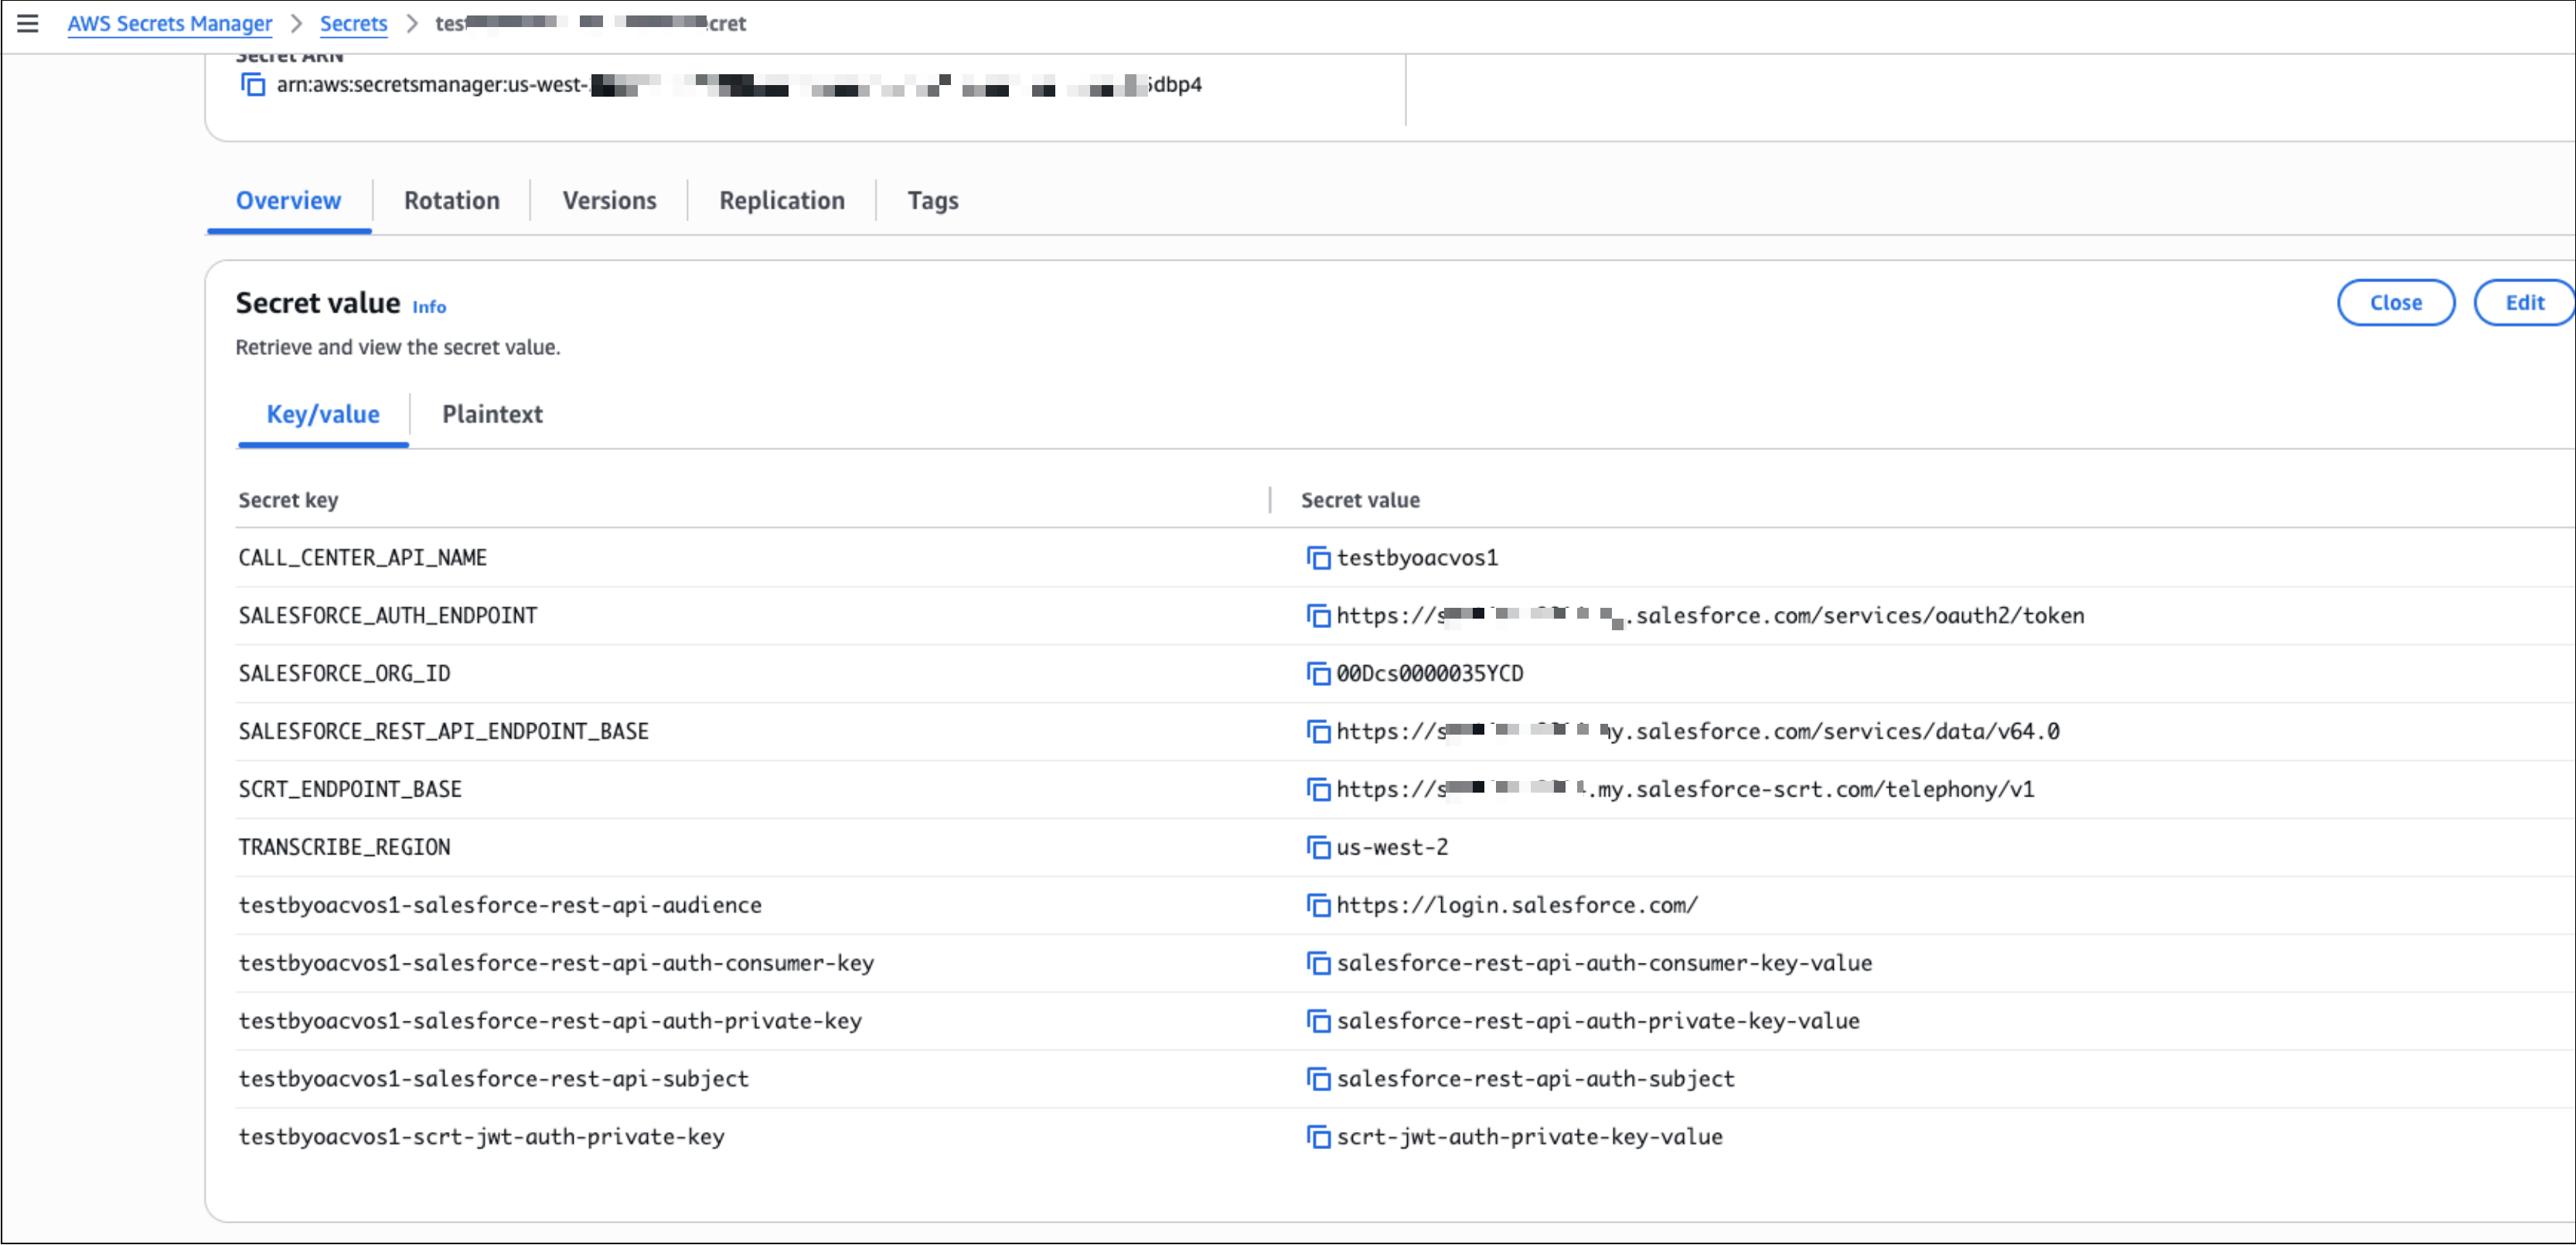
 For contact center versions 19.0 or later, go to Secrets Manager from Services. In the Secrets page, locate your contact center's secret. The secret name is prefixed with callCenterApiName for partner Amazon contact centers or LambdaPrefix for multi-org contact centers. For provisioned contact centers, the secret name is also available in the Lambda functions environment variable. Then, set the CONSUMER_KEY_PARAM_NAME, PRIVATE_KEY_PARAM_NAME, and SUBJECT keys within that secret.
- Copy the values for the CONSUMER_KEY_PARAM_NAME, PRIVATE_KEY_PARAM_NAME keys or parameters and paste them into a text file. For contact center versions 19.0 or later, these values are the names of the keys within a single secret that hold the actual credentials. For contact center versions below 19.0, these values are the names of the SSM parameters that hold the actual credentials.
- For the SUBJECT variable, enter the Salesforce username of the user you want to log in to Salesforce through the Lambda function. The user must have access to the objects that the Lambda function will be executed on.
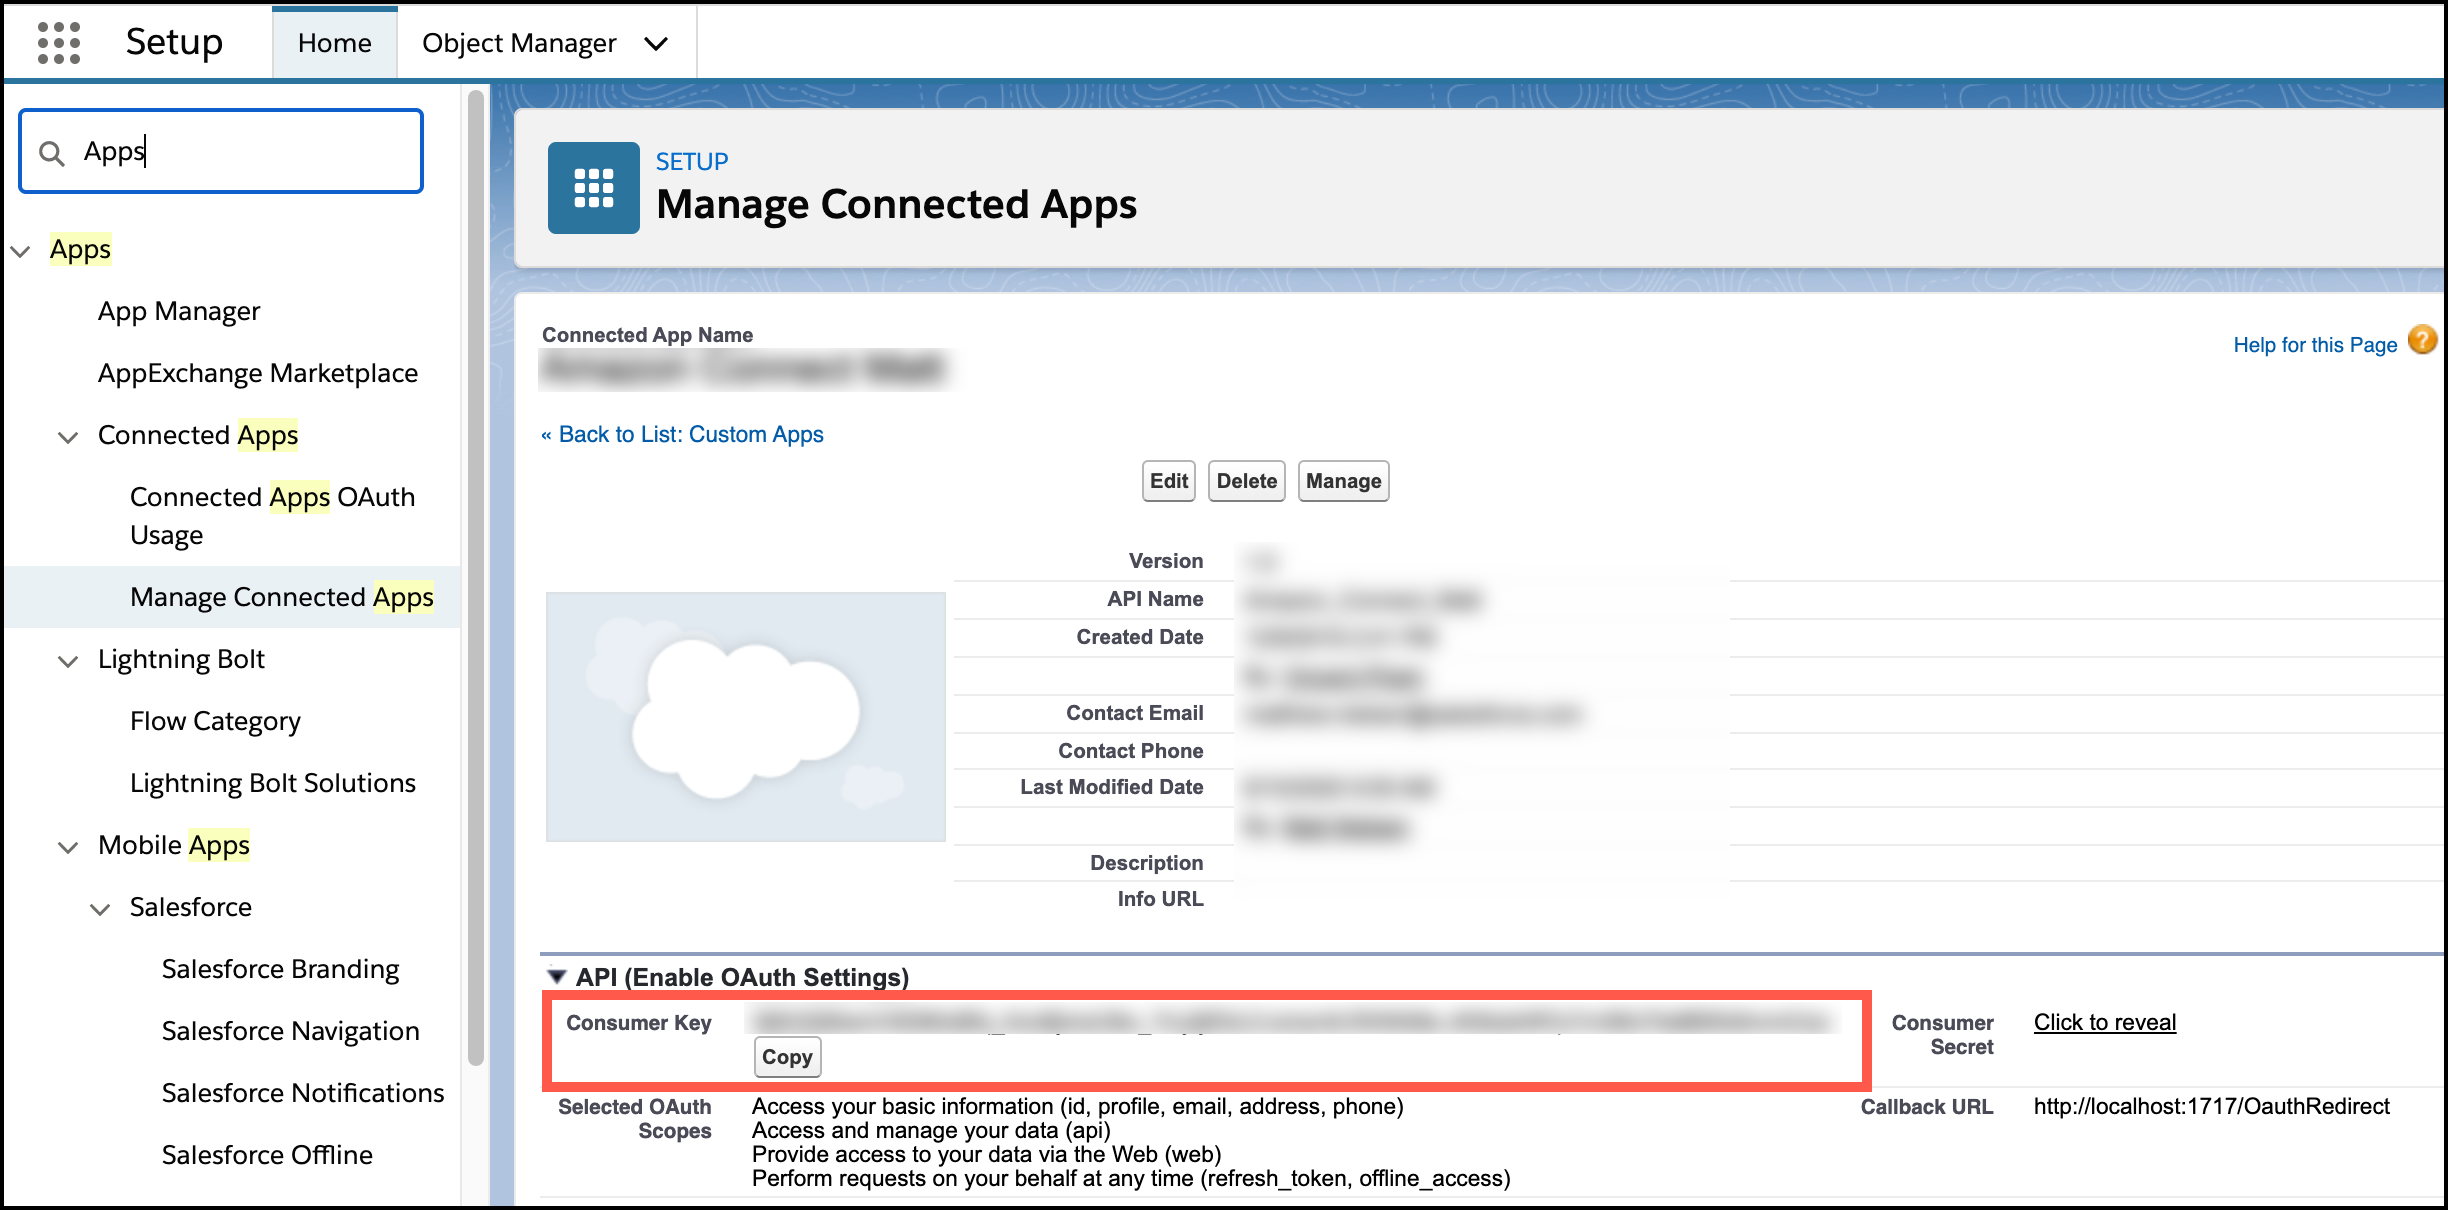
- In the connected app in Salesforce, check that the user is added to the connected app profile. From Setup in your Salesforce org, go to App Manager. Open the action menu for the connected app, click Manage, and scroll to the bottom of the page to see the profiles. Verify that the Permitted Users value is set to "Admin approved users are pre-authorized" for the desired profile. To learn more about OAuth access policies, see Manage OAuth Access Policies for a Connected App.
- For contact center versions below 19.0, in the parameter store, search for the CONSUMER_KEY_PARAM_NAME value and the PRIVATE_KEY_PARAM_NAME value that you copied to the text file.
-
For the Consumer Key, update the value by clicking Edit and
pasting the value of the consumer key from the connected app into the
Value field.
To update keys in a secret, format the key and then update the key in Secrets Manager.
-
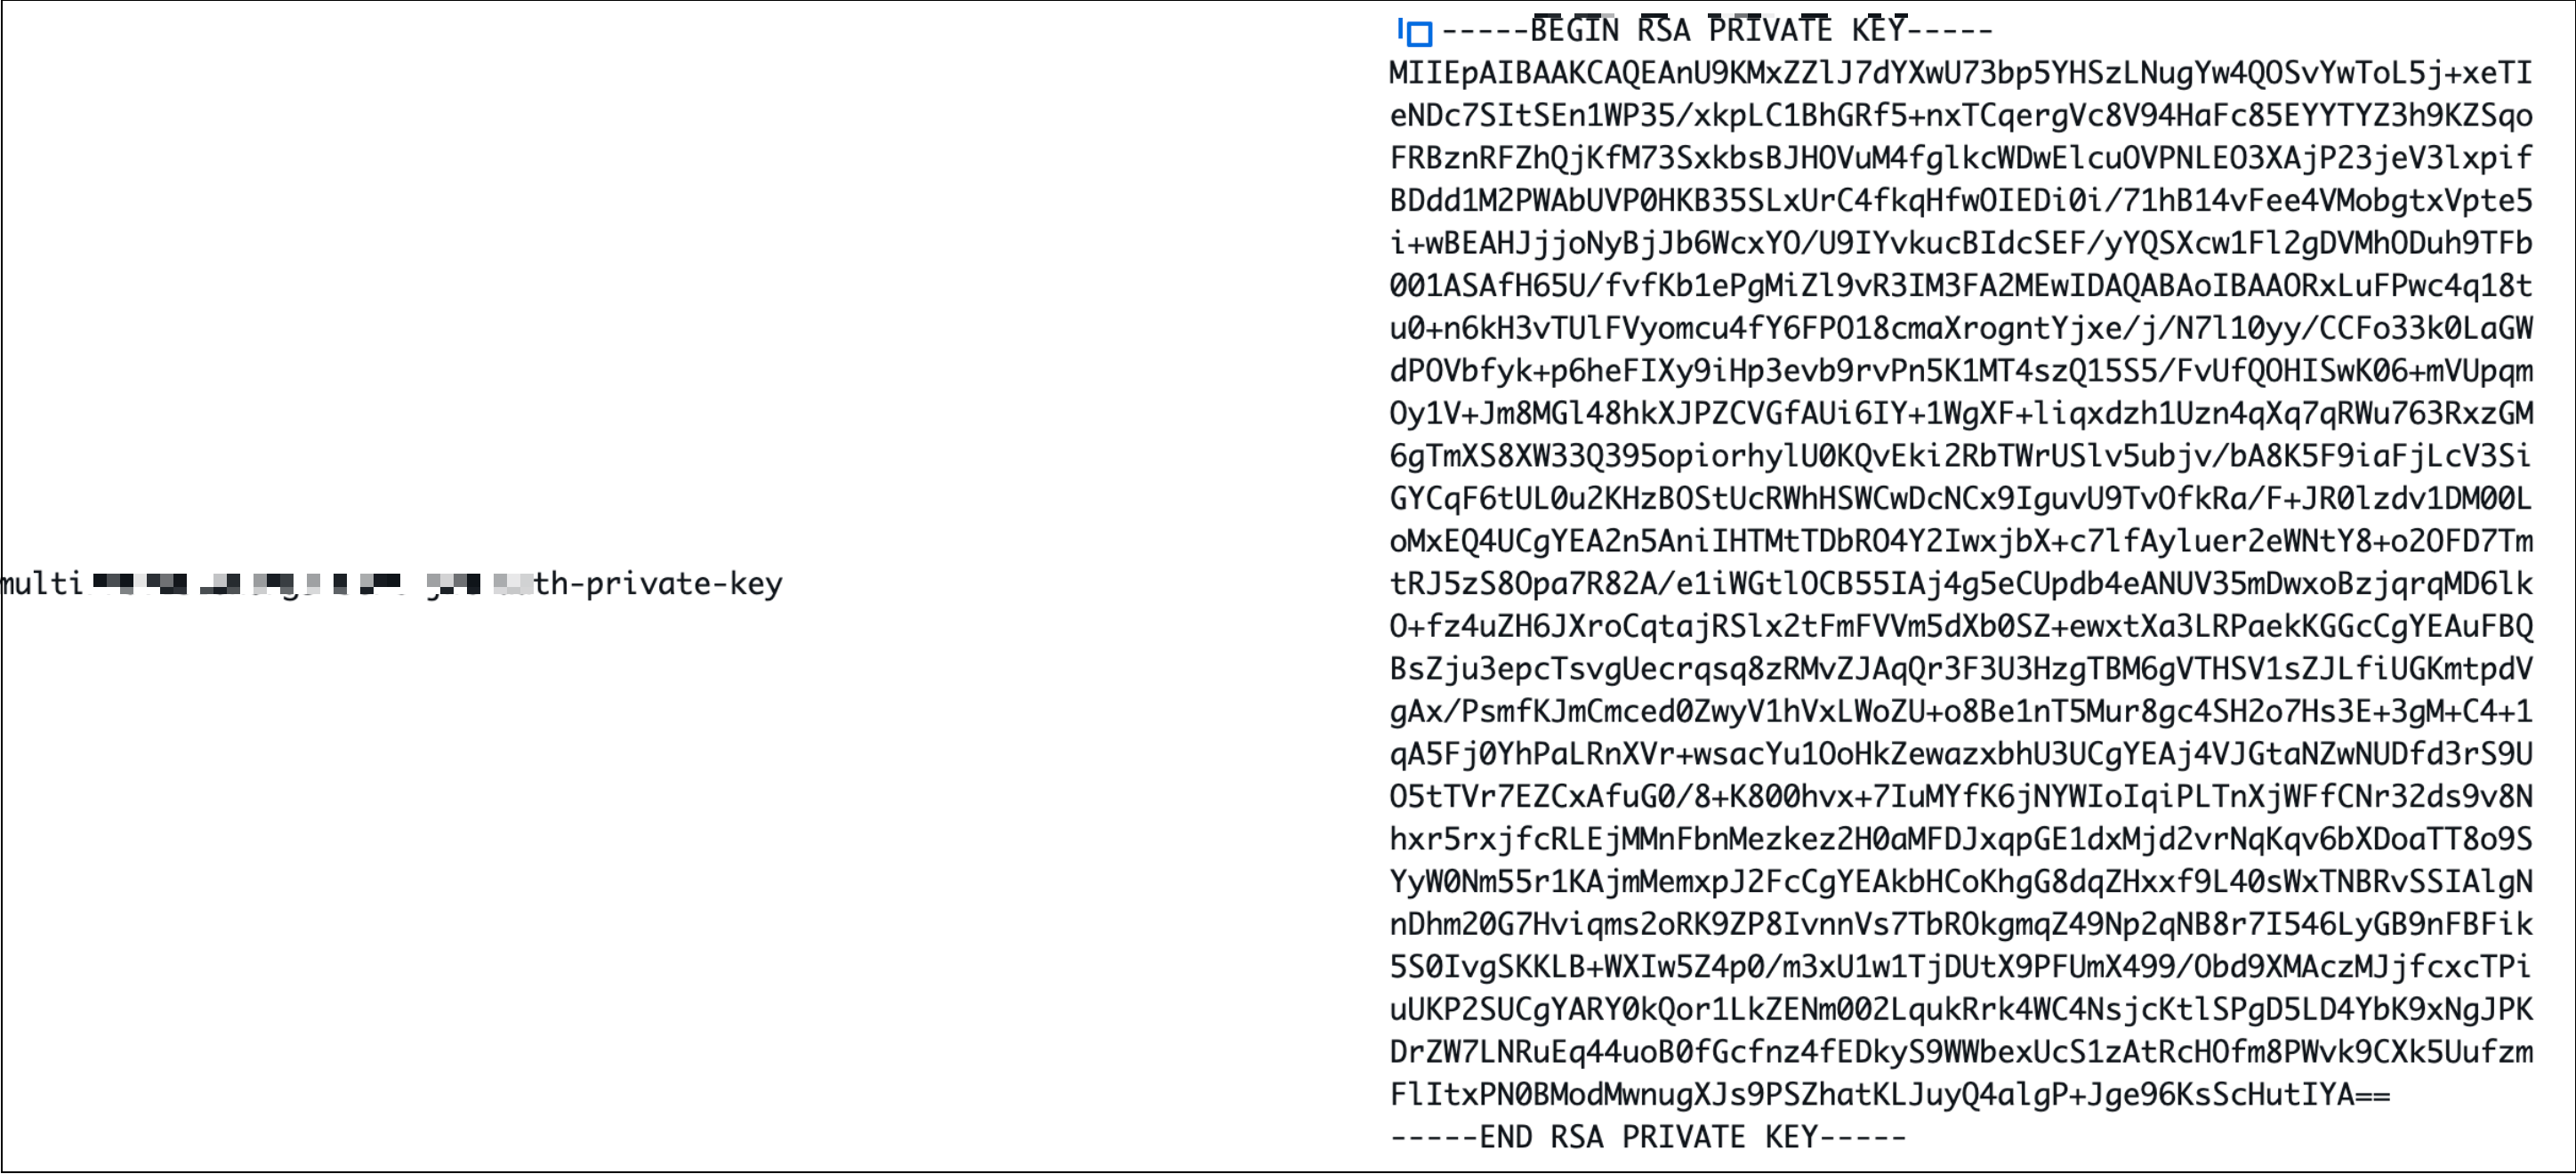
To format the multi-line key into a single line, copy the private key in a notepad
and append line breaks \r\n or run the command in
terminal.
cat <<EOF | awk '{printf "%s\\r\\n", $0}' PASTE YOUR Certificate > EOF
If you use Windows, you can also run this command to format the key: (Get-Content privateKey.pem | Where-Object {$_ -ne ""}) -join "\n" | Set-Content private_five.key
Copy the formatted single-line key.
Multi-line key before formatting:

Formatted single-line key:
- In Secrets Manager, select the secret for the contact center.
- Select Retrieve secret value and click Edit, select the Plaintext view, and paste the formatted single-line key for the appropriate key.
- Save your changes.
-
To format the multi-line key into a single line, copy the private key in a notepad
and append line breaks \r\n or run the command in
terminal.
- Save your changes.
-
Update the value of the private key by clicking Edit and pasting the private key into
the Value field. For the private key, you need the key that you previously used to sign the self-signed
certificate. By default, this key is stored locally to a file named server.key.
- Save your changes.