Service Cloud Voice Implementation Guide
 j
jNewer Version Available
Set Up OAuth in the AWS Lambda Function
These instructions describe how to set up OAuth on your Amazon Connect instance. When you
enable Voice, OAuth is already set up for you.
Before you start, open a text file so you can copy some parameter values.
- Log in to AWS Console > Lambda > Functions.
- Select the {Your Contact Center Name}-InvokeSalesforceRestApiFunction Lambda function.
-
Scroll down to Environment variables. Some of the variables are
already configured for your instance, but you have to set the values for CONSUMER_KEY_PARAM_NAME, PRIVATE_KEY_PARAM_NAME, and SUBJECT.

-
For the SUBJECT variable, enter the username that you
want to use to log in to Salesforce through the Lambda function.
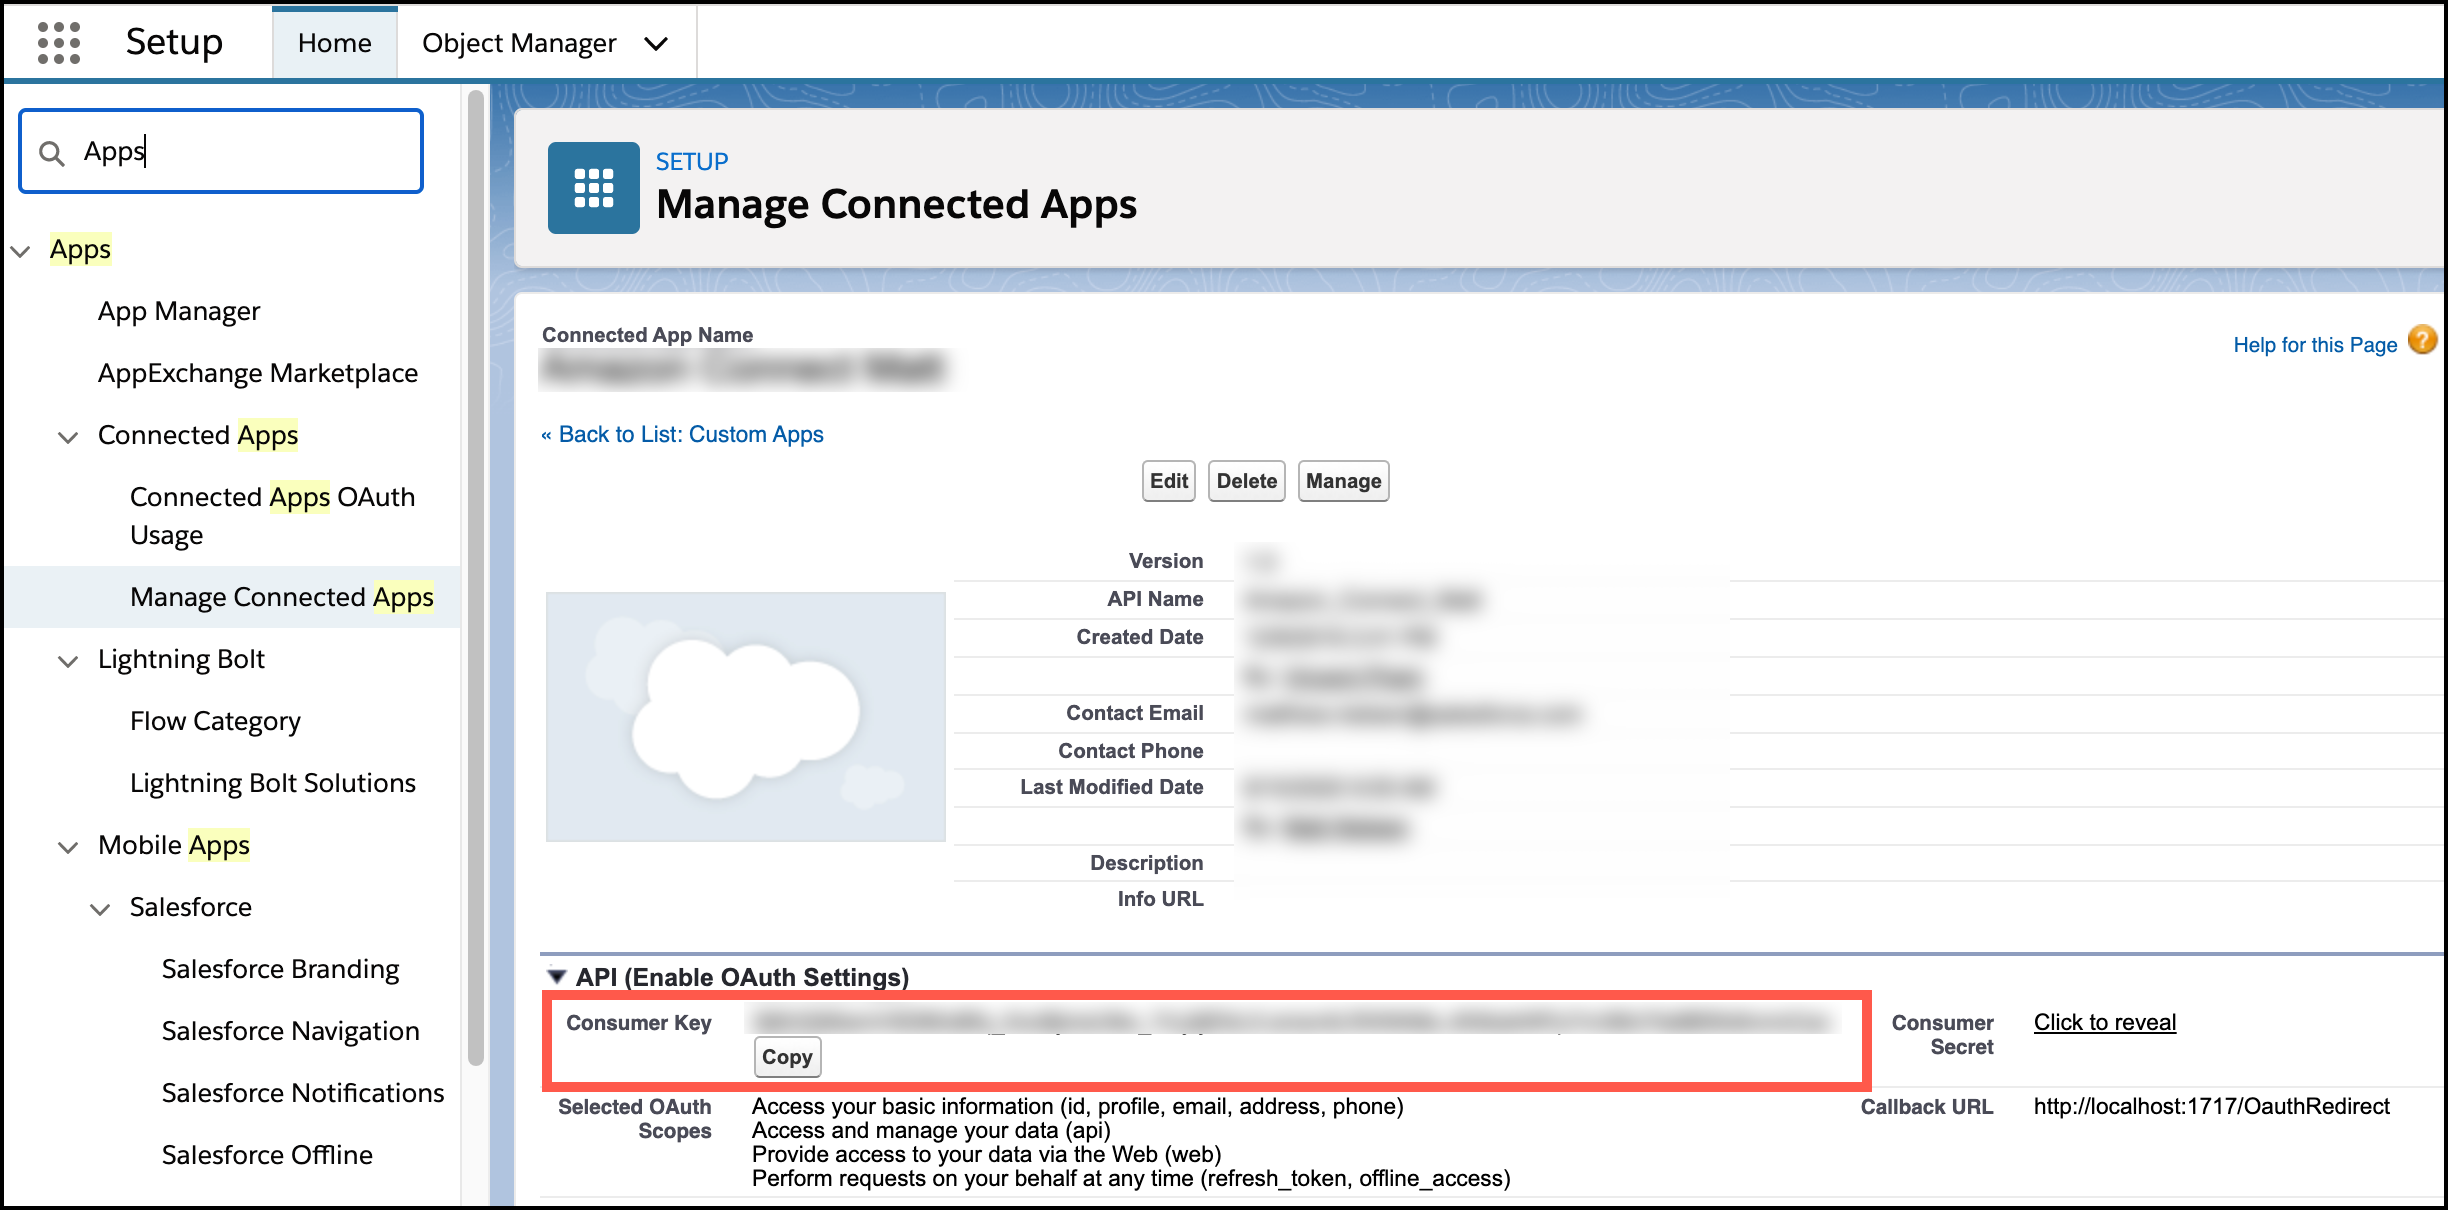
In the connected app in Salesforce, check that the user is added to the connected app profile. From Setup in your Salesforce org, go to App Manager. Open the action menu for the connected app, click Manage, and scroll to the bottom of the page to see the profiles. Verify that the Permitted Users value is set to "Admin approved users are pre-authorized" for the desired profile. To learn more about OAuth access policies, see Manage OAuth Access Policies for a Connected App.
- Copy the values for the CONSUMER_KEY_PARAM_NAME, PRIVATE_KEY_PARAM_NAME parameters and paste them into a text file. These values are the names of the SSM parameters that hold the actual credentials.
-
For the SUBJECT variable, enter the username that you
want to use to log in to Salesforce through the Lambda function.
- Click Services > enter SSM in the search box > Systems Manager.
- Scroll down to the Parameter Store.
- In the parameter store, search for the CONSUMER_KEY_PARAM_NAME value and the PRIVATE_KEY_PARAM_NAME value that you copied to the text file.
-
For the Consumer Key, update the value by clicking Edit and pasting
the value of the consumer key from the connected app into the Value
field.
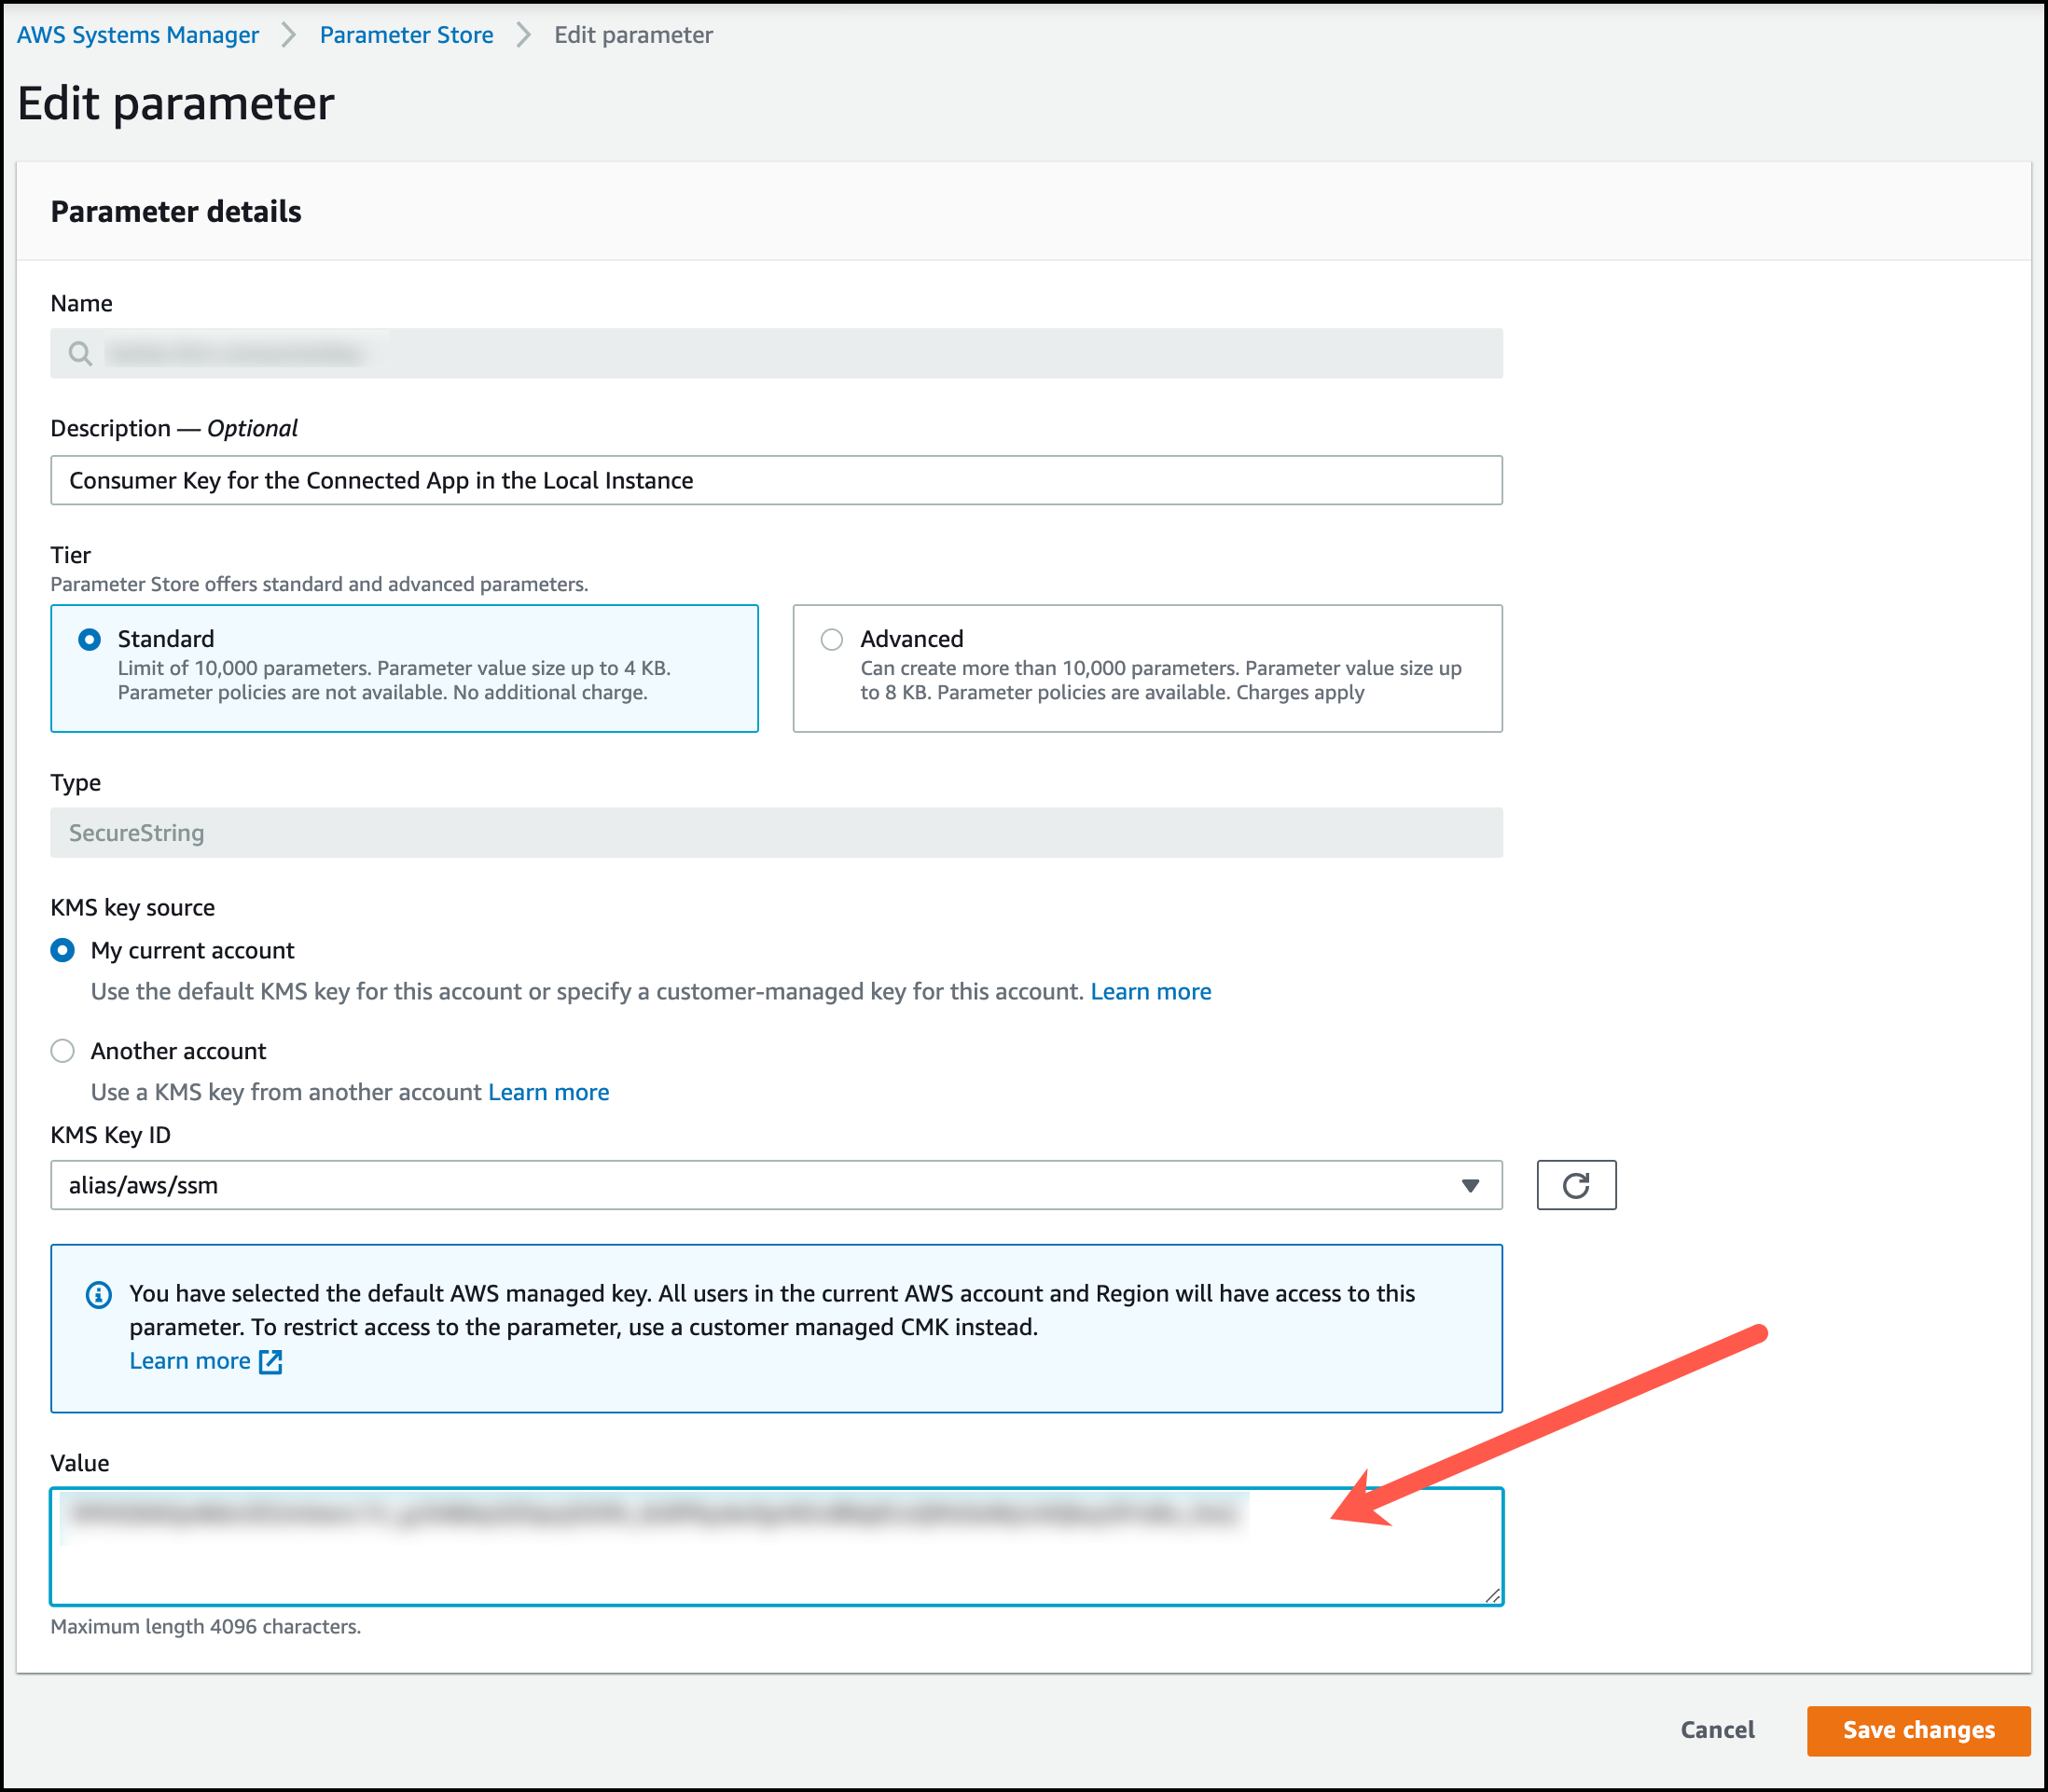
- Save your changes.
-
Update the value of the private key by clicking Edit and pasting the private key into the
Value field. For the private key, you need the key that you previously used to sign the self-signed
certificate. By default, this key is stored locally to a file named server.key.
- Save your changes.