Set Up and Manage Authentication with External Client Apps
External client apps are packageable frameworks to enable a third-party app to integrate with Salesforce using APIs and security protocols. External client apps provide single sign-on (SSO) and use OAuth protocols to authorize third-party apps. Third-party apps integrated with Salesforce can run on the customer success platform and other platforms, devices, or SaaS subscriptions.
For more information on ECAs, including how to configure them in your organization, see External Client Apps.
| User Permissions Needed | |
|---|---|
| To manage External Client Apps: | Tableau Next Admin permission set |
-
To create an ECA for your web app, in Salesforce, use the App Launcher to find and select Tableau Next.
-
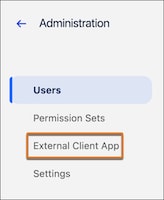
In the Tableau Next app, click Administration.
-
Click External Client App.
-
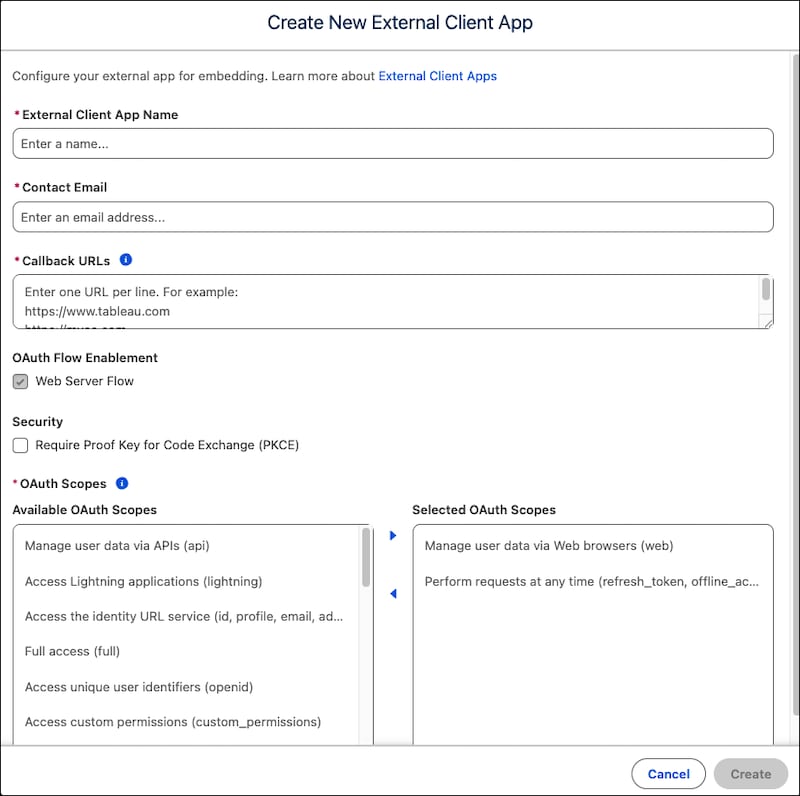
To create a new external client app, click New.
-
Enter the name for the ECA to show in the External Client App Manager.
-
Enter the contact email for Salesforce to use in case we want to contact you or your support team.
-
Enter one or more Callback URL values. A callback URL is the app URL where you’re embedding the code and can accept the authentication returned from the Salesforce ECA. An example of a callback URL is
https://mydomain.com. -
For OAuth Flow Enablement, the required flow for embedding is Web Server Flow. For more information, see OAuth 2.0 Web Server Flow for Web App Integration.
-
To use a code challenge in your OAuth flow, enable Require Proof Key for Code Exchange (PKCE). Using PKCE is optional for the web server flow, only enable this setting to require a code challenge in your authorization flow. For more information on using and generating a proof key, see the Proof Key for Code Exchange (PKCE) Extension in Salesforce Help.
-
For OAuth Scopes, use the default values of Manage user data via Web browsers (web) and Perform requests at any time (refresh_token, offline_access).
-
Click Create.
Before leaving this page, click View Secret to copy and save the values. You need the consumer key value for the client_id and the consumer secret value for the client_secret.
Your ECA is also available in Salesforce Setup. To view it on Setup, from the ECA details page, click View Details in Setup.
To use other OAuth enablement flows, see Configure Advanced Authentication Flows.
After you’ve created your ECA, you can use the Tableau Next Administration page to update your ECA settings, or enable or disable it.
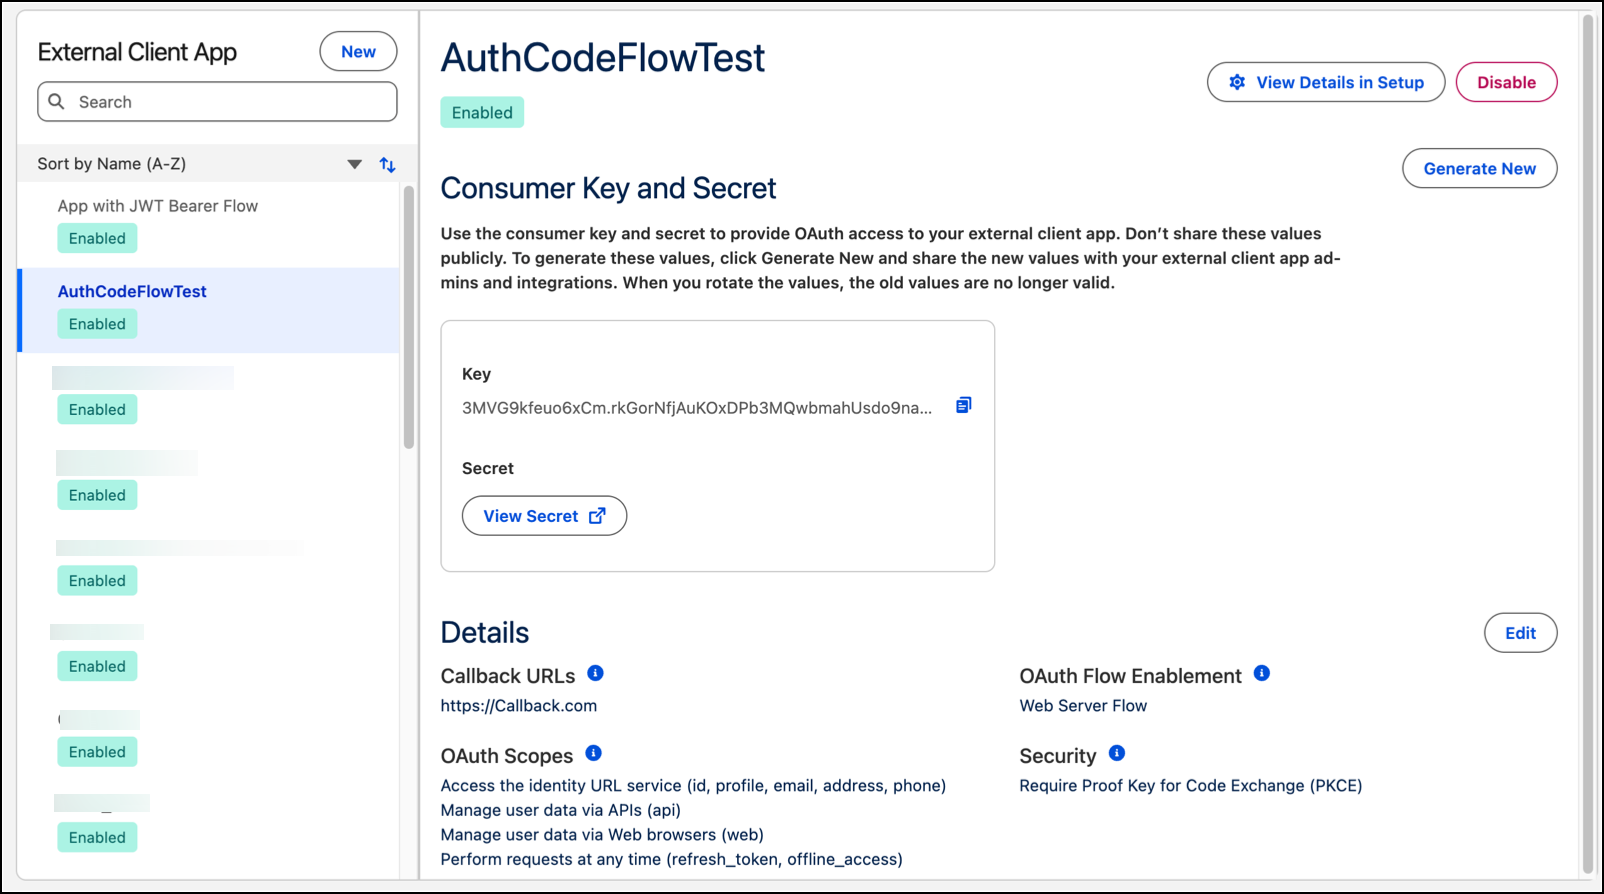
To make edits to the ECA details, click Edit. You can update your callback URLs, OAuth scopes, OAuth flow enablement, and security settings. You can view the consumer key and secret or generate a new consumer secret.
When you generate a new consumer secret, the old one is invalidated. You must update all implementations using the secret value with the new value. The code you have in your web app to generate the access token needs the new consumer value.
You can disable or enable your ECA as needed. When the ECA is disabled, any web app using the consumer key and secret values from the ECA can’t authenticate to the Salesforce org. If you enable the ECA, the authentication flow is valid for your web app.