


 j
jAnnouncements
Agentforce Commerce Vibes
Install the Extension
Get Started with Agentforce Commerce Vibes
Chat with the Agent
Telemetry
Settings
Troubleshooting
B2C Commerce Release Notes
Ask the Community
Install Agentforce Commerce Vibes extension in Visual Studio Code and log in to your Salesforce org.
dw.json in your workspace root to run the B2C CLIInstall the Agentforce Commerce Vibes extension and its dependencies.
Open Visual Studio Code.
Install the Agentforce Commerce Vibes extension from the VS Code Marketplace.
a. Click the extensions icon in the Activity Bar, on the left navigation pane, and search for “Agentforce Commerce Vibes”.
b. On the extension’s page, click Install to install the extension. For more information, see Use extensions in Visual Studio Code in the Visual Studio Code documentation.
Install the B2C CLI that Commerce Vibes depends on. See Agentic B2C Developer Toolkit
Install the Salesforce B2C Commerce extension from the VS Code Marketplace, which is another dependency of Commerce Vibes.
a. Click the extensions icon in the Activity Bar, on the left navigation pane, and search for “Salesforce B2C Commerce”.
b. On the extension’s page, click Install to install the extension. For more information, see Use extensions in Visual Studio Code in the Visual Studio Code documentation.
Verify that the extension and its dependencies are installed.
a. Launch the Commerce Vibes extension by clicking the  icon in the Activity Bar.
b. Click the checklist icon on the top right corner of the Agentforce Commerce Vibes panel.
A checklist screen appears indicating the status of each installed software. The B2C Commerce project isn’t marked as ready if you haven’t created a B2C project yet. For Commerce Org Connection, you enable it in the next step when logging into Salesforce.
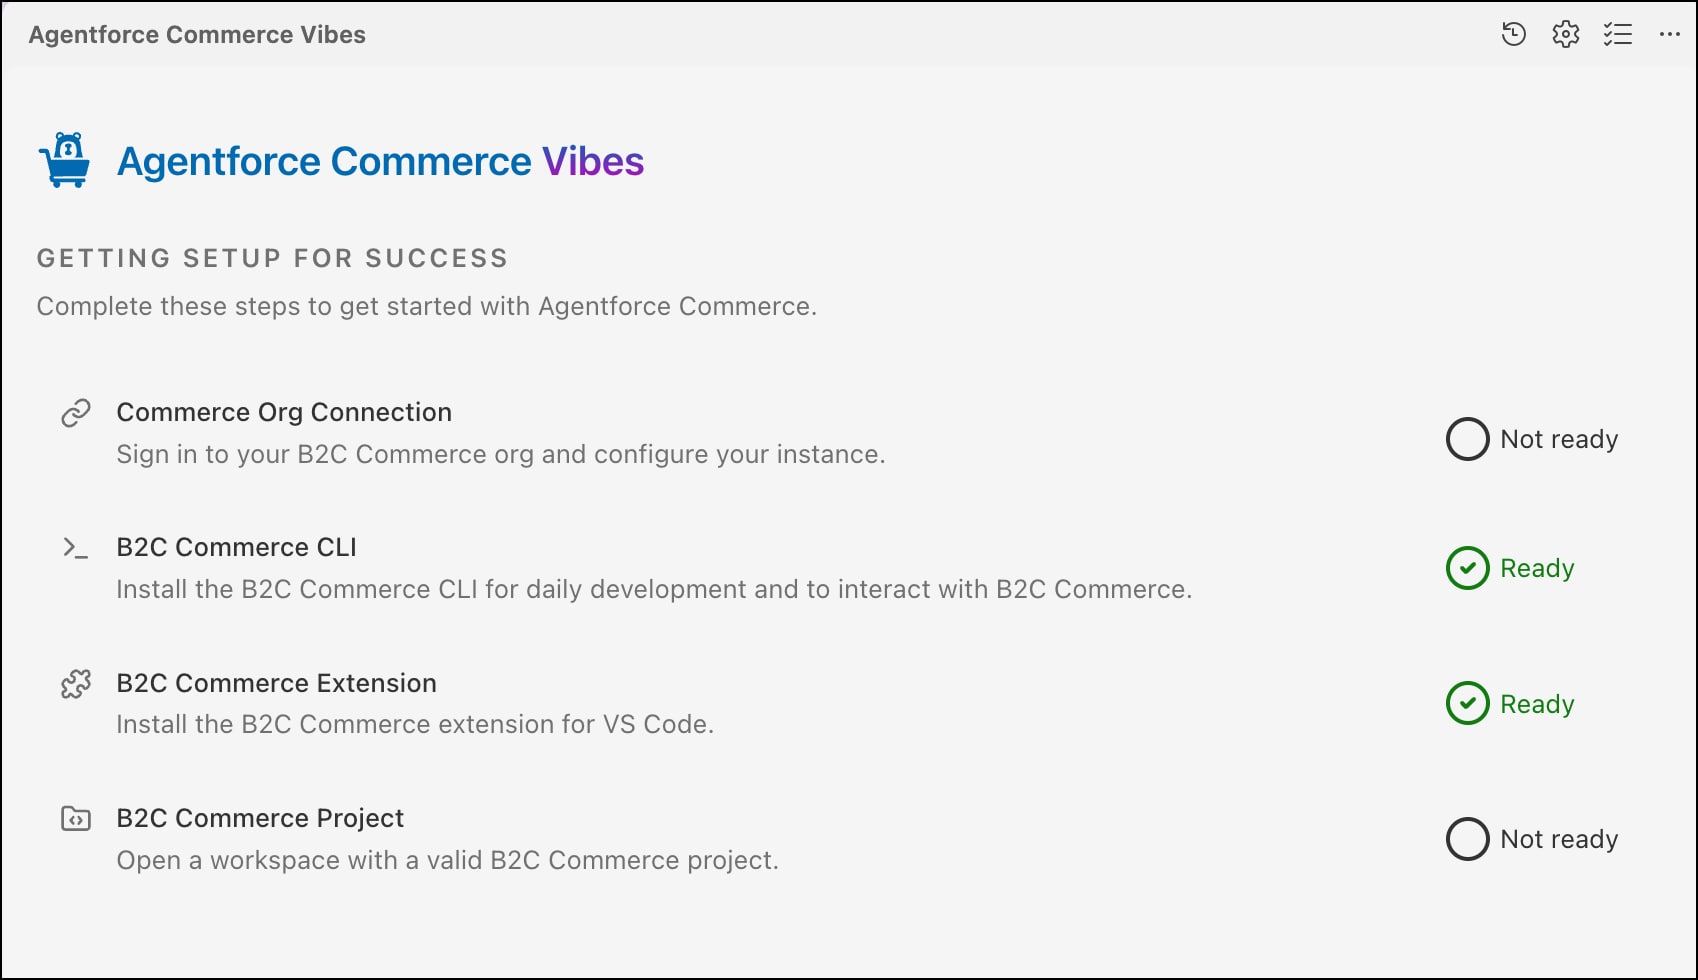
The extensions can be disabled if the opened folder in VS Code is untrusted. Make sure you add the folder as a trusted folder in VS Code. See Workspace Trust in the Visual Studio Code documentation.
Note
After installing the extension, launch it to log into your Salesforce org that’s connected to your B2C Commerce instance.
in the Activity Bar.login.salesforce.com or mycompany.my.salesforce.commycompany--sandbox1.sandbox.my.salesforce.comInstead of logging in through the login dialog in VS Code, run the Salesforce CLI command directly in your terminal. See Install Salesforce CLI in the Salesforce CLI Setup Guide.
For production orgs using default login URL:
1sf org login web --set-defaultFor any other org (sandbox, My Domain, or a custom domain). Replace <your-org-url> with the full URL you use to log into Salesforce (for example, mycompany--dev.sandbox.my.salesforce.com).
1sf org login web --instance-url https://<your-org-url> --set-defaultAdministration tasks run the B2C CLI, which requires that you provide a dw.json file with your B2C instance hostname and credentials. For more information about the dw.json file content, see Configuration in the B2C Developer Toolkit.
dw.json at your project root folder.
1{
2   "hostname": "abcd-123.dx.commercecloud.salesforce.com",
3   "code-version": "<version>",
4   "client-id": "<client-id-value>",
5   "client-secret": "<client-secret-value>",
6   "username": "<your-username>",
7   "password": "<your-access-key>"
8}client-id and client-secret, see Add an API Client in B2C Commerce."resource_id": "/jobs/*/executions".j