


 j
jStep 3 - Create Apex Class (Document AI API Wrapper)
Step 4 - Create Bank Statement Extraction Flow (Apex Wrapper)
Add Actions
Activate, Test and Configure Your Agent
Actions are how agents get things done. These are the tools the agent uses to do its job. Learn more about agent actions.
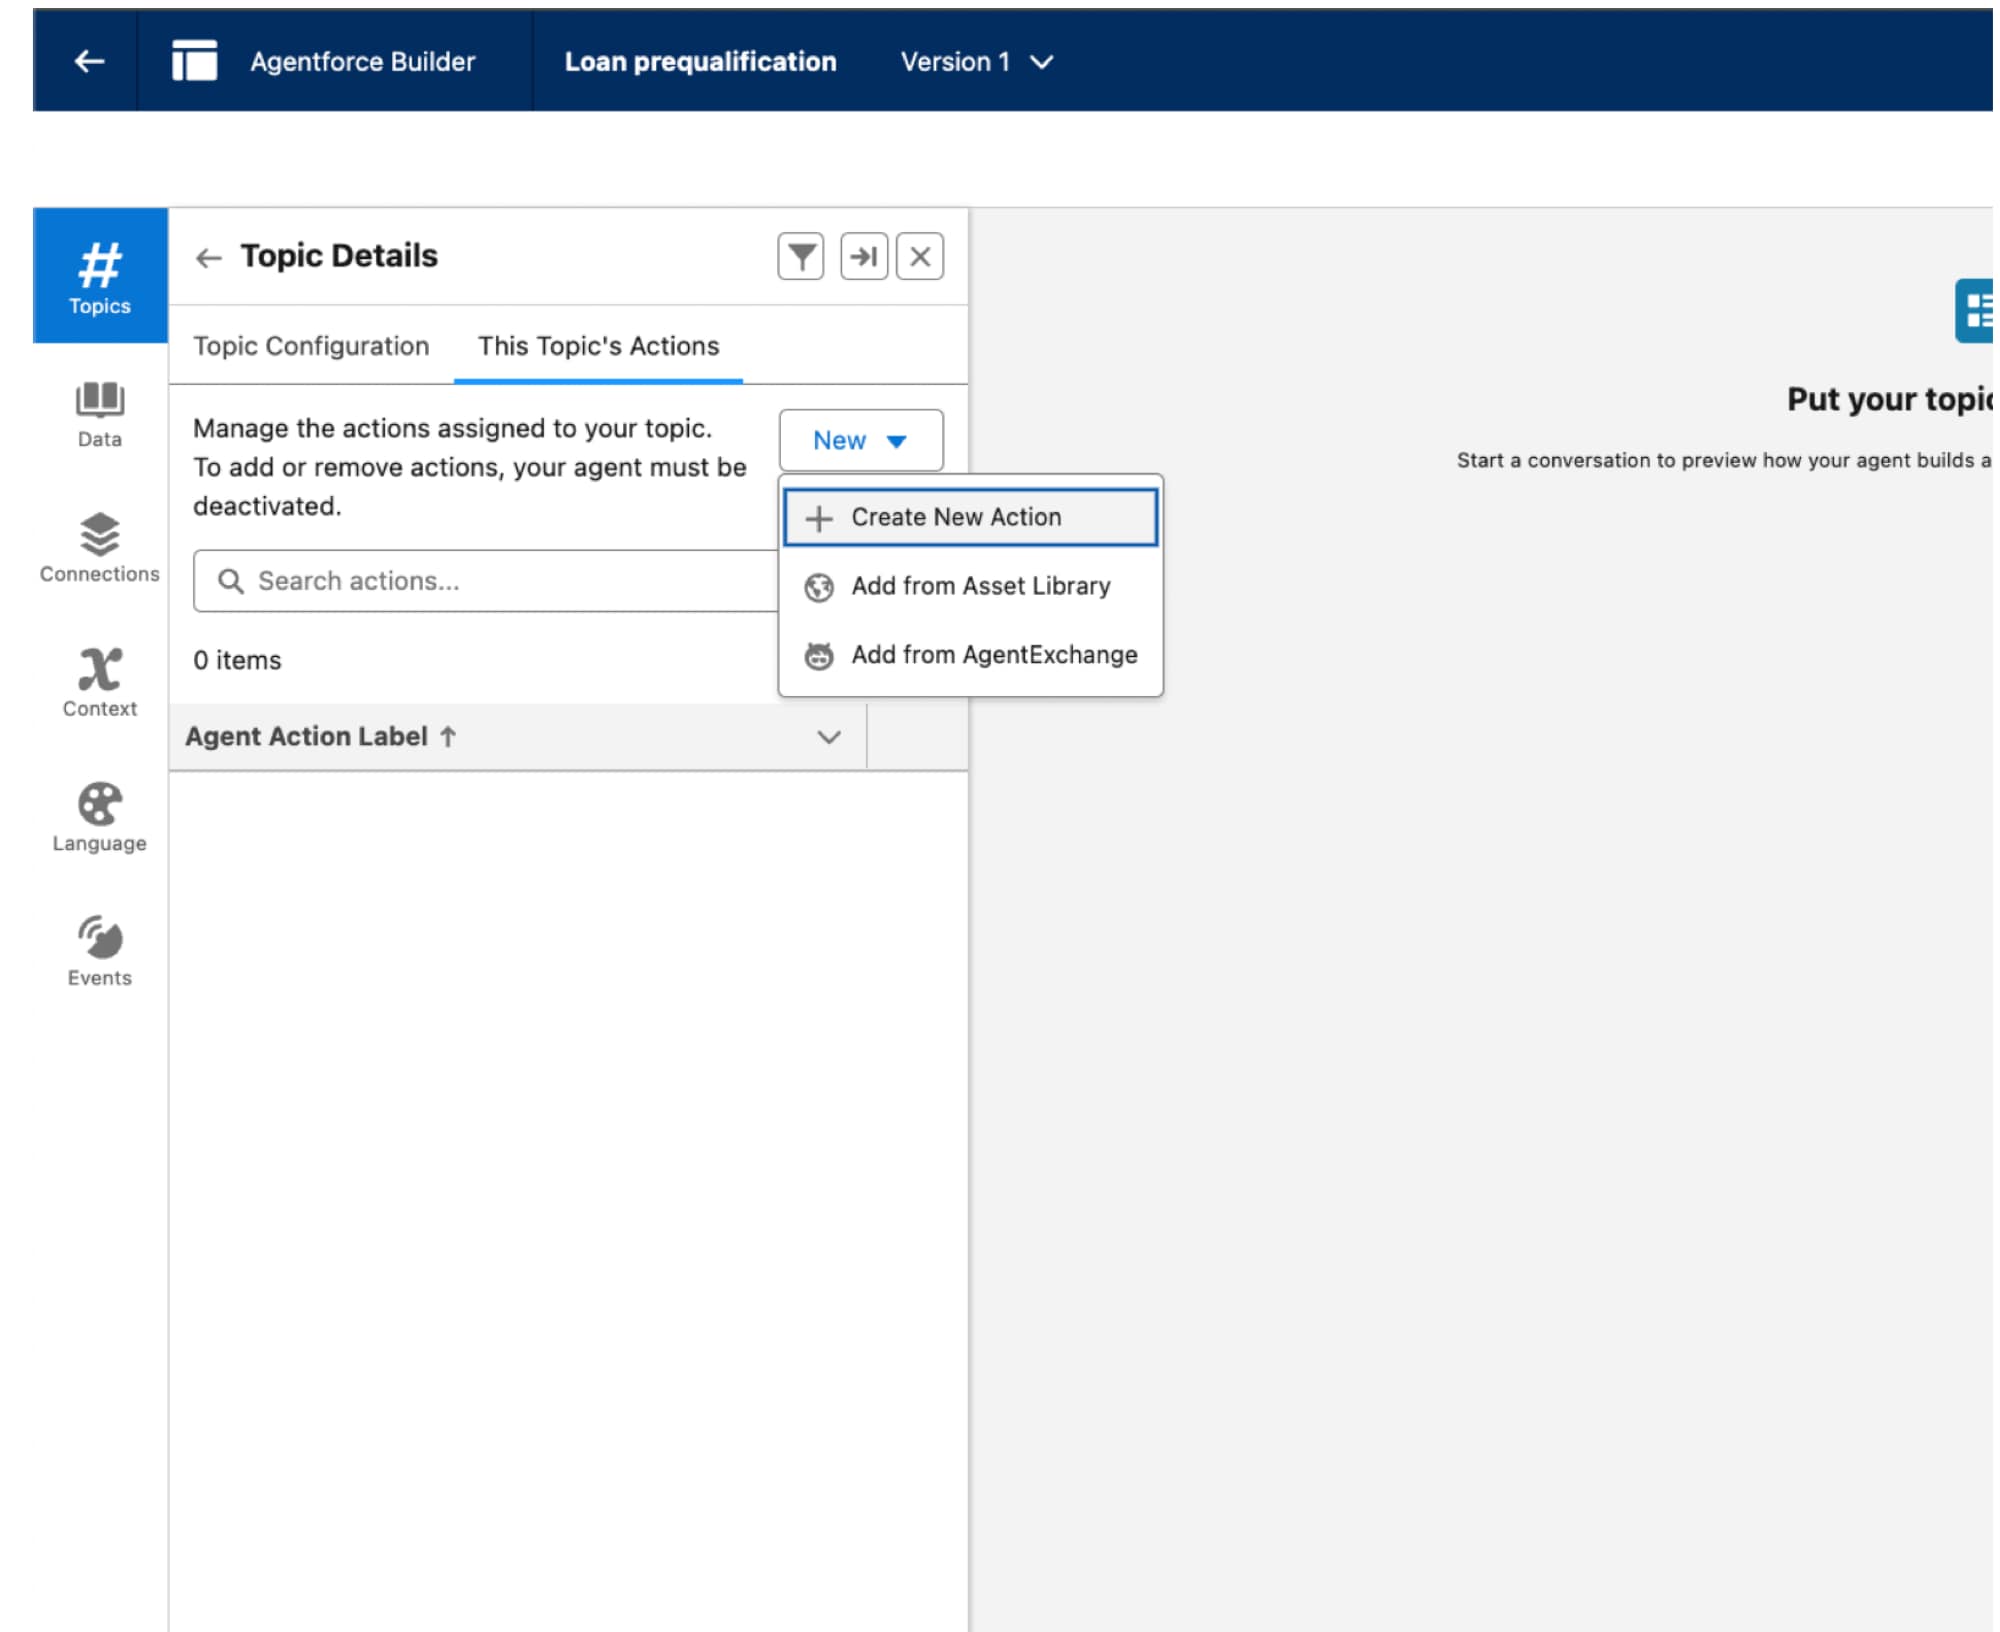
Click New → Create New Action. Enter action details.
Click Next.
Start to configure the agent action.
Under Inputs
contact_email as Required input, and enter Instructions: “Ask user to enter the email address”.NA.Under Outputs: Check the “Show in conversation” checkbox for all outputs.
Click Finish
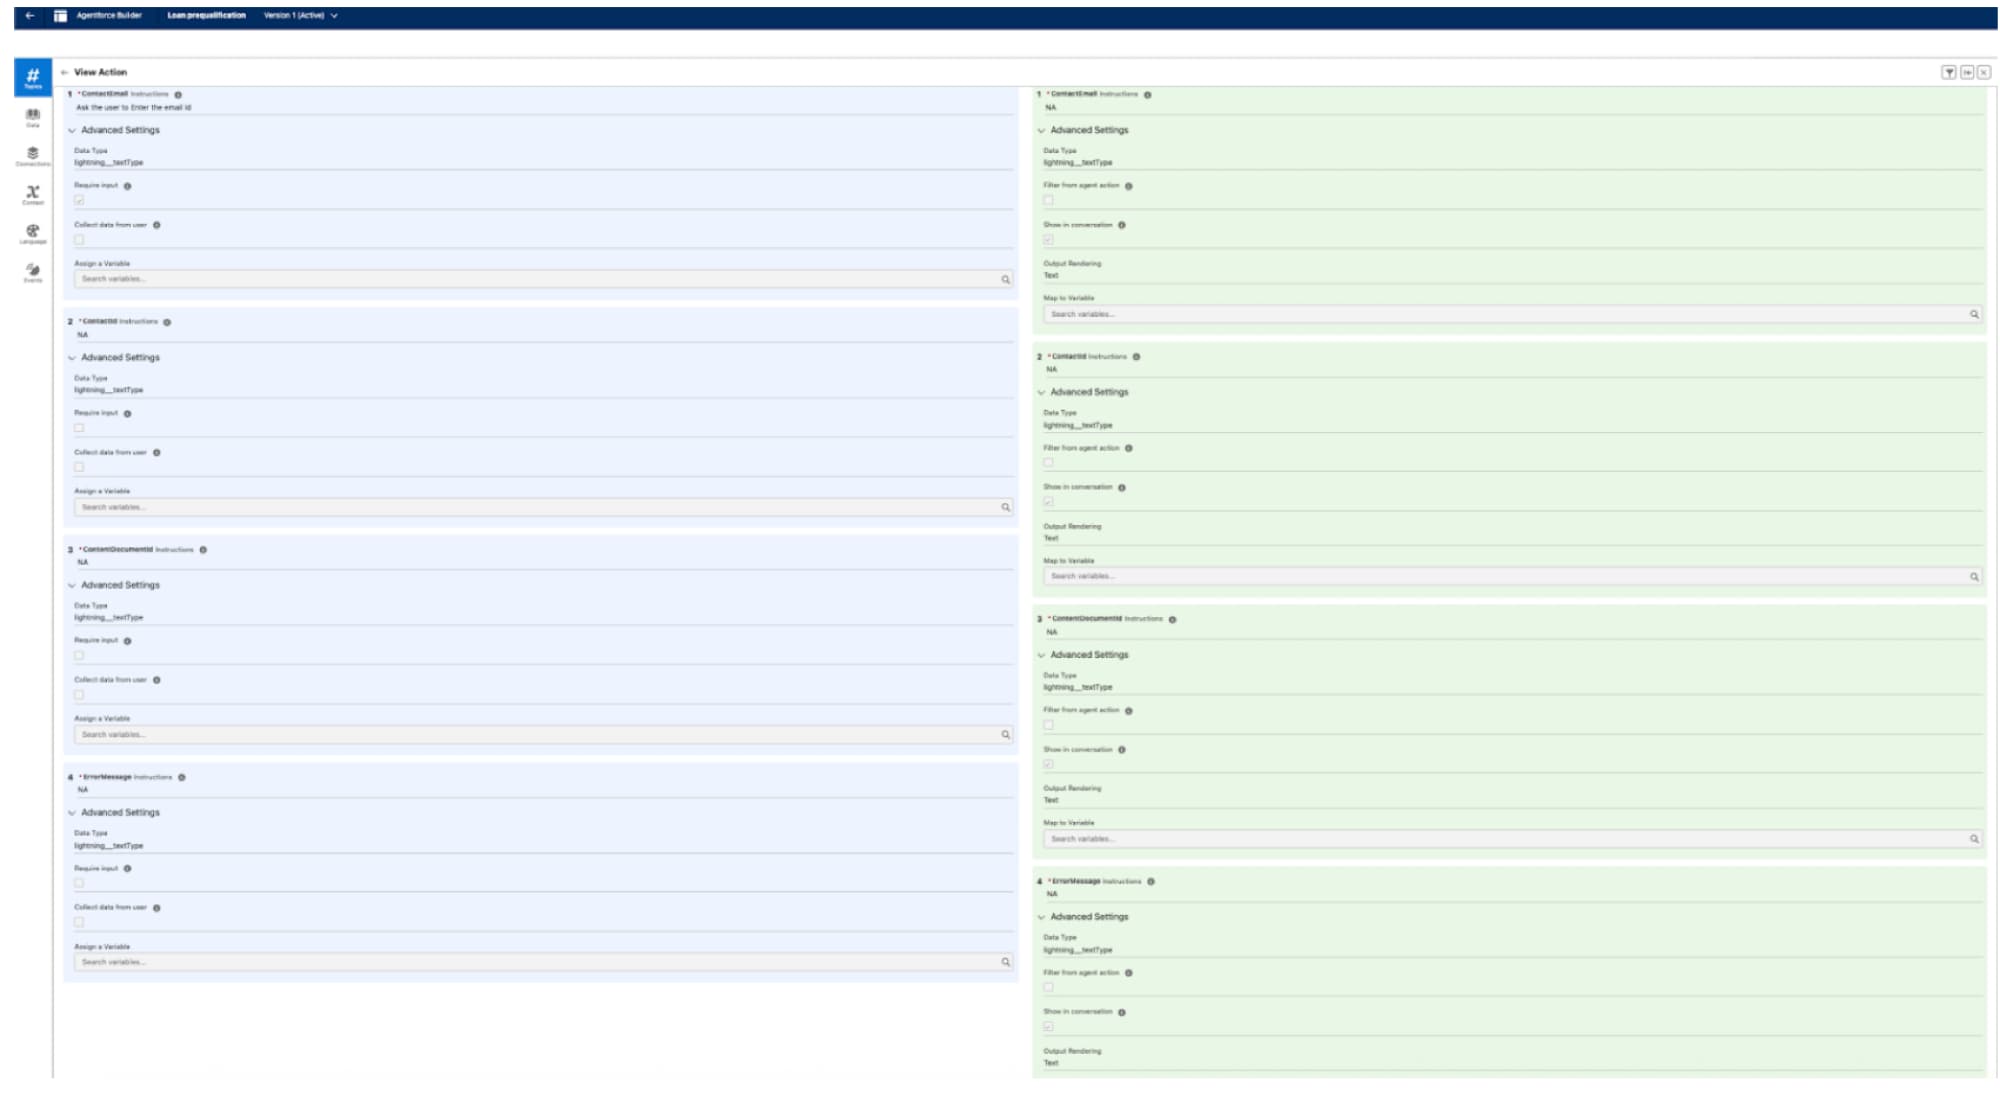
Open your newly created topic, go to Topic Details and open the Topics’s Actions tab.
Click New and then Create New Action. Enter action details.
Click Next.
Start to configure the agent action.
1This is the action to invoke the document AI capability to extract the detailed information from the bank statements so that we can determine loan eligibility. Execute the Extract Bank Statement action with these parameters: Org_Domain: "https://Placeholder.my.salesforce.com" Client_Id: “Placeholder” Client_Secret: "Placeholder” Document_Type: “application/pdf” LLM_Model: "llmgateway__OpenAIGPT4Omni_08_06" ContentDocumentId: {get from previous action} IDPConfigId: “bank_stmt_analyzer” If Status = "Success", pass ExtractedDataJson to the analysis prompt 4. If Status = "Failed", show the ErrorMessage to the userYou don’t need to change anything under Inputs or Outputs. If needed, enter “NA” for mandatory fields.
Note
Activate, Test and Configure Your Agent
j