Create Service Appointments

Show your users the details of a service appointment—an appointment booked through Salesforce Scheduler—so that users can review and create the appointment.

  1. Create a page where the user can review the appointment details and create the appointment.

  2. Make a POST request on the service-appointments Connect API to create the service appointment.

    Resource URI

    1https://YOUR_INSTANCE.salesforce.com/services/data/v68.0/connect/scheduling/service-appointments

    Where YOUR_INSTANCE is a variable.

    For an Existing User (Account)

    Sample Request

    Pass the account ID as parentRecordId in the input request body.

    To indicate that the appointment is scheduled, set status to Scheduled.

    1{
    2  "serviceAppointment": {
    3    "serviceTerritoryId": "0HhS700000001DYKAY",
    4    "parentRecordId": "001S7000001pFlJIAU",
    5    "engagementChannelTypeId": "0eFS70000004CG5MAM",
    6    "schedStartTime": "2023-02-15T17:00:00.000+0000",
    7    "schedEndTime": "2023-02-15T18:00:00.000+0000",
    8    "street": "121 Spear Street",
    9    "city": "Charlotte",
    10    "state": "VT",
    11    "postalCode": "05445",
    12    "country": "United States",
    13    "extendedFields": [
    14      {
    15        "name": "status",
    16        "value": "Scheduled"
    17      }
    18    ]
    19  },
    20  "assignedResources": [
    21    {
    22      "serviceResourceId": "0HnS700000002jAKAQ",
    23      "isRequiredResource": true
    24    }
    25  ]
    26}

    Sample Response

    The API returns the service appointment ID and the assigned service resources.

    1{
    2  "result": {
    3    "assignedResourceIds": [
    4      "03rS700000000hPIAQ"
    5    ],
    6    "serviceAppointmentId": "08pS7000000018wIAA"
    7  }
    8}

    For a Guest User (Lead)

    Sample Request

    Pass the required lead details in the input request body.

    To indicate that the appointment is scheduled, set status to Scheduled.

    1{
    2  "serviceAppointment": {
    3    "serviceTerritoryId": "0HhS700000001DYKAY",
    4    "engagementChannelTypeId": "0eFS70000004CG5MAM",
    5    "schedStartTime": "2023-02-15T17:00:00.000+0000",
    6    "schedEndTime": "2023-02-15T18:00:00.000+0000",
    7    "street": "121 Spear Street",
    8    "city": "Charlotte",
    9    "state": "VT",
    10    "postalCode": "05445",
    11    "country": "United States",
    12    "extendedFields": [
    13      {
    14        "name": "status",
    15        "value": "Scheduled"
    16      }
    17    ]
    18  },
    19  "assignedResources": [
    20    {
    21      "serviceResourceId": "0HnS700000002jAKAQ",
    22      "isRequiredResource": true
    23    }
    24  ],
    25  "lead": {
    26    "firstName": "Mark",
    27    "lastName": "Taylor",
    28    "phone": "012-345-6789",
    29    "email": "mtaylor@company.com",
    30    "company": "Company1"
    31  }
    32}

    Sample Response

    The API returns the service appointment ID and the assigned service resources.

    1{
    2  "result": {
    3    "assignedResourceIds": [
    4      "03rS700000000hUIAQ"
    5    ],
    6    "parentRecordId": "00QS7000000sfbOMAQ",
    7    "serviceAppointmentId": "08pS70000000191IAA"
    8  }
    9}

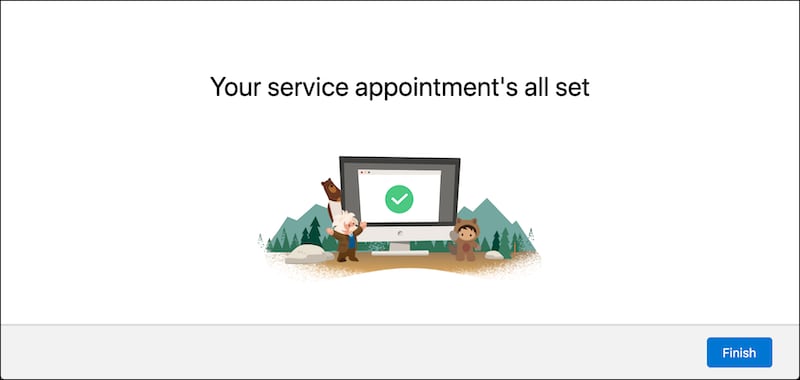
Create a page to show confirmation when the service appointment is created successfully.

Here’s how a sample confirmation page can look.

A representation of the confirmation screen.