
Appearance
Exercise 1: Create the App Shell and Mock Data
In this exercise, you'll create a Salesforce Multi-Framework React app and build the first visible version of the Merchant Operations Center. You'll start with an app shell, add mock storefront data, calculate summary metrics, and add simple status labels.
If you know LWC, here is the mental model
| LWC | Multi-Framework React |
|---|---|
| Component bundle (HTML, JS, CSS) | Vite app (React and TypeScript), built into static files |
@wire and Lightning Data Service | Data SDK: GraphQL on UI API, plus fetch |
lightning-* base components | shadcn/ui components styled with Tailwind, preinstalled in the project |
Deployed as a LightningComponentBundle | Deployed as a UI Bundle |
| Runs inside the Lightning Experience shell | Runs on its own domain, outside the Lightning shell |
Step 1: Create the React App Project
Open Agentforce Vibes from Setup.
Open the Agentforce Vibes Sidebar.
Close any open chat windows.
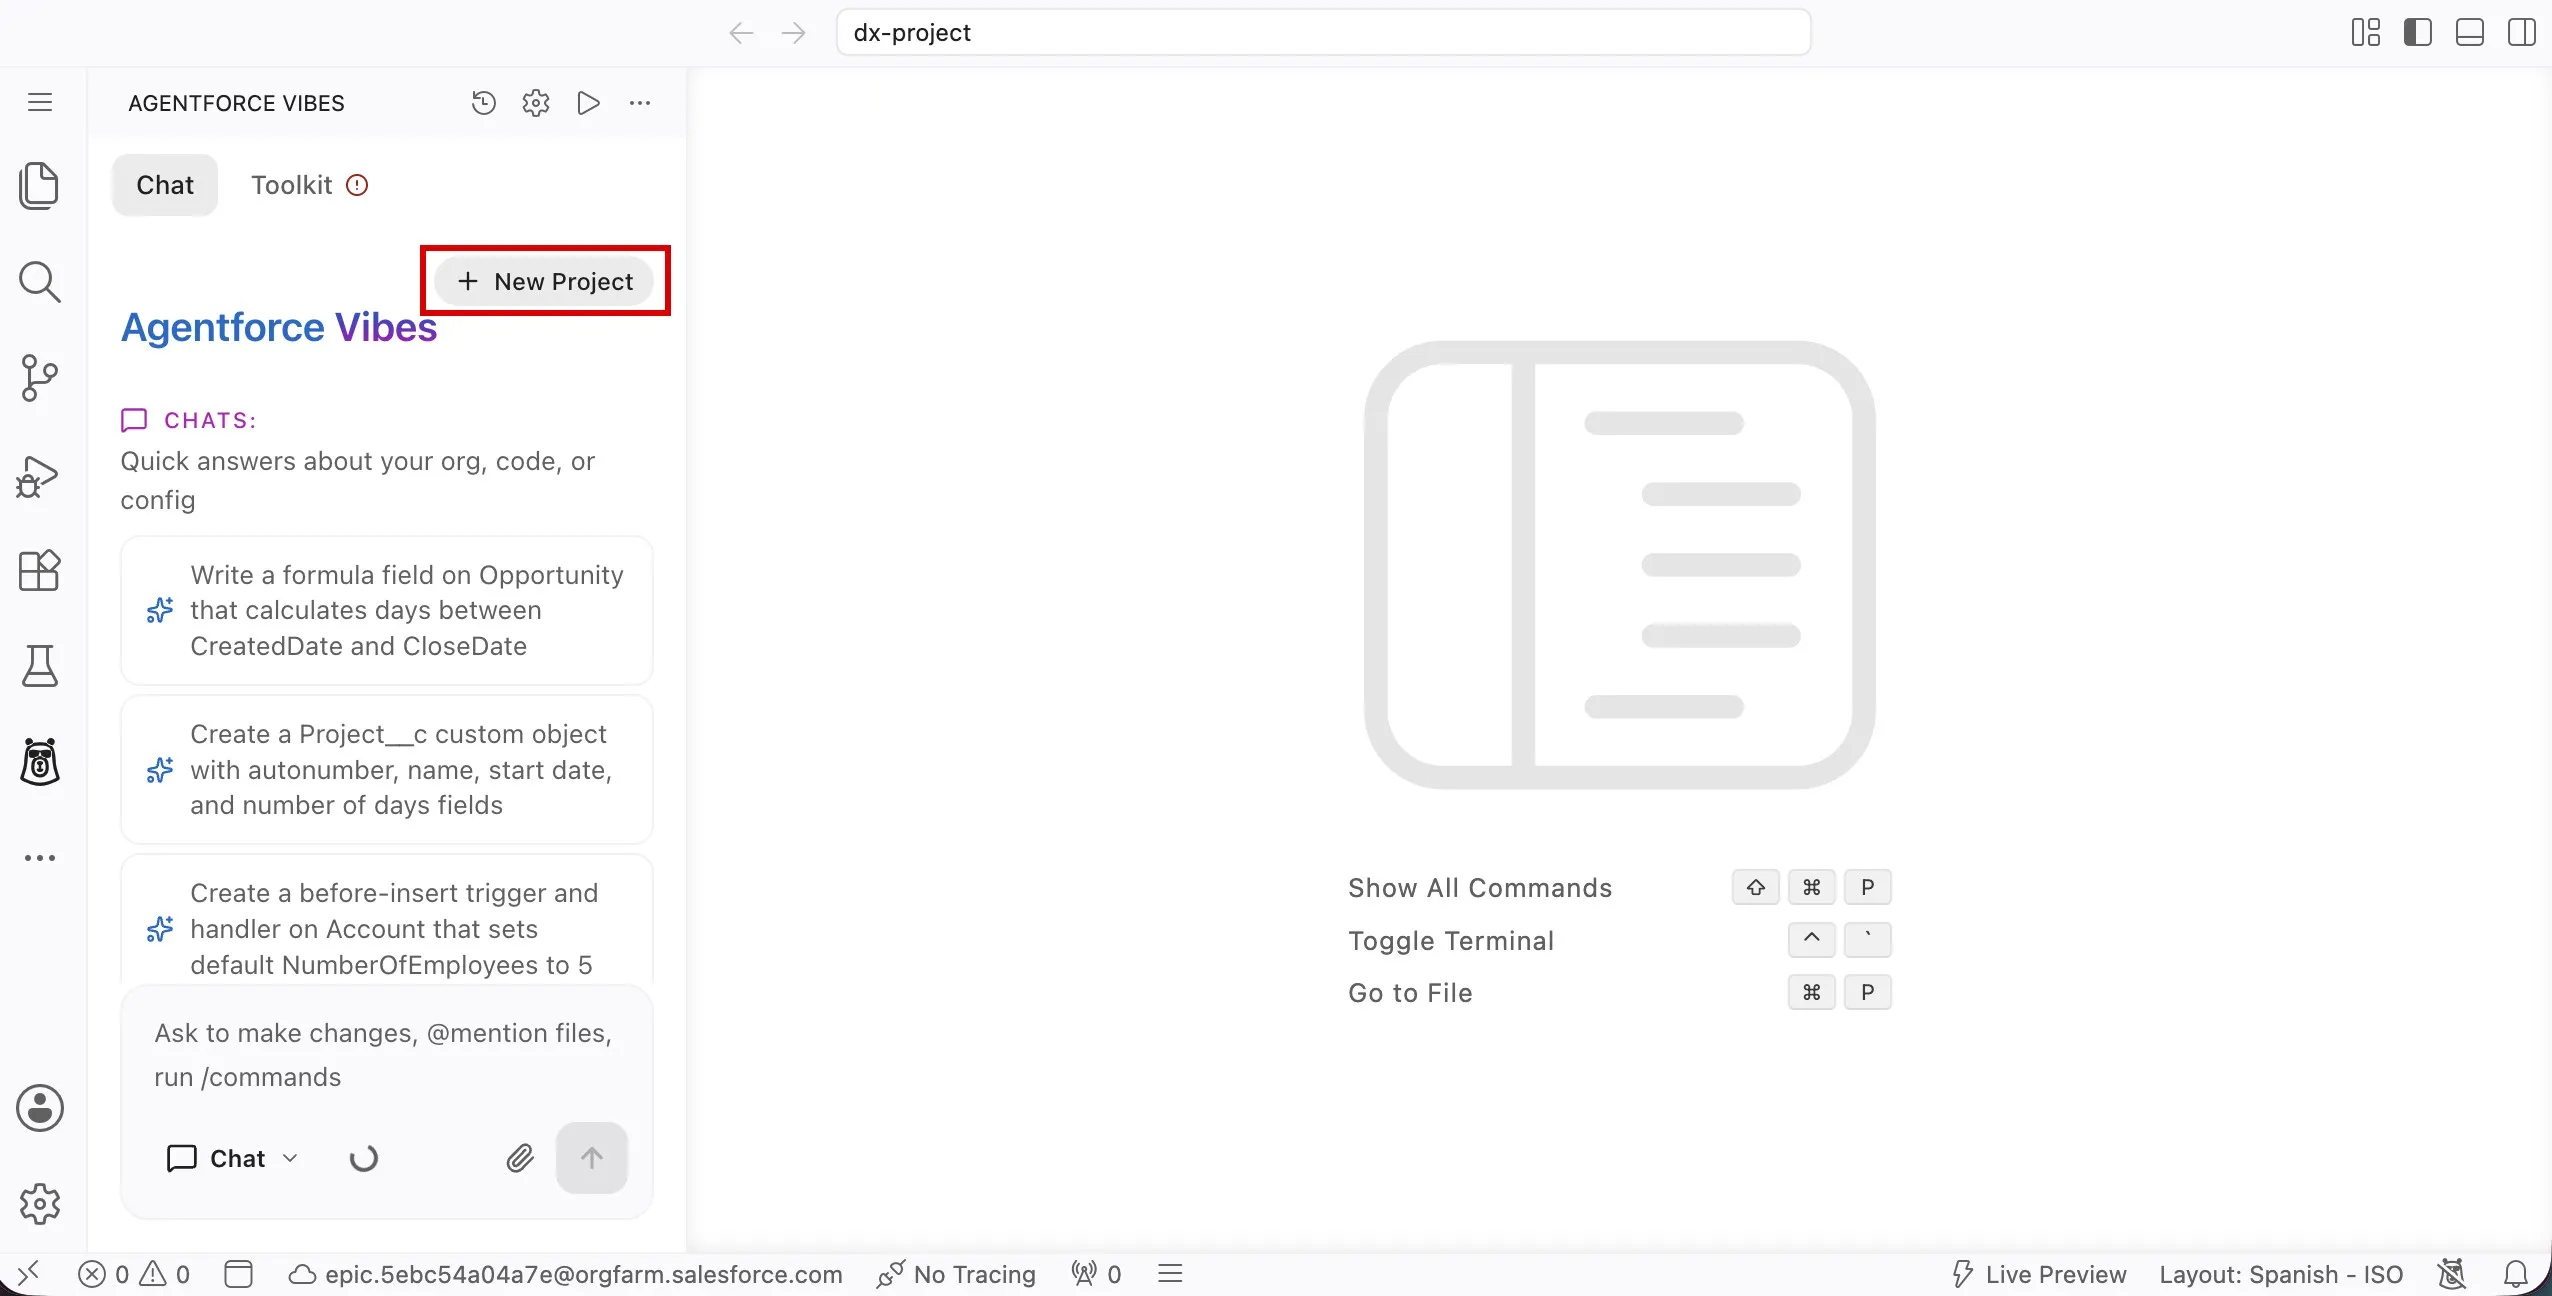
Click New Project.
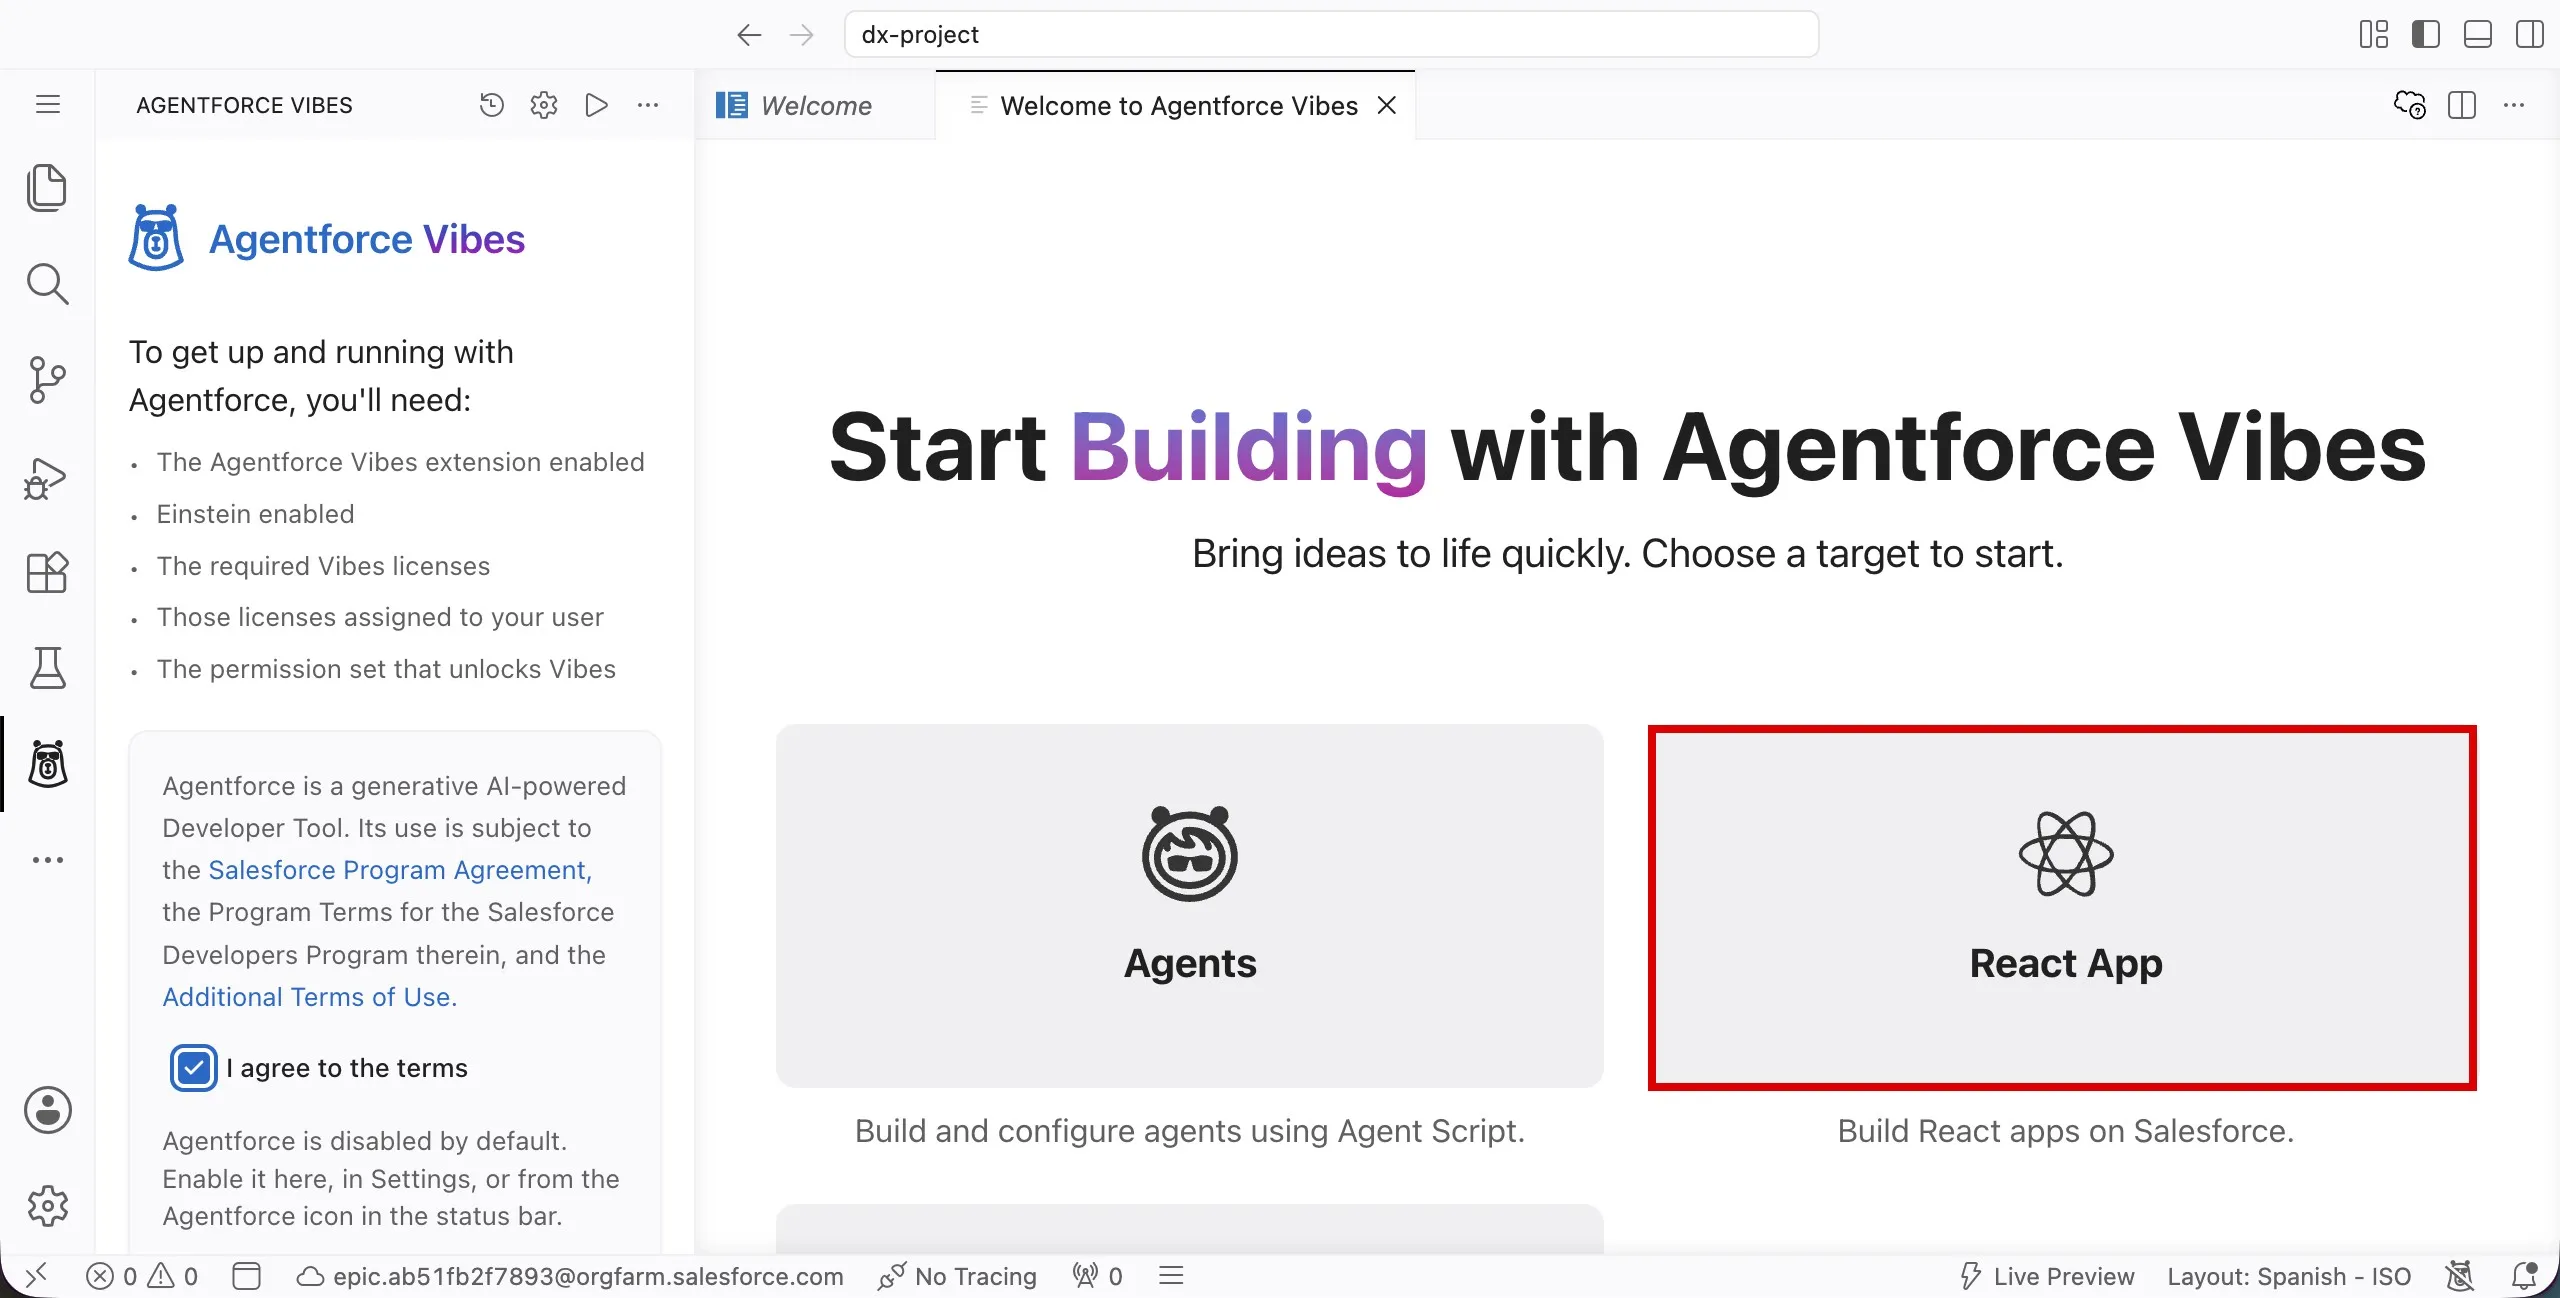
Select React App.
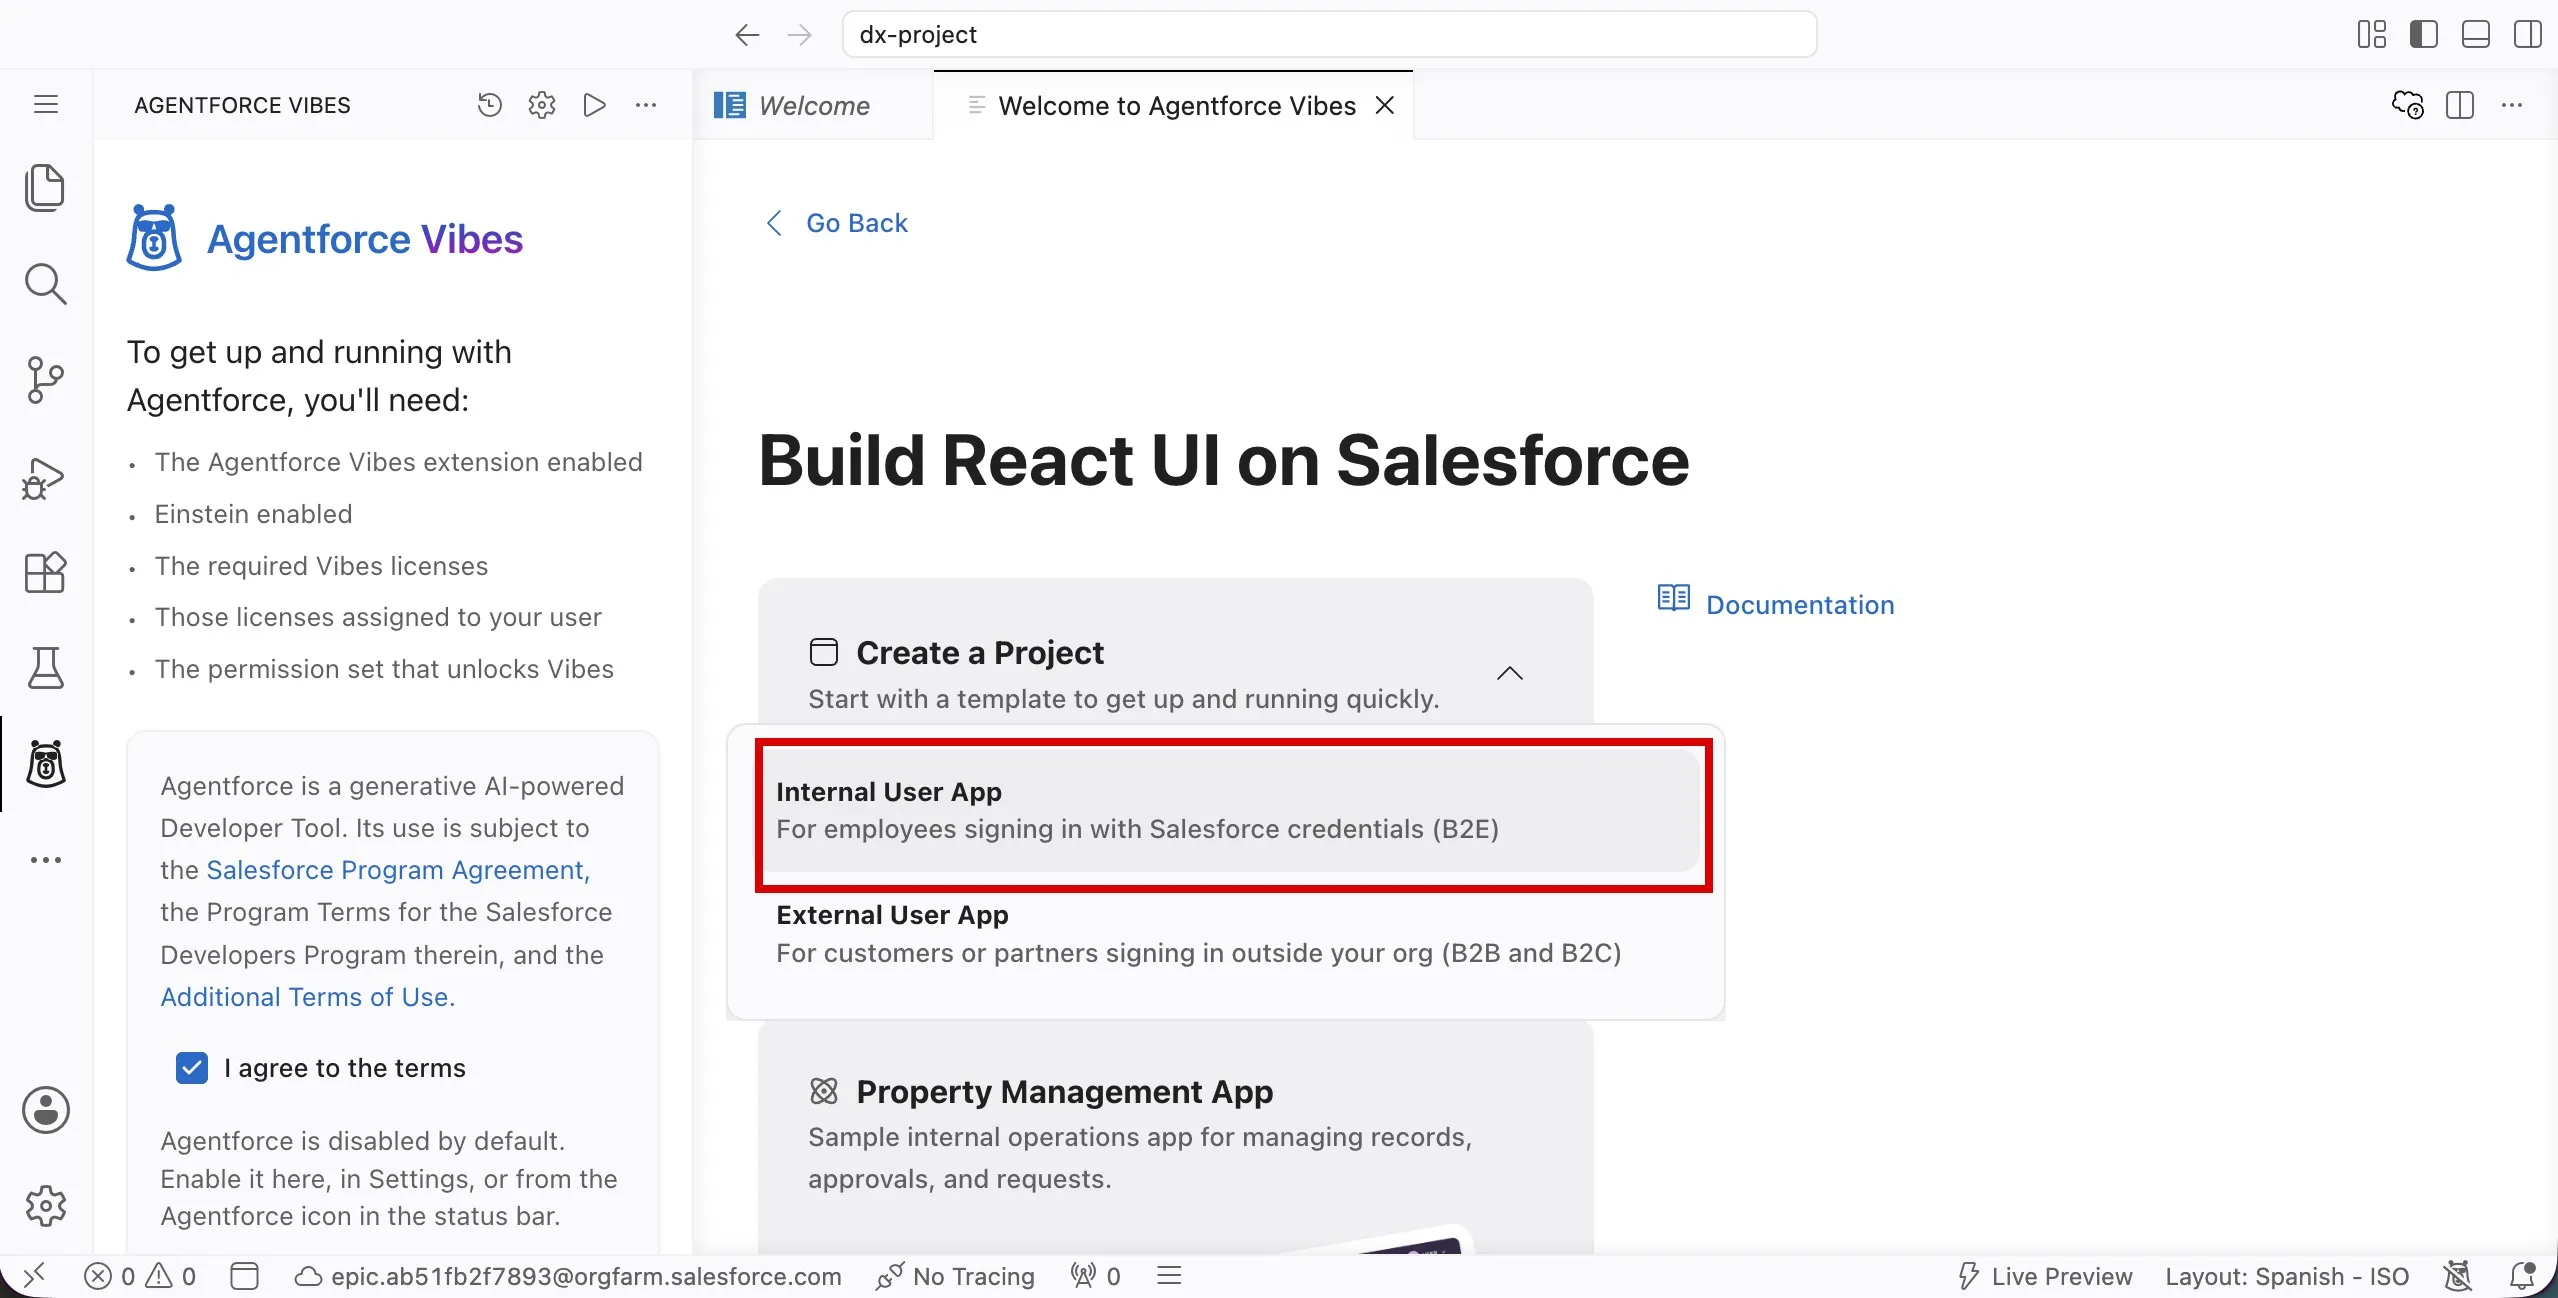
Click Create a Project.
Select Internal User App.
What does "Internal User App" mean?
It means the app is for the users of your own org. Once deployed, it shows up in the App Launcher like any other Salesforce app, and access is controlled with a permission set. You'll set that up in Exercise 4.
Apps for external users, such as customers or partners, are exposed differently, through an Experience Cloud site. A React app can also be embedded inside a Lightning page as a microfrontend, wrapped by a Lightning web component.
Update the project name to
merchant-operations-center.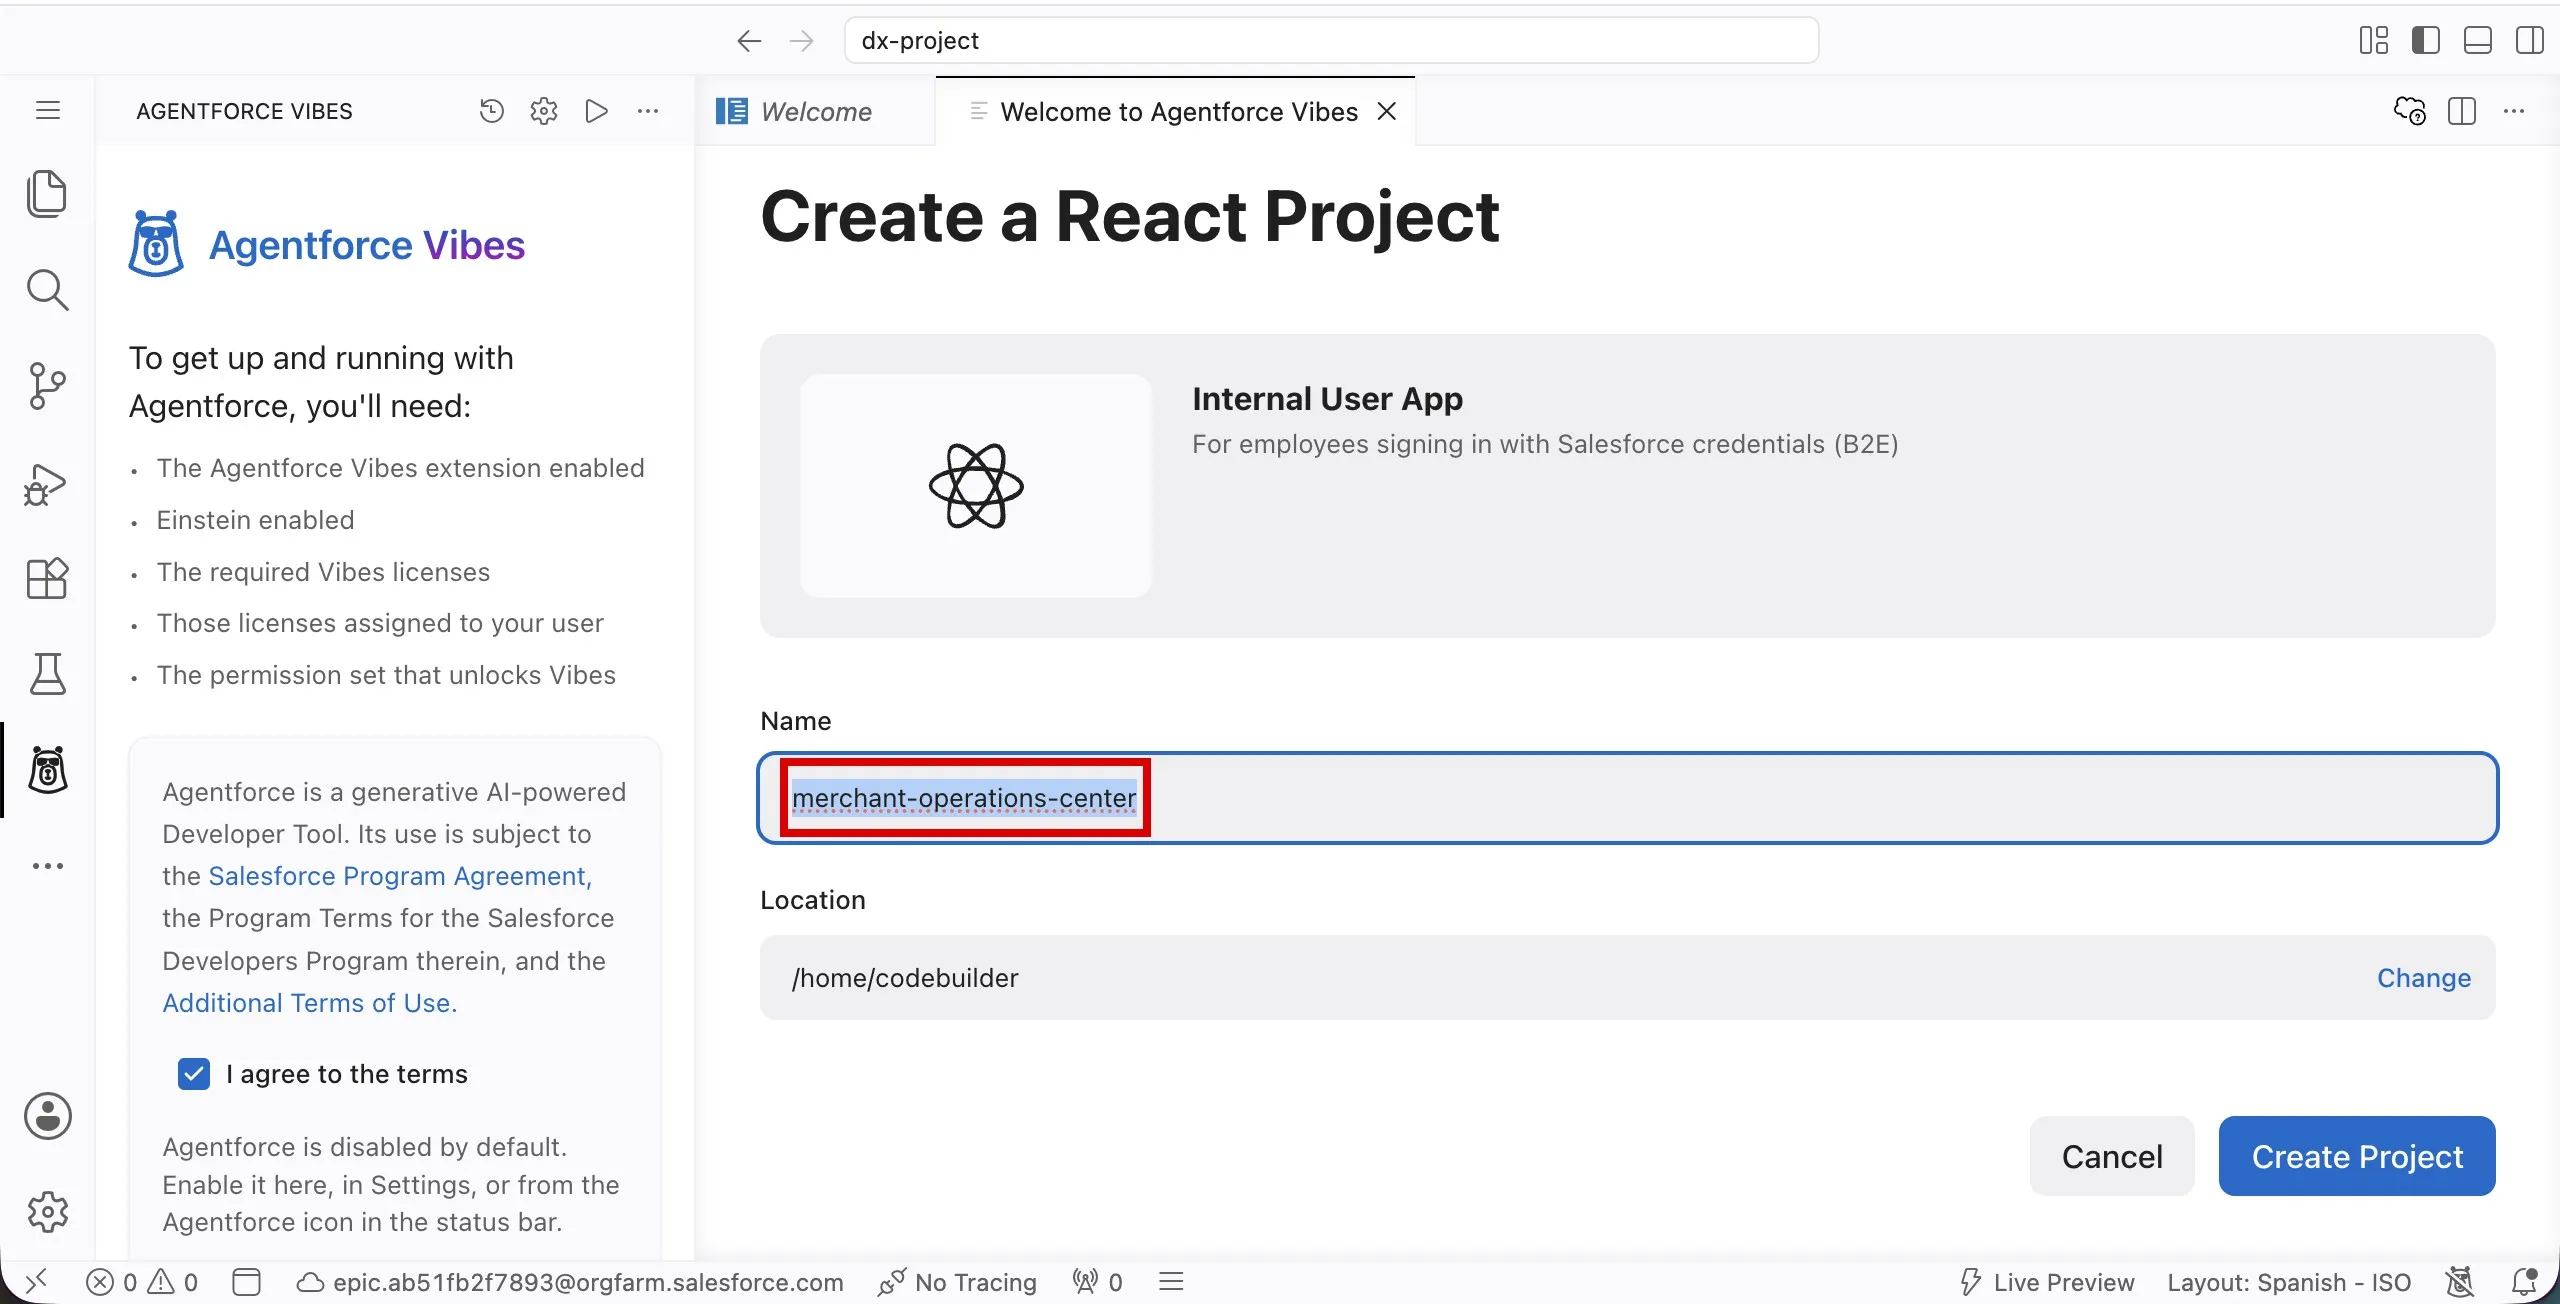
Click Create Project.
Wait for Vibes to create the project. It automatically opens in a new workspace.
What's in the project?
The project isn't empty. Vibes created it from the Internal User App template, a working React app you'll reshape into the Merchant Operations Center.
txt
force-app/main/default/
├── applications/
│   └── merchantoperationscenter.app-meta.xml                   # CustomApplication: puts the app in the App Launcher
├── permissionsets/
│   └── merchantoperationscenter_Access.permissionset-meta.xml  # Grants users access to the app
└── uiBundles/
    └── merchantoperationscenter/                               # The React app (React, Vite, TypeScript, Tailwind)
        ├── merchantoperationscenter.uibundle-meta.xml          # UI Bundle metadata
        ├── package.json                                        # dev, build, and test scripts
        └── src/                                                # App source, including shadcn/ui components
The starter app has a Home page and an Account search example that reads Salesforce data. Nothing is in your org yet. You'll deploy the app in Exercise 4.
Step 2: Install and Run the Starter App
Once the new project is loaded, open the Agentforce Vibes Sidebar.
Agree to the extension terms, then click Enable Agentforce.
Open a terminal with Terminal > New Terminal. It opens in the project root.
Install the project's tooling:
bashnpm installMove into the React app and install its dependencies:
bashcd force-app/main/default/uiBundles/merchantoperationscenter npm installYou'll see npm warnings about vulnerabilities and engines. They're expected. Don't run
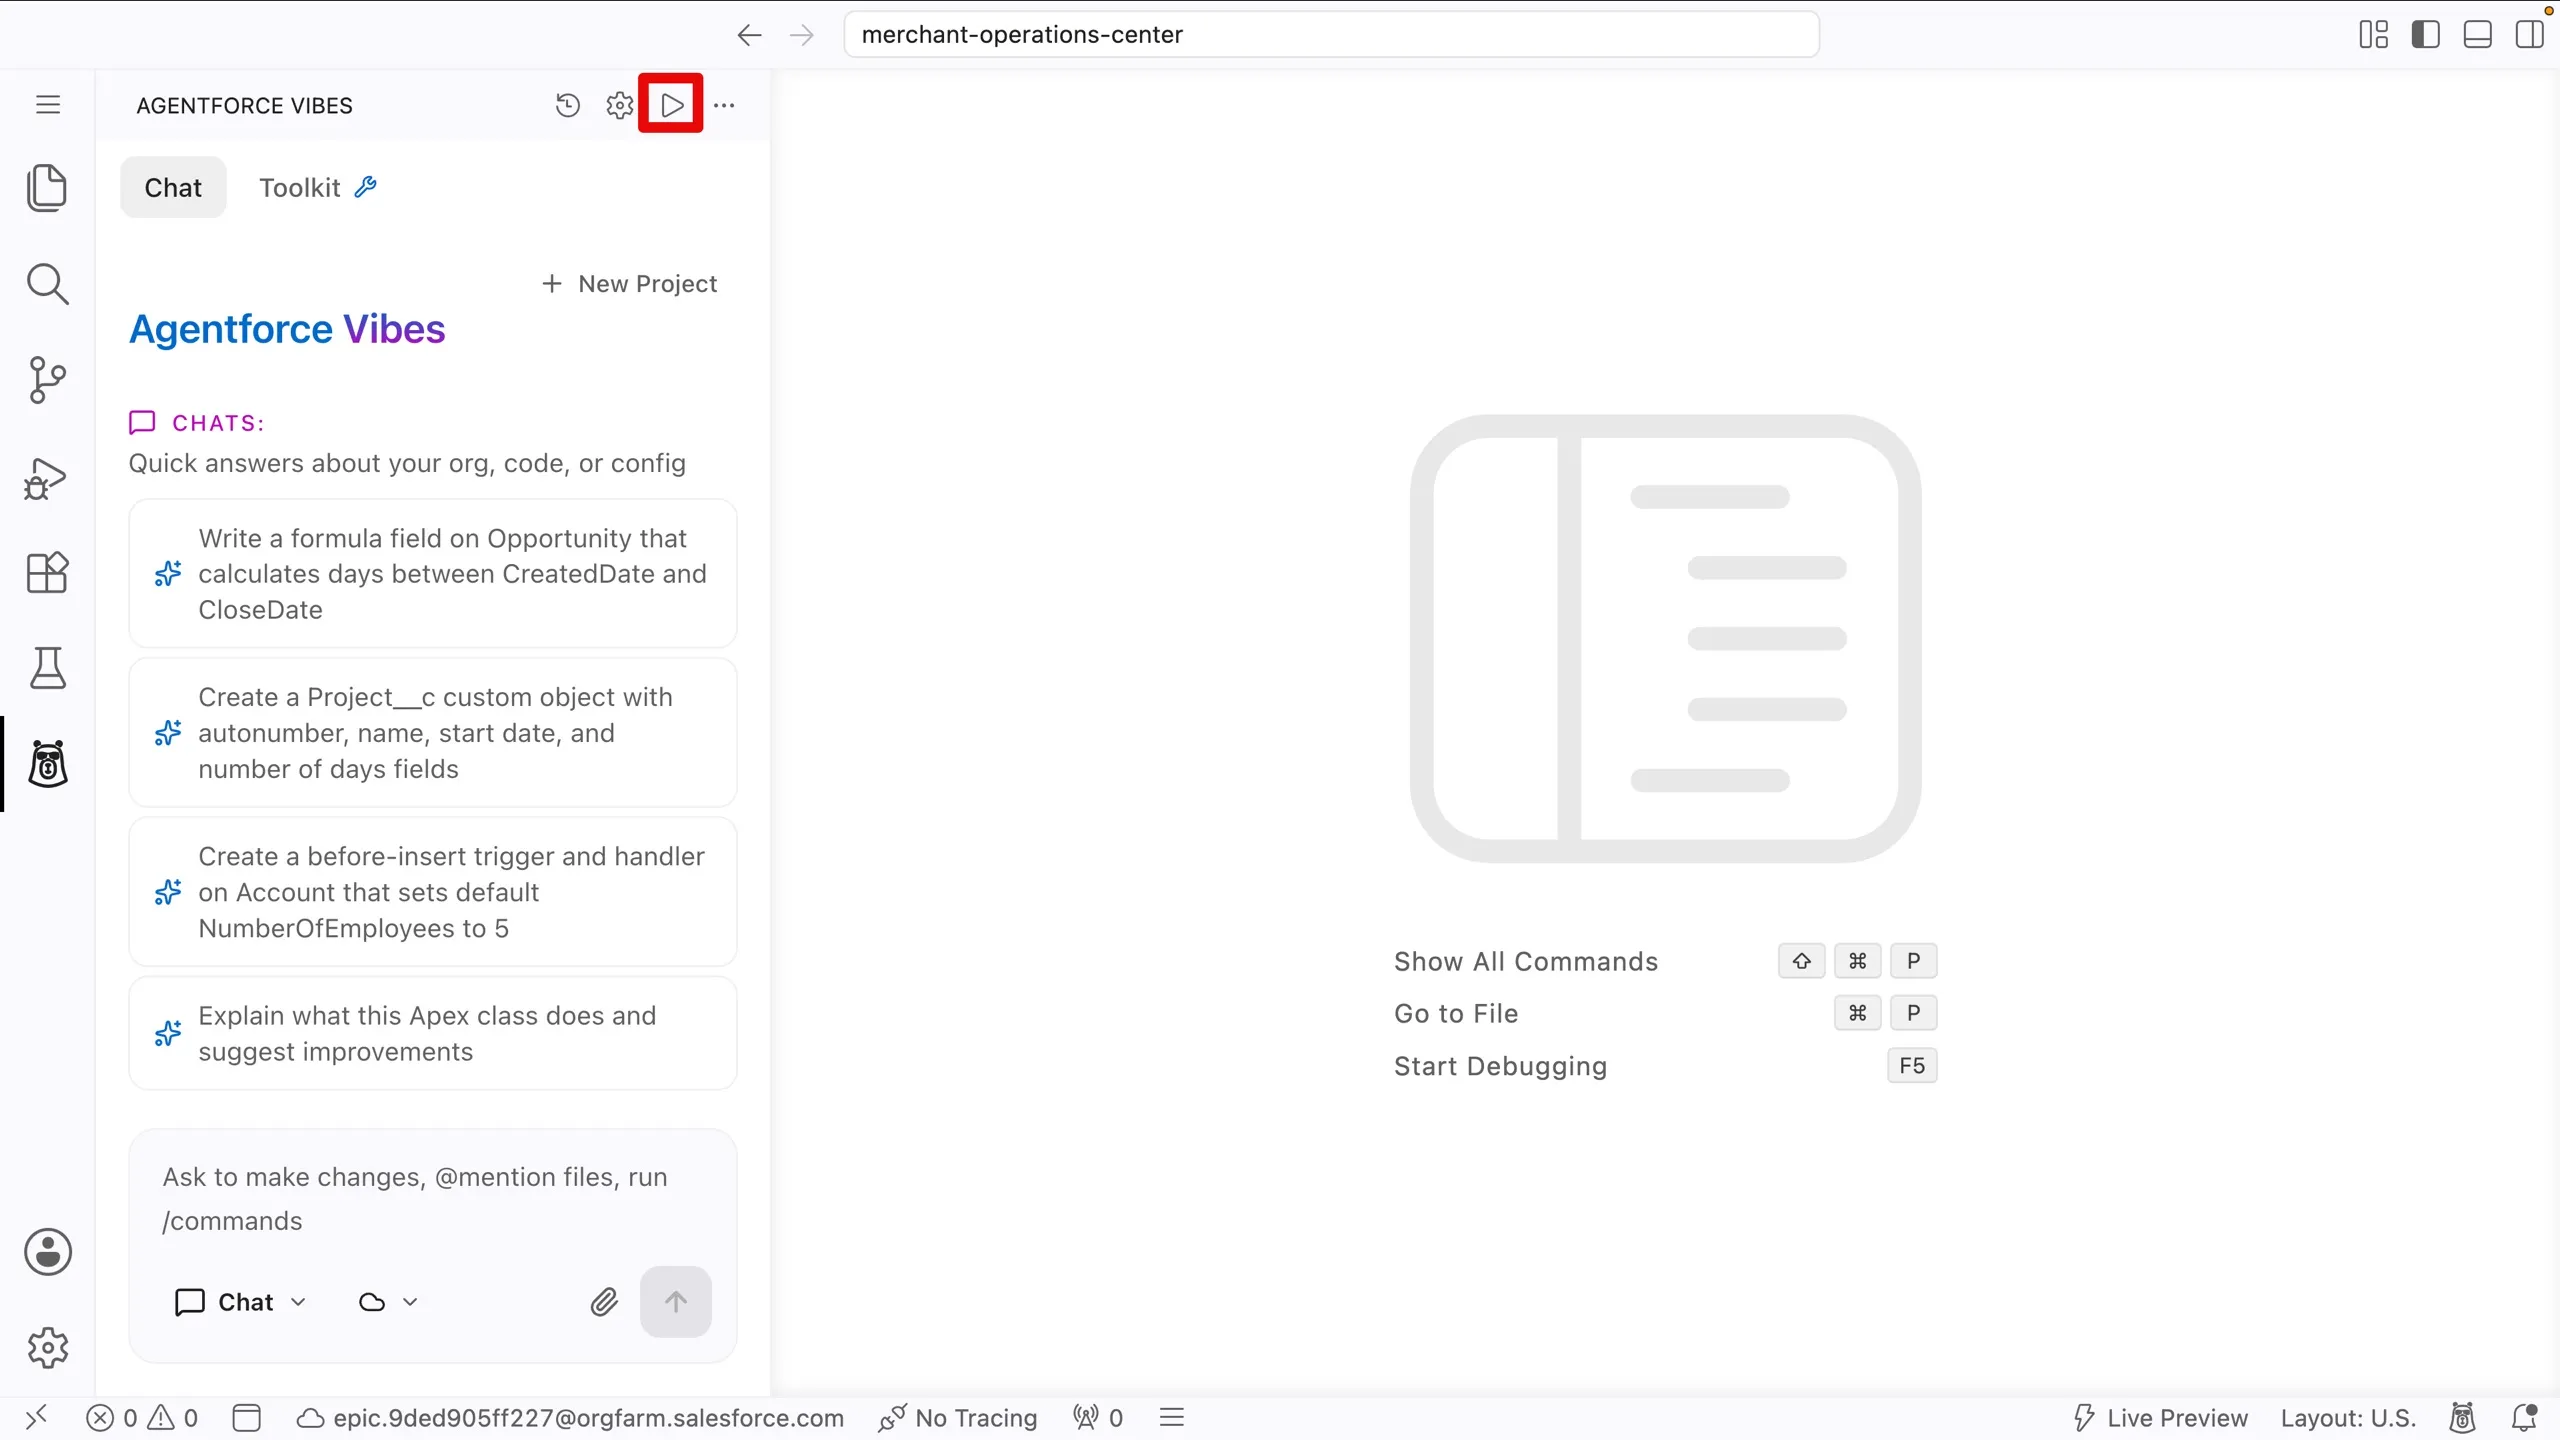
npm audit fix --force, as it can break the project.Click the Preview button at the top of the Agentforce Vibes extension. This starts the Vite dev server, which serves the app with instant reloads.
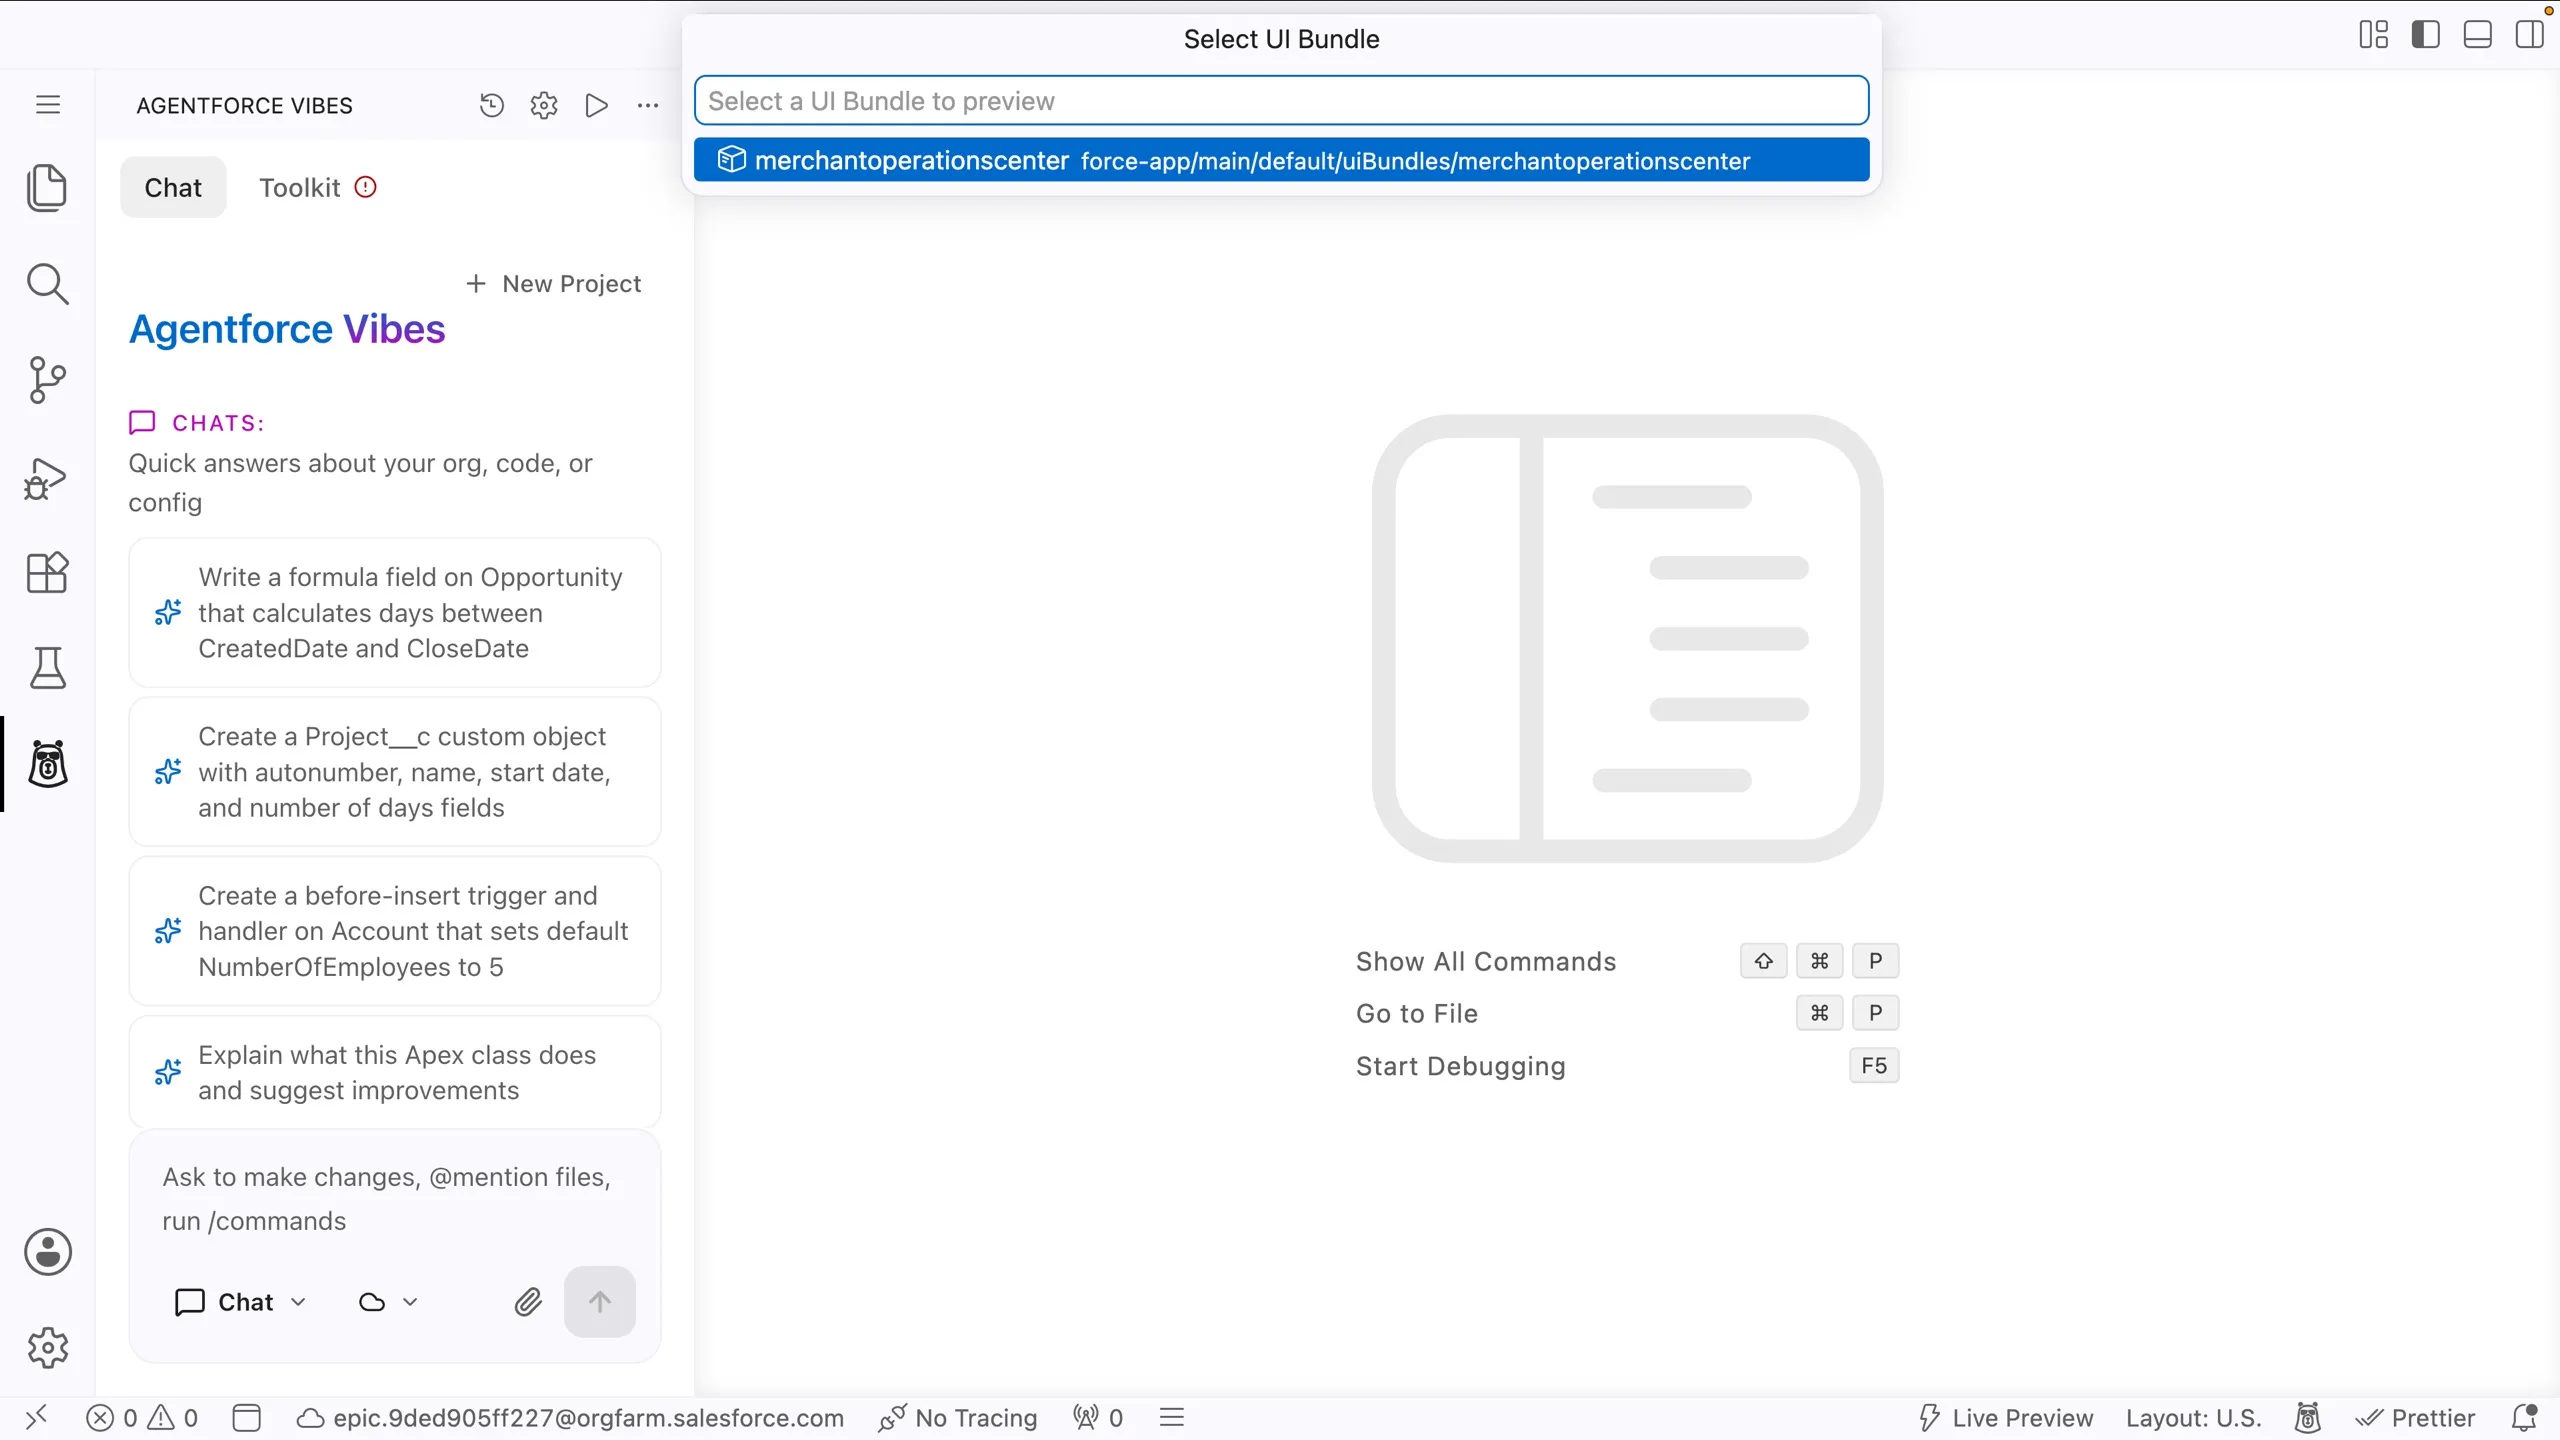
When prompted to select a UI Bundle, select merchantoperationscenter.
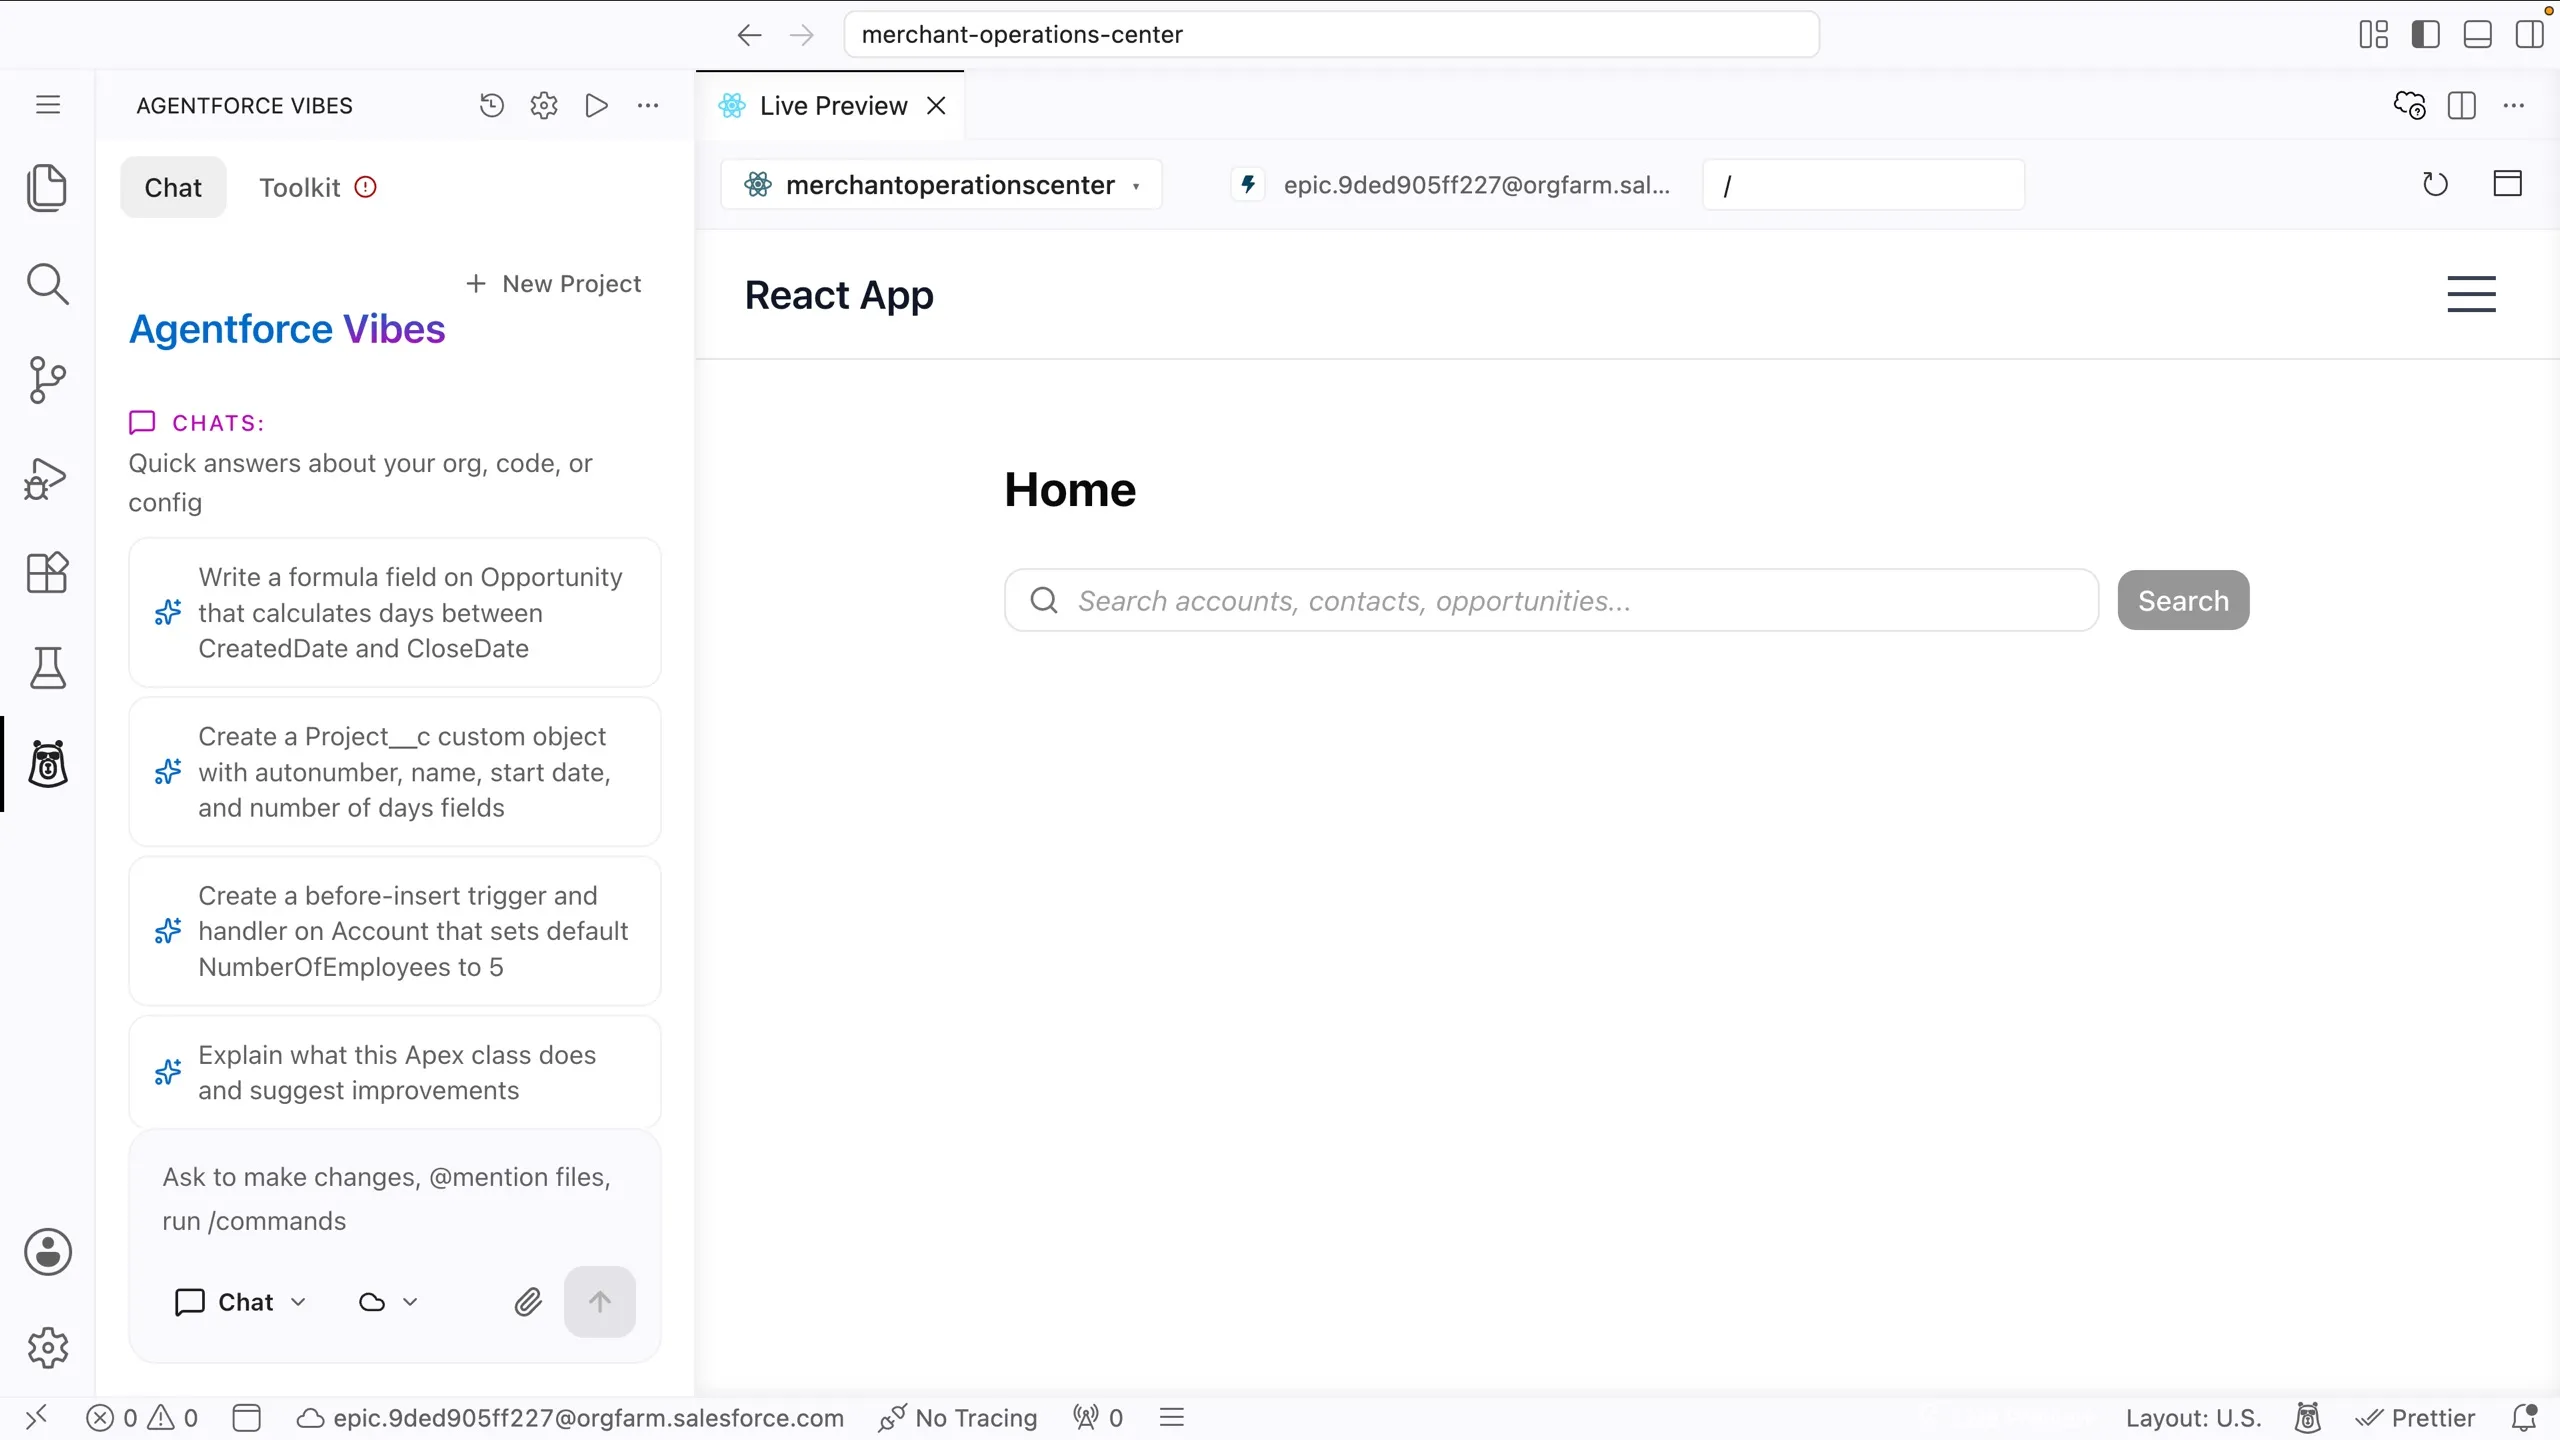
Look around the starter app. It has a React App header and a Home page. You'll replace both in the next step.
Step 3: Build the App Shell
In the Agentforce Vibes Sidebar, toggle from Chat mode to Plan mode.
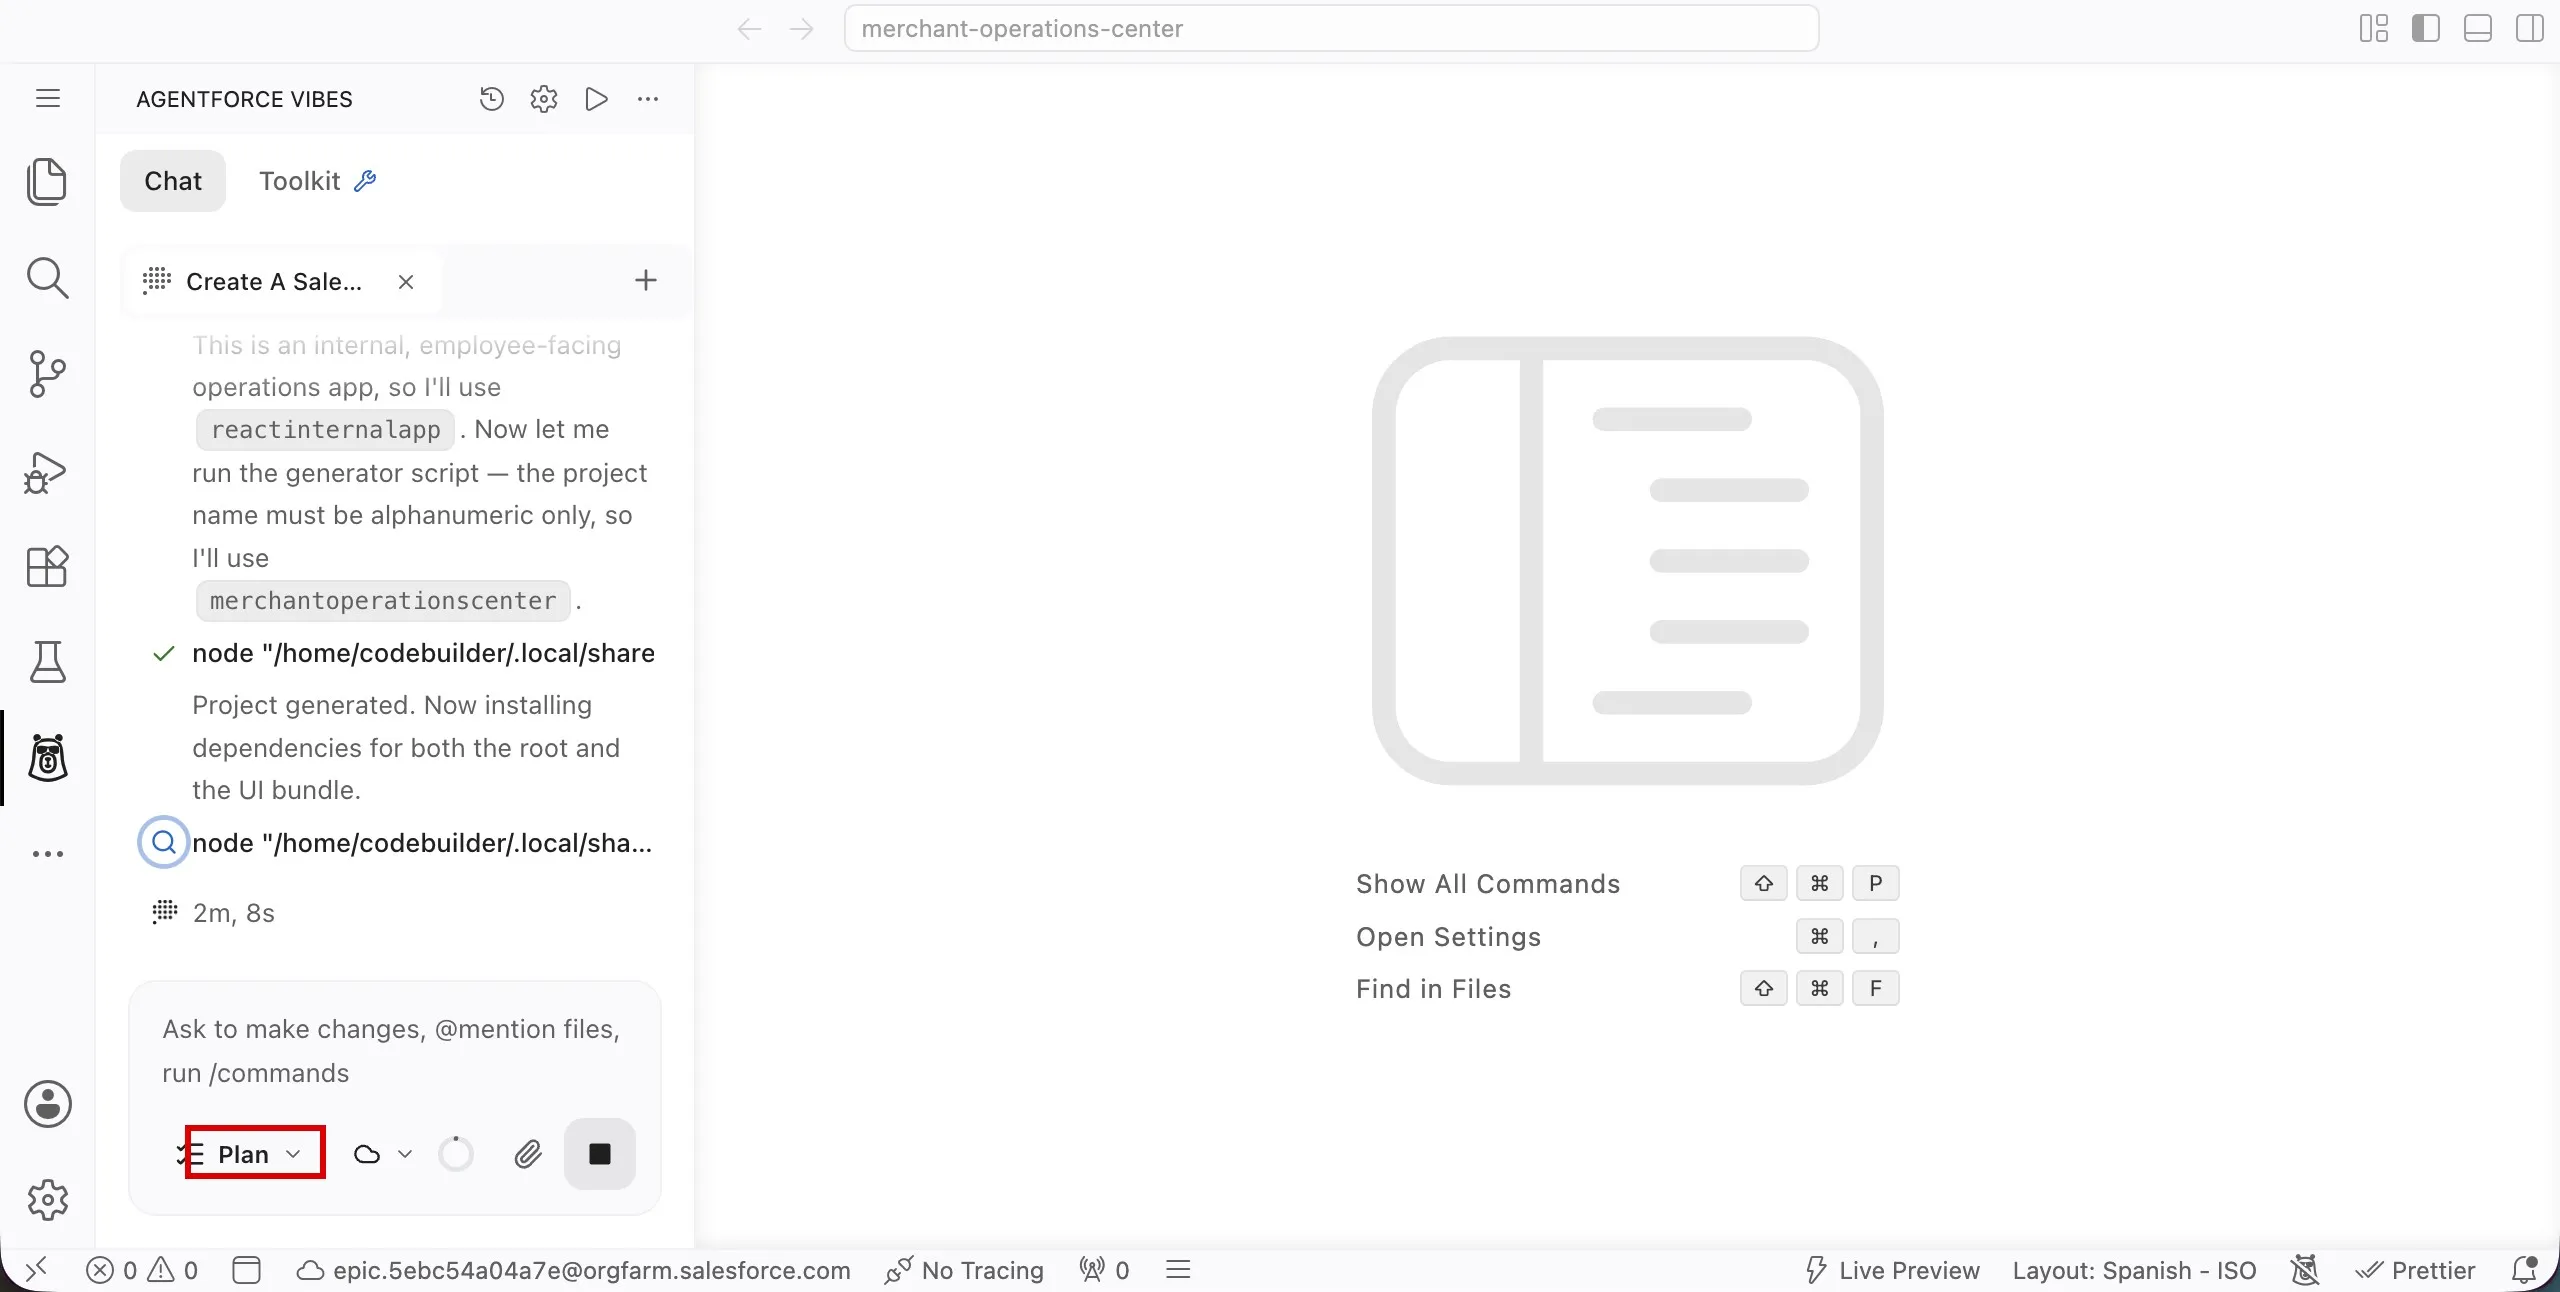
Use this prompt to ask Vibes to plan the first visible version:
txtTurn this Salesforce Multi-Framework React app, merchant-operations-center, into the Merchant Operations Center. Use Merchant Operations Center as the user-facing app title. For the first version, build only the app shell with a header, page title, and empty main content area. Use clean Salesforce-inspired styling.Review the plan Vibes proposes.
Approve the plan to switch back to Chat mode and let Vibes build the app shell. Keep an eye on Live Preview: it updates as Vibes edits each file.
If Vibes asks to run setup, install, or build commands, approve them.
Review the files Vibes creates or updates.
When Vibes finishes, confirm that Live Preview shows the Merchant Operations Center header in place of the starter React App header.
What just happened?
This is the usual React workflow:
npm installdownloaded the project's dependencies in Step 2.- The Vite dev server that Live Preview started picked up Vibes' changes. It serves your app with instant reloads and proxies Salesforce calls using your authenticated org session. That's what Live Preview shows.
- Nothing has been deployed yet. Your changes live only in this workspace until Exercise 4, where the app is built into static files (the
distfolder) and deployed to your org as a UI Bundle.
So the loop is: edit, see it in Live Preview, and deploy when you're ready.
Step 4: Add Mock Storefront Data
Use this prompt to add realistic mock data:
txtAdd mock storefront performance data to the Merchant Operations Center app. Each storefront should include: - storefrontName - cuisine - city - ordersToday - revenue - avgRating - openOrders Render the storefronts in a simple list or card grid.Preview the app and confirm that storefront cards or rows appear.
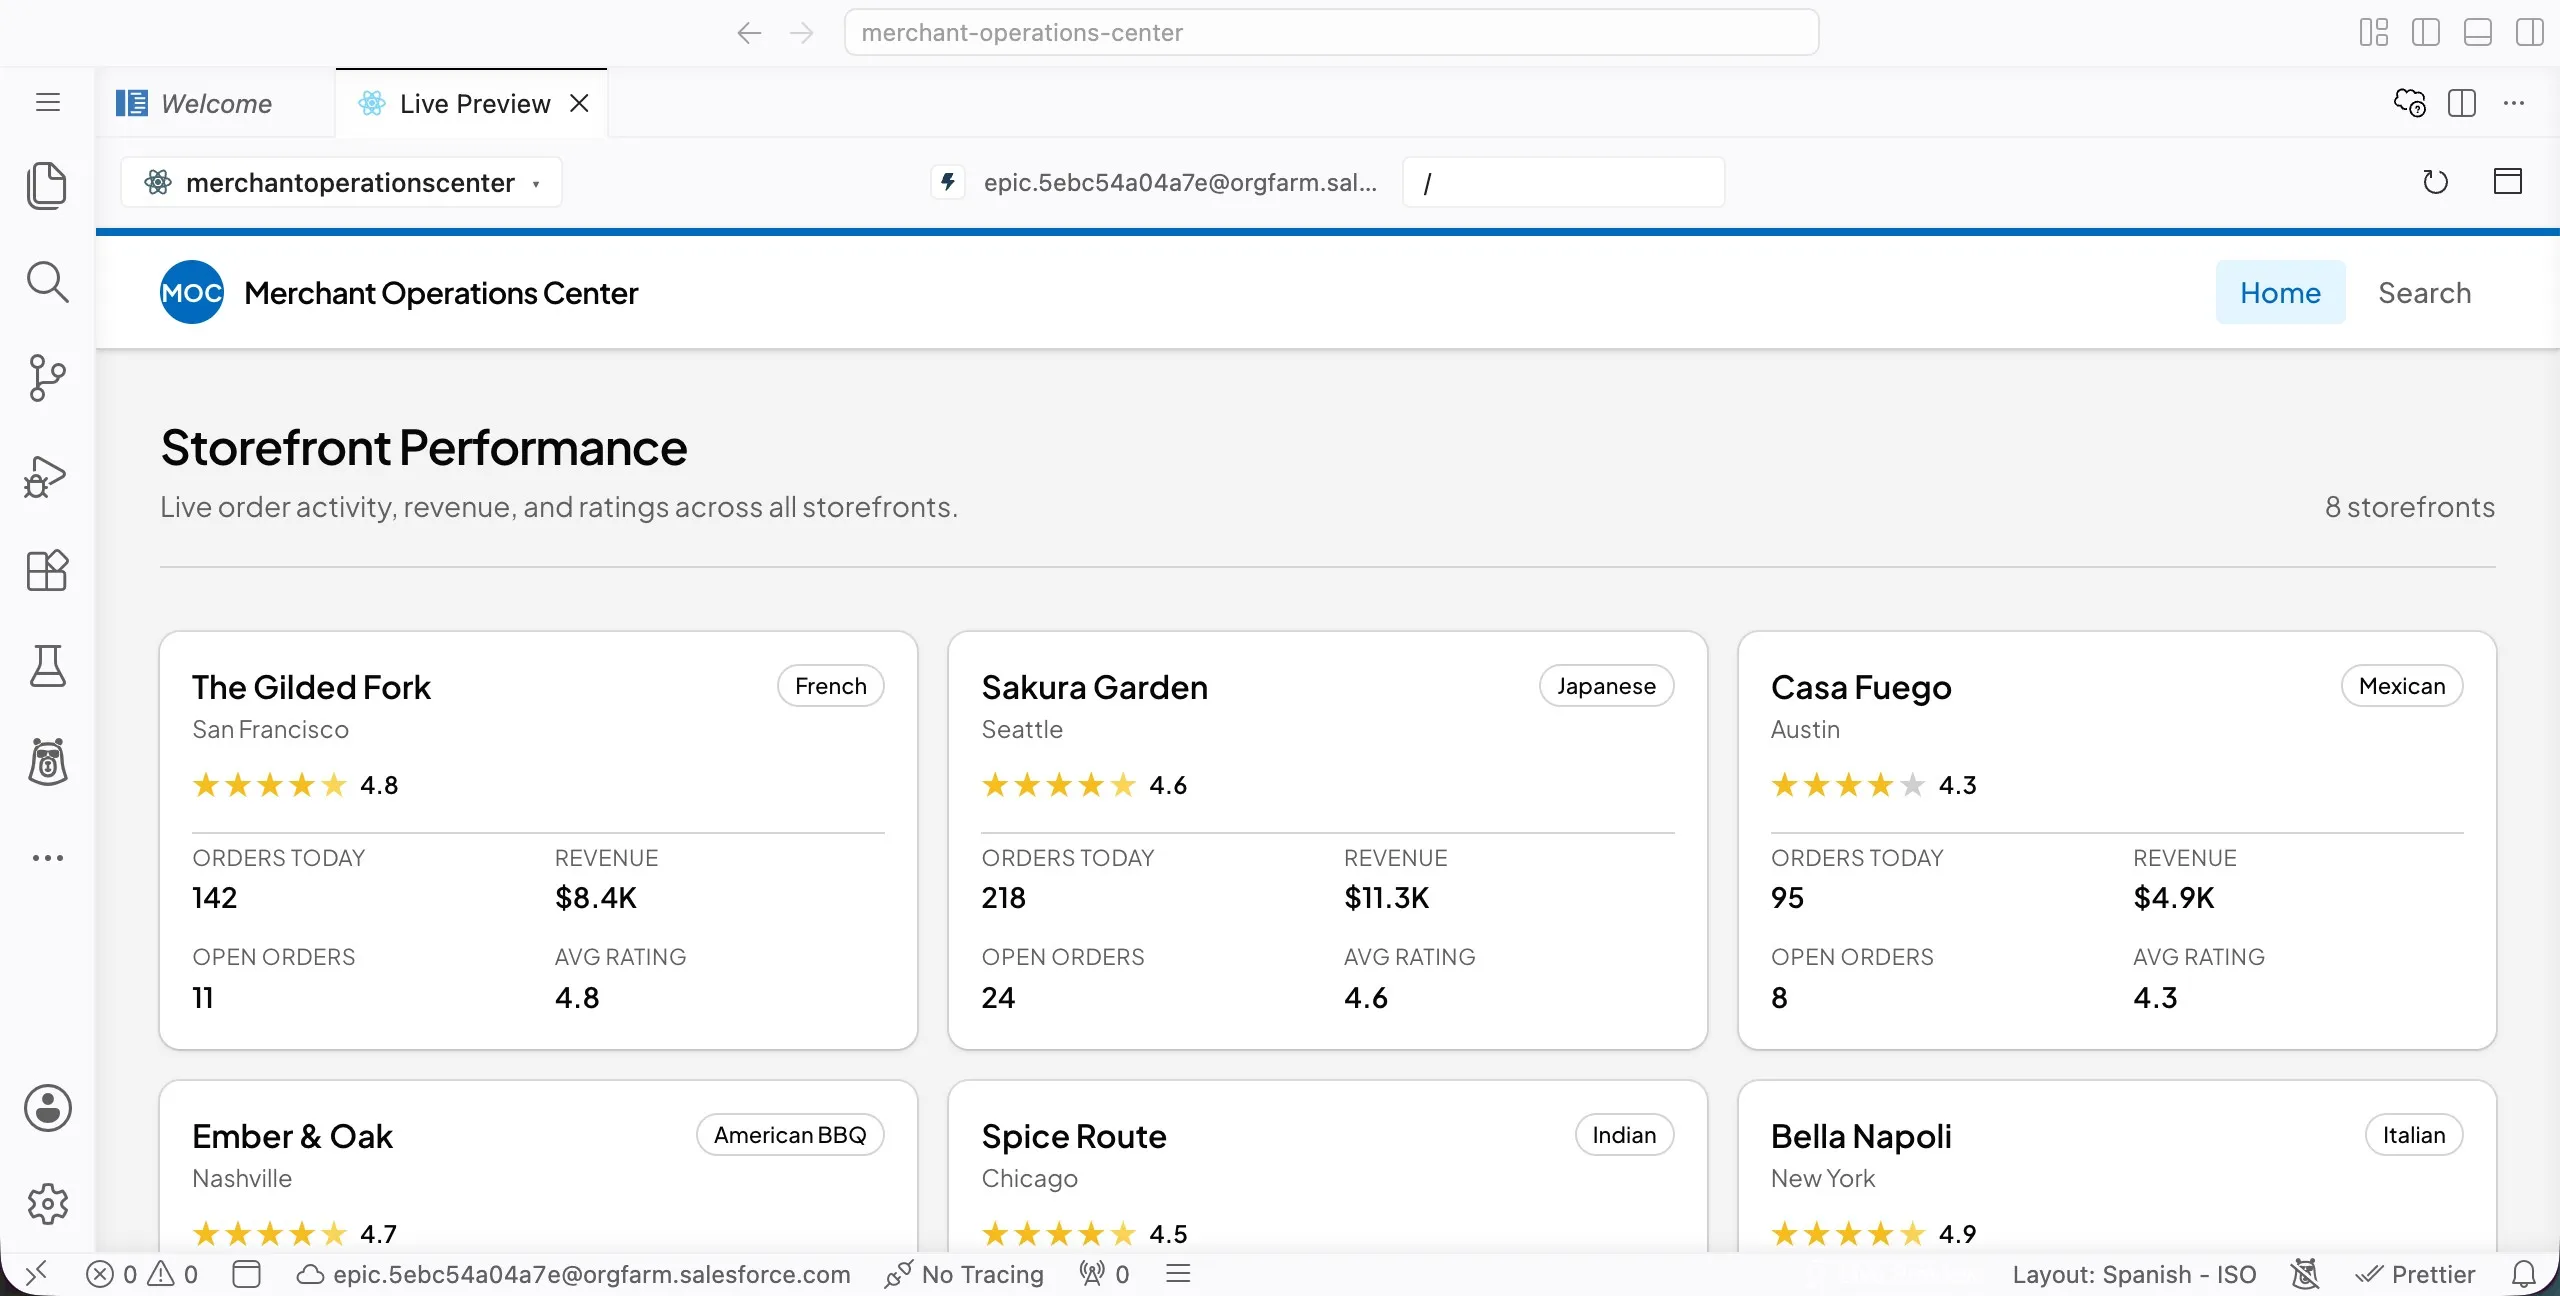
If the data renders but the layout feels crowded, ask Vibes to keep the layout simple before moving on.
Step 5: Add Summary Cards
Use this prompt to add calculated summary metrics:
txtAdd summary cards at the top of the Merchant Operations Center. Calculate from the mock storefront data: - Total Storefronts - Orders Today - Total Revenue - Average Rating - Open OrdersPreview the app and compare the summary cards with the storefront list.
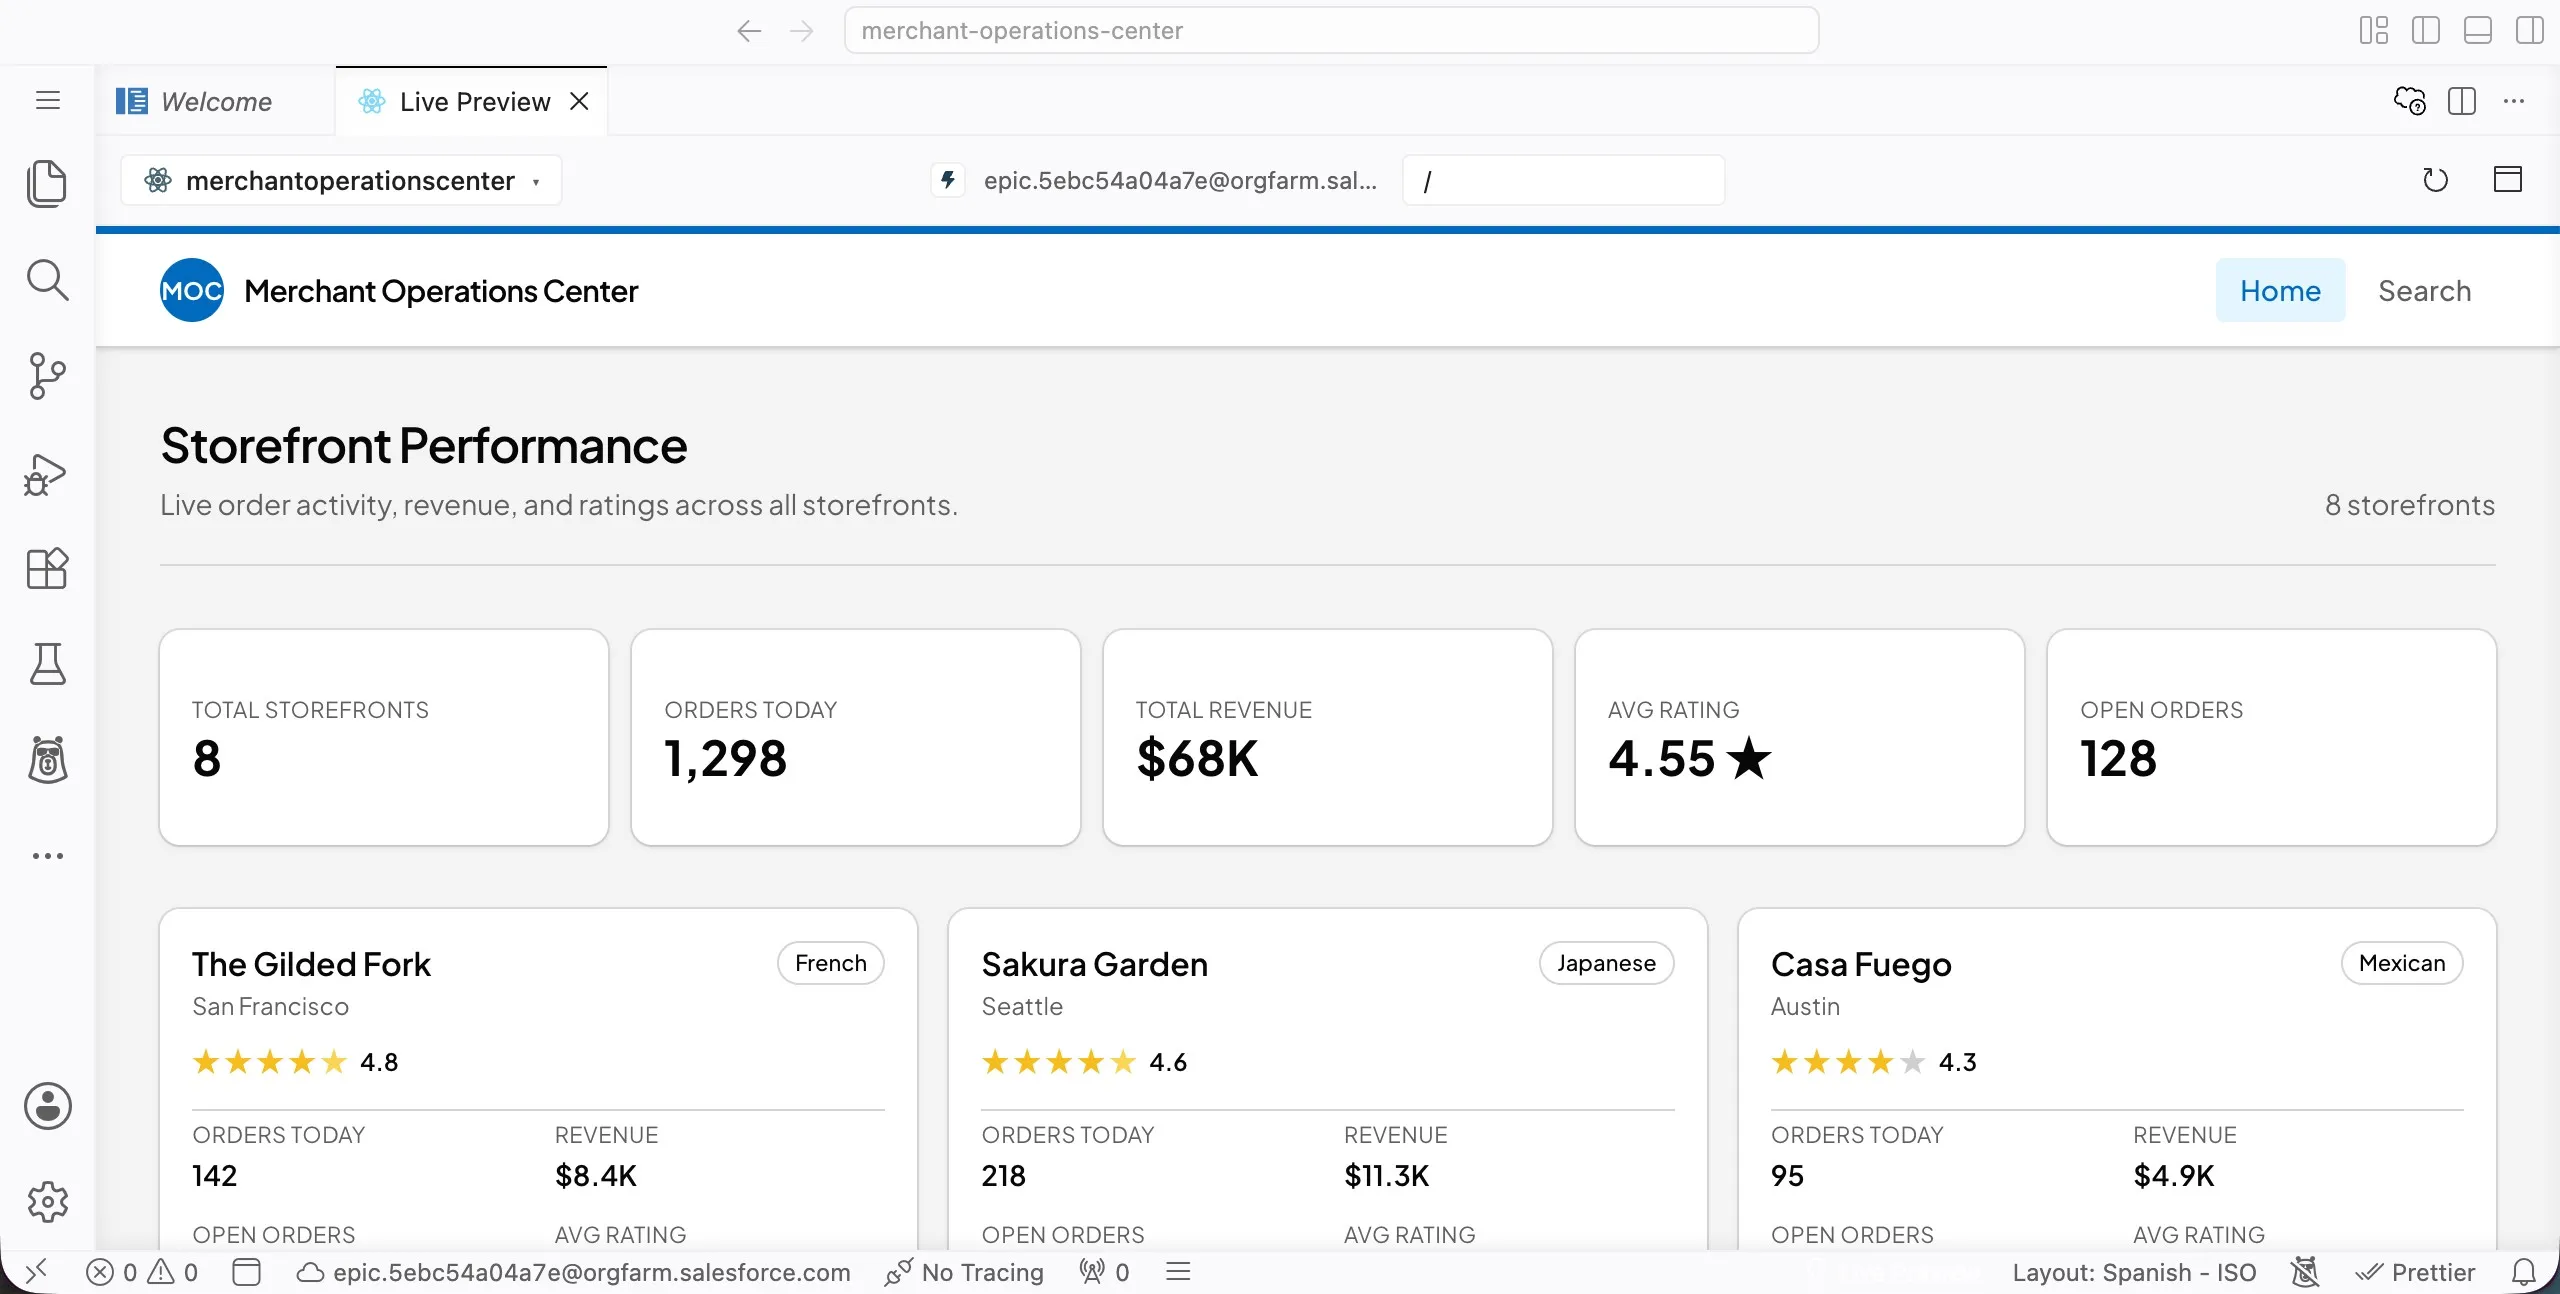
Ask Vibes to fix any metric that looks incorrect before continuing.
Step 6: Add Status Labels
Use this prompt to make the storefront cards easier to scan:
txtAdd visual status labels to each storefront card. Use: - Strong if average rating is 4.5 or higher - Healthy if average rating is 4.0 to 4.4 - Needs Attention if average rating is 3.0 to 3.9 - At Risk if average rating is below 3.0Preview the app and confirm that each storefront has a status label.
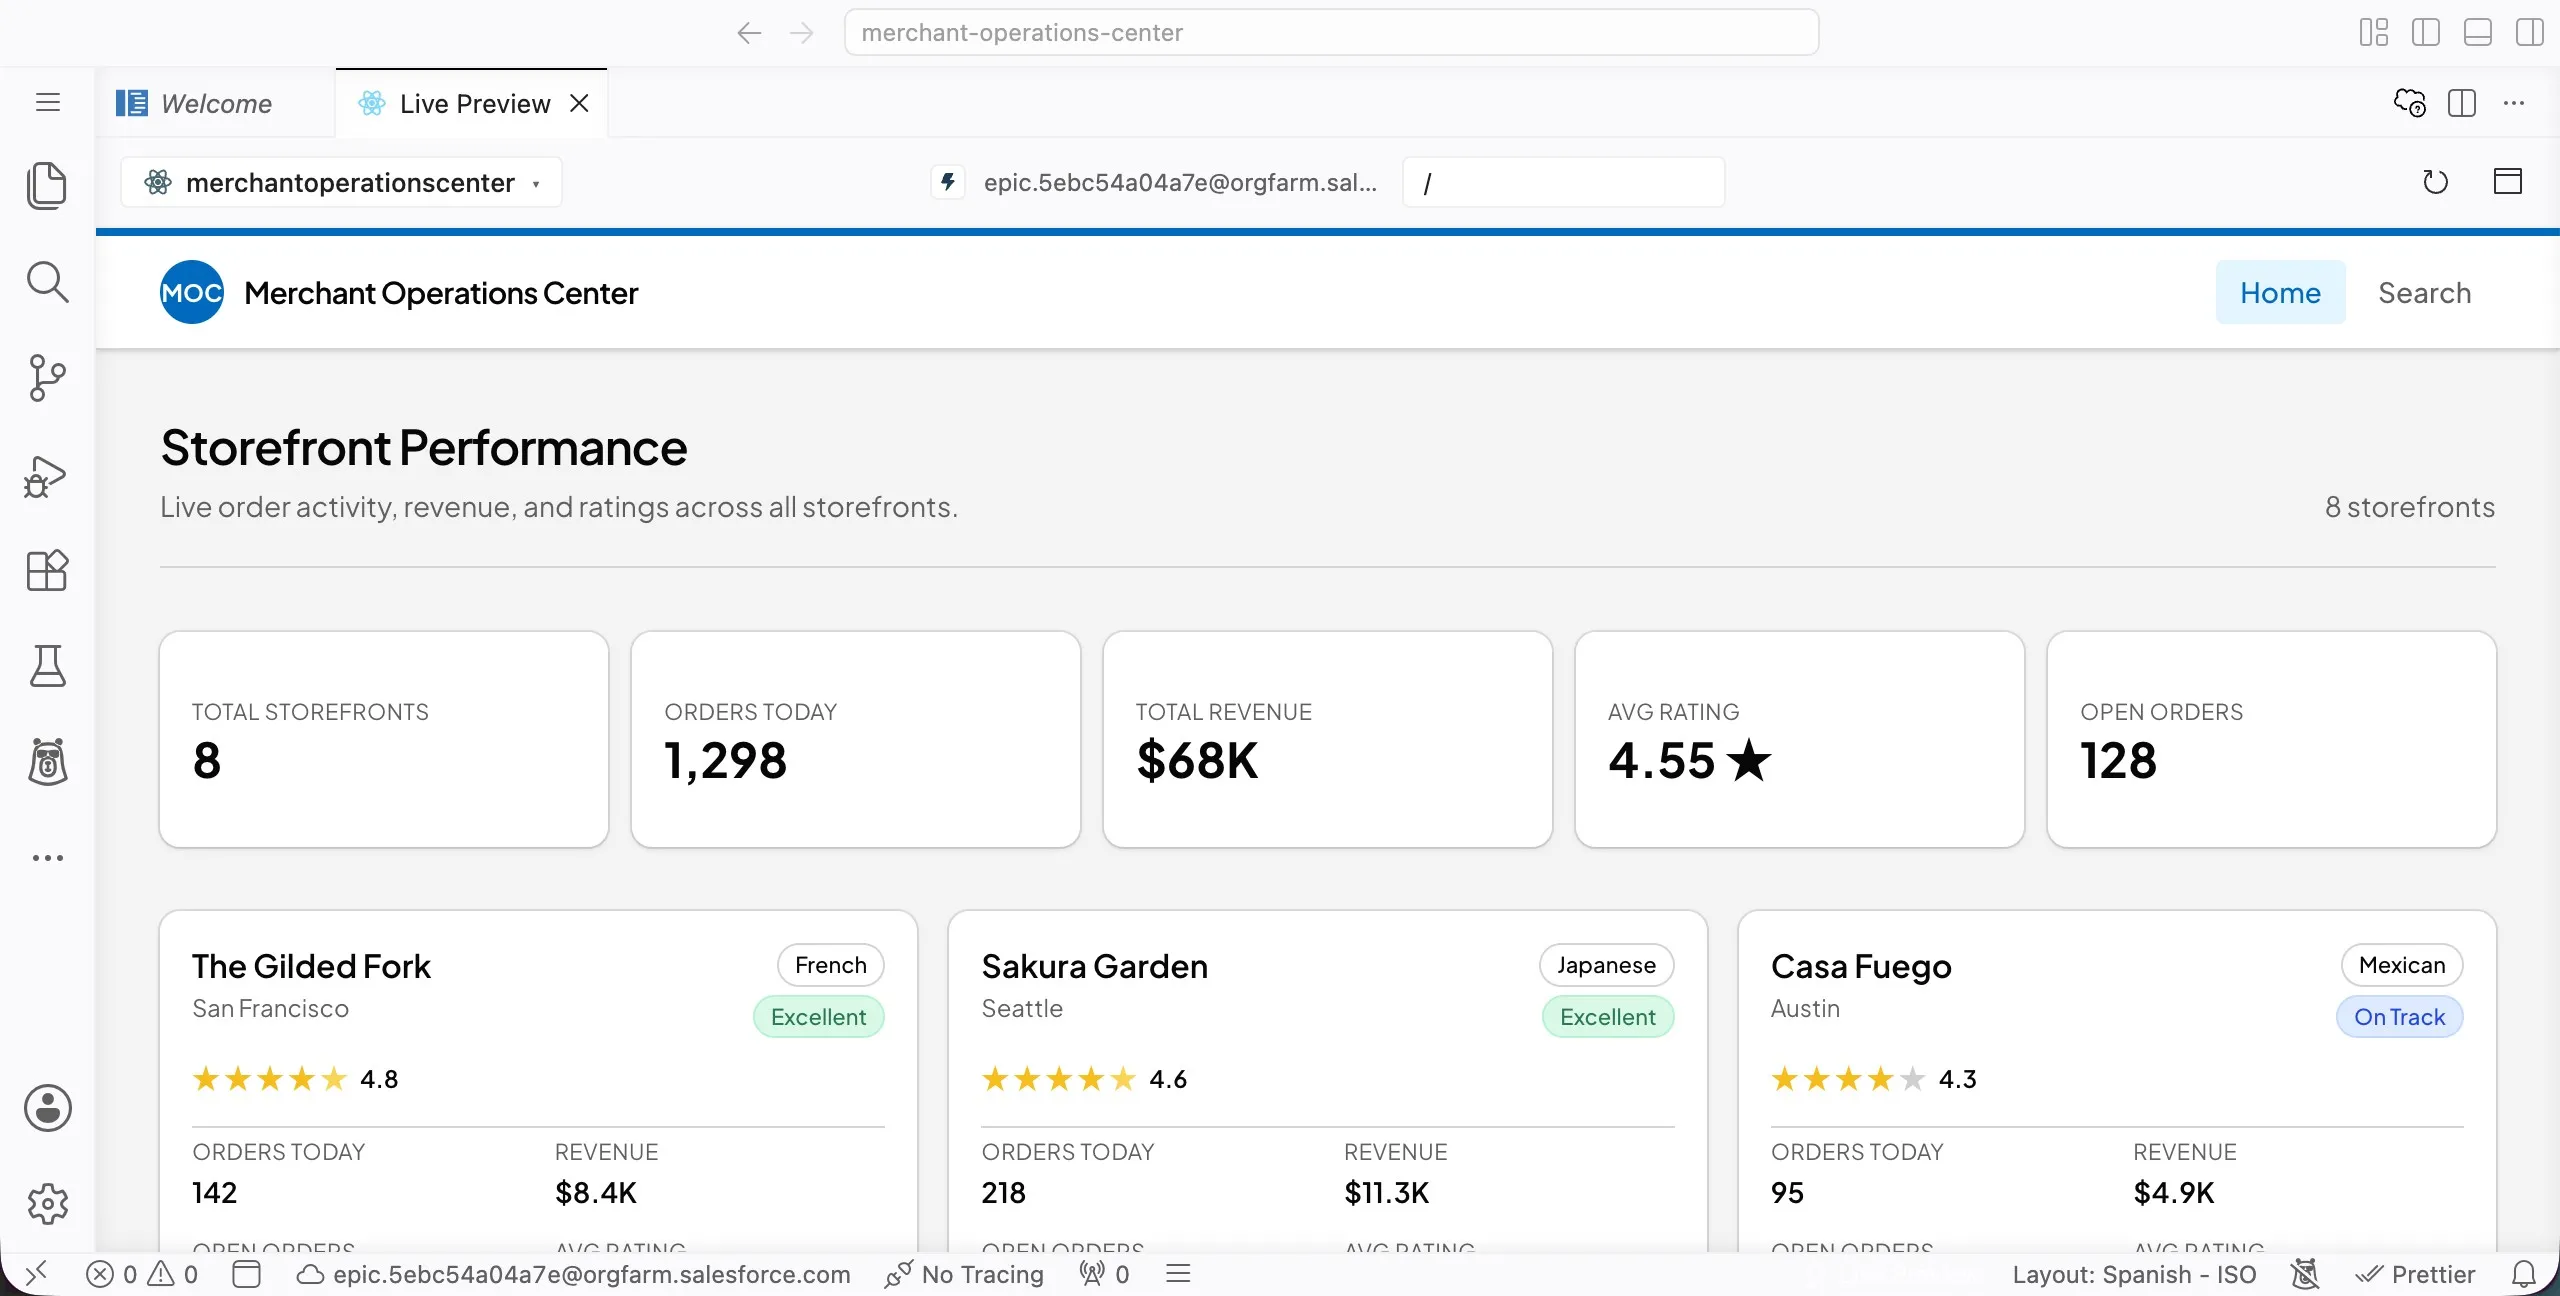
These labels and rating cutoffs match the Review Storefront Health Flow you reviewed in Explore Salesforce Hosted MCPs, so a storefront reads the same way across the workshop.
If a status label does not match the storefront's rating, paste the example into Vibes and ask it to correct the calculation.
Summary
- You created a Salesforce Multi-Framework React app.
- You installed the dependencies and previewed the starter app.
- You built the Merchant Operations Center app shell.
- You added mock storefront performance data.
- You calculated summary metrics from the mock data.
- You added status labels so storefront health is easy to scan.
In the next exercise, you'll make the app interactive with filters, search, sorting, and a detail panel.