
Appearance
Exercise 4 (Optional): Extend a Service Agent with Heroku
In this exercise, you will import a pre-deployed service from Heroku and make it available to be integrated with Agentforce. This action will enable Coral Cloud Resorts guests to request a memorable and personalized collage of all the events they have attended.
Step 1: Set up named credentials
Open the Setup Menu and click Setup.
In the quick find, search for Named Credentials and click Named Credentials.
Click on the dropdown besides New and select New Legacy.
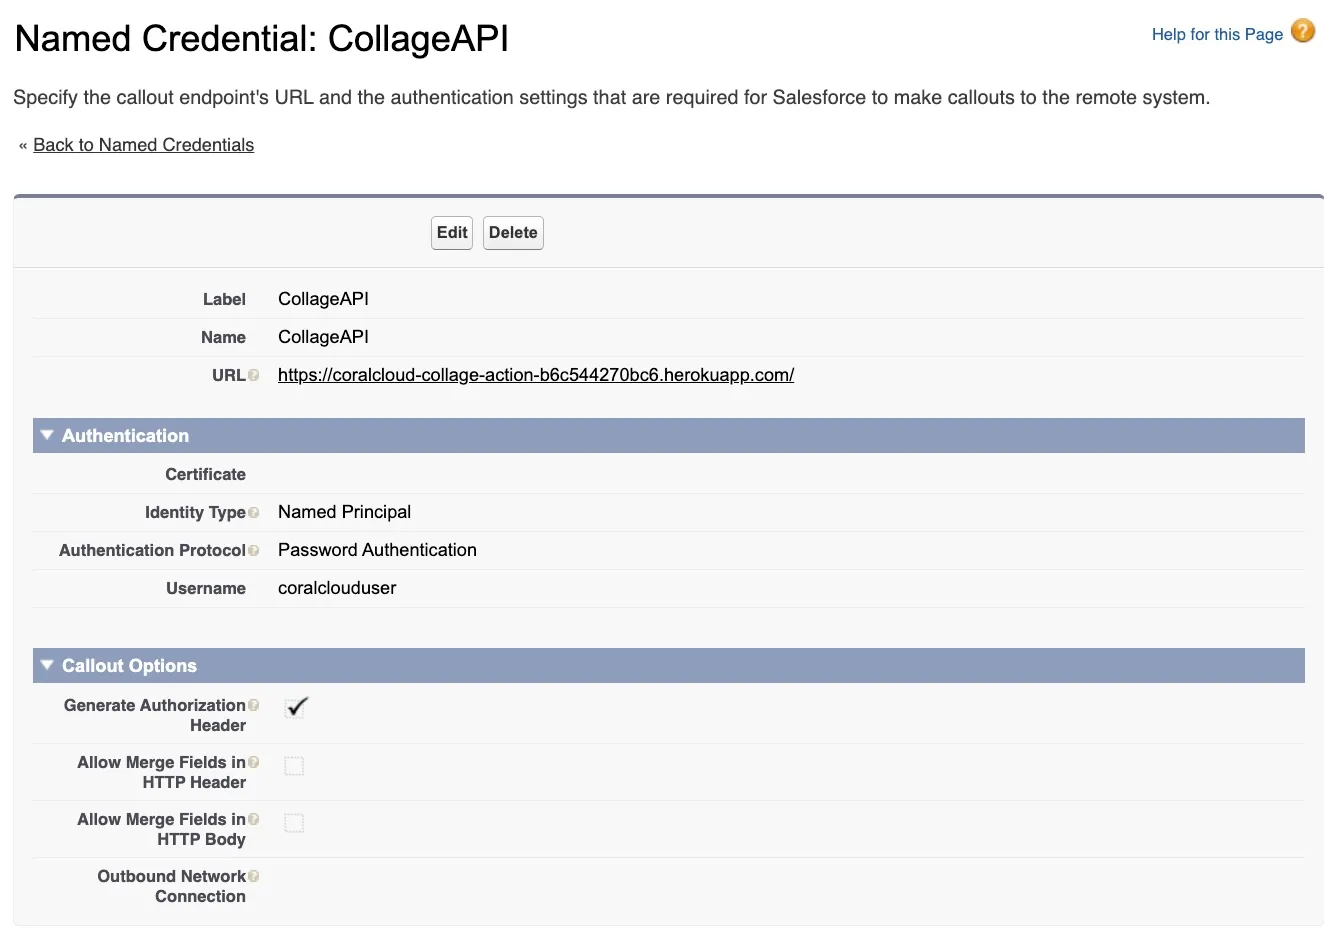
Configure the credential as follows:
Field Value Label CollageAPIName Keep the default URL https://coralcloud-collage-action-b6c544270bc6.herokuapp.com/Identity Type Named Principle Authentication Protocol Password Authentication Username coralclouduserPassword Coralclouduser@2024Click Save. Use the screenshot below to confirm that you entered the right values.
Step 2: Import external services
In this step, you will import a pre-existing API coded with Java that has already been deployed to Heroku, as such you do not need a Heroku account for now.
From Setup, open External Services.
Click Add an External Service.
Click From API Specification.
Configure the registration details as follows:
Field Value External Service Name CollageAPIService Schema Relative URLSelect a Named Credential CollageAPIURL /v3/api-docsClick Save & Next.
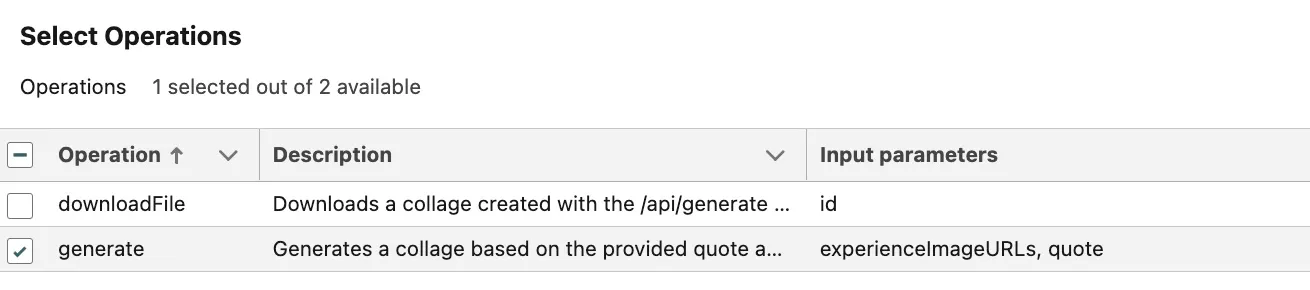
Select generate from the list of options and click Next.
Click Finish.
Step 3: Create the flow
From Setup, open Flows.
Click New Flow.
Leave Start from Scratch selected and click Next.
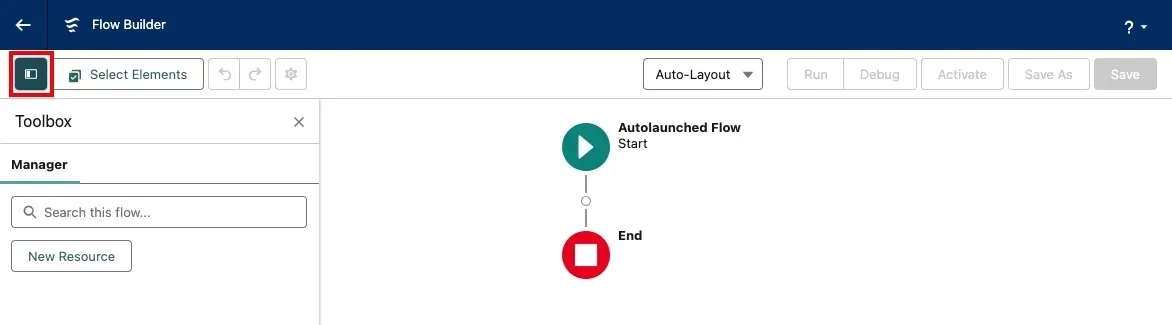
Select Autolaunched Flow (No Trigger) and click Create.
Open the Resources panel by clicking the sidebar icon to the left of the Select Elements button.
Using the New Resource button, create three variables defined as follows:
Resource Type API Name Description Data Type Available for input Available for output Variable quoteA personalized message to display on the collage relating to what the user most enjoyed about their stay at the resort.Text ✅ Unchecked Variable experienceImageURLsA comma delimited list of image URLs representing the resort experiencesText ✅ Unchecked Variable downloadURLA URL for the user to download the collage image.Text Unchecked ✅ TIP: Clear and informative descriptions are a crucial part of building Agent actions. It allows the planner to select the right actions, populate inputs with the right values, and correctly interpret outputs.
Define the Collage API call
Mouse over the circle after the Start element, click +, and select Action.
Select the action Collage API.
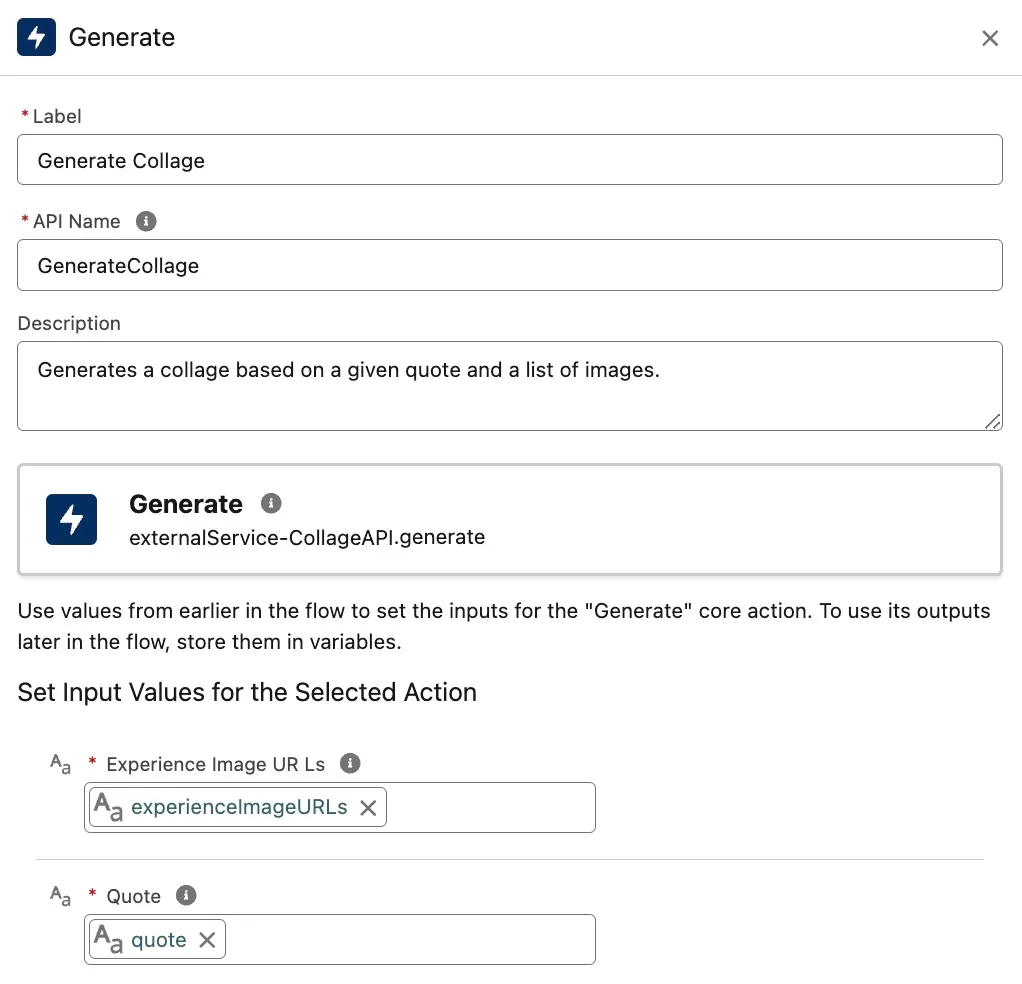
Configure the Action element as follows:
Field Value Label Generate a CollageAPI Name Keep default Description Generates a collage based on a given quote and a list of images.Experience Image URLs {!experienceImageURLs}Quote {!quote}You can use the screenshot below to confirm that you entered the right values.
Store the result
Mouse over the circle after Generate Collage, click +, and select Assignment.
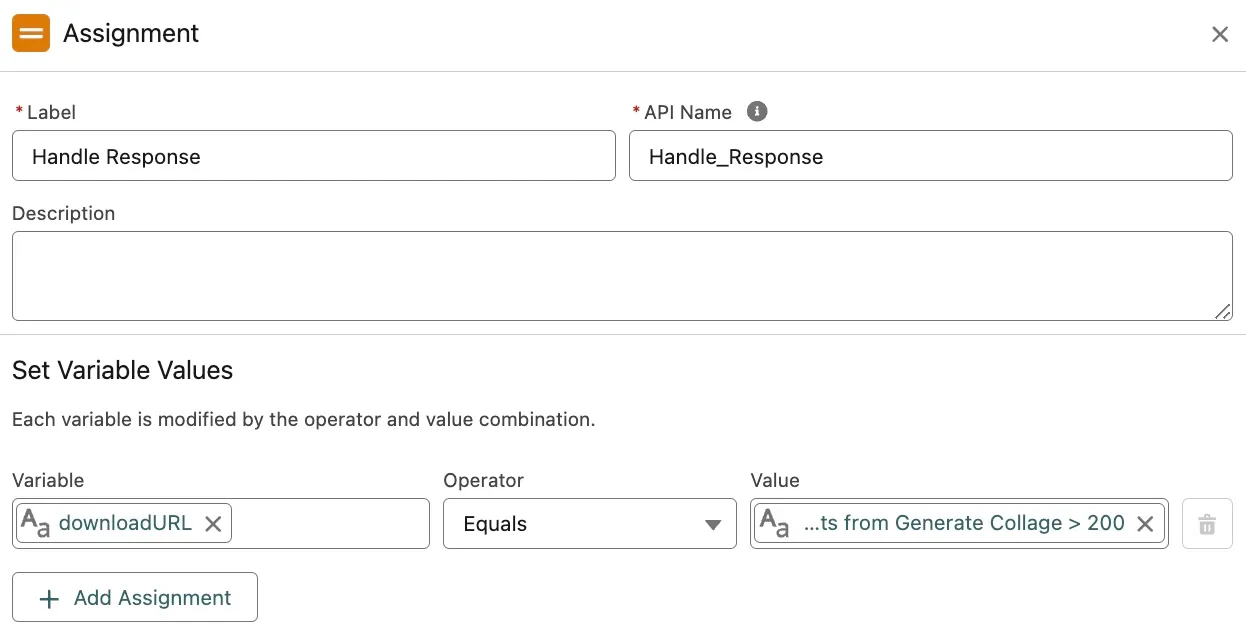
Configure the Assignment element as follows:
Field Value Label Handle ResponseAPI Name Keep default Description Storing the output of the collage API call.Set the following variable assignment:
Variable Operator Value downloadURLEquals{!GenerateCollage.200}Use the screenshot below to confirm that you entered the right values.
Save and activate the flow
Click Save from the top banner.
Configure the Flow as follows:
Field Value Label Generate CollageAPI Name Keep default Description This action generates a collage based the experiences they have booked. You must use the QueryRecords action to fetch the contact and ask the user for a quote before executing the action. Then you must use QueryRecords action to fetch Bookings for the contact before executing the action.Click Save.
Click Activate.
Click the back arrow button to leave Flow Builder and go back to Setup.
Step 4: Extending the available agent data
The instructions we are providing to Agentforce require it to be able to fetch experience images from the Booking object. Follow these steps to expose this information.
Creating the Experience Picture field
From Setup, open Object Manager and search for the Booking object
Open Field & Relationships page and click New, completing the fields as shown below clicking Next to progress until clicking Save:
Field Value Choose the field type Formula Field Label Experience PictureField Name Keep the default Formula Return Type Text Experience Picture (Text) HYPERLINK(Session__r.Experience__r.Picture_URL__c, 'Picture', '_new')Establish field-level security Toggle the Visible checkbox to uncheck all checkboxes Add to page layouts Uncheck the Add Field checkbox Open Search Layouts page, click Edit, from the drop down next to the Default Layout.
Select the Experience Picture field from the Available Fields and click the > button to move the field over to the Selected Fields list.
Click Save.
Granting Permission to the Experience Picture field
Agentforce respects the users access to data, as such the final step is to update permissions.
From Setup, open Permissions Sets.
Click the Coral Cloud permission set and then click Object Settings.
Click the Bookings object from the list and click Edit.
Click the checkbox under the Read Access column for the Experience Picture field.
Click Save.
Step 5: Create the agent custom action
From Setup, open Agentforce Assets and select the Actions Tab.
Click New Agent Action.
Configure the action as follows:
Field Value Reference Action Type Flow Reference Action Generate CollageAgent Action Label Keep the default Agent Action API Name Keep the default Click Next.
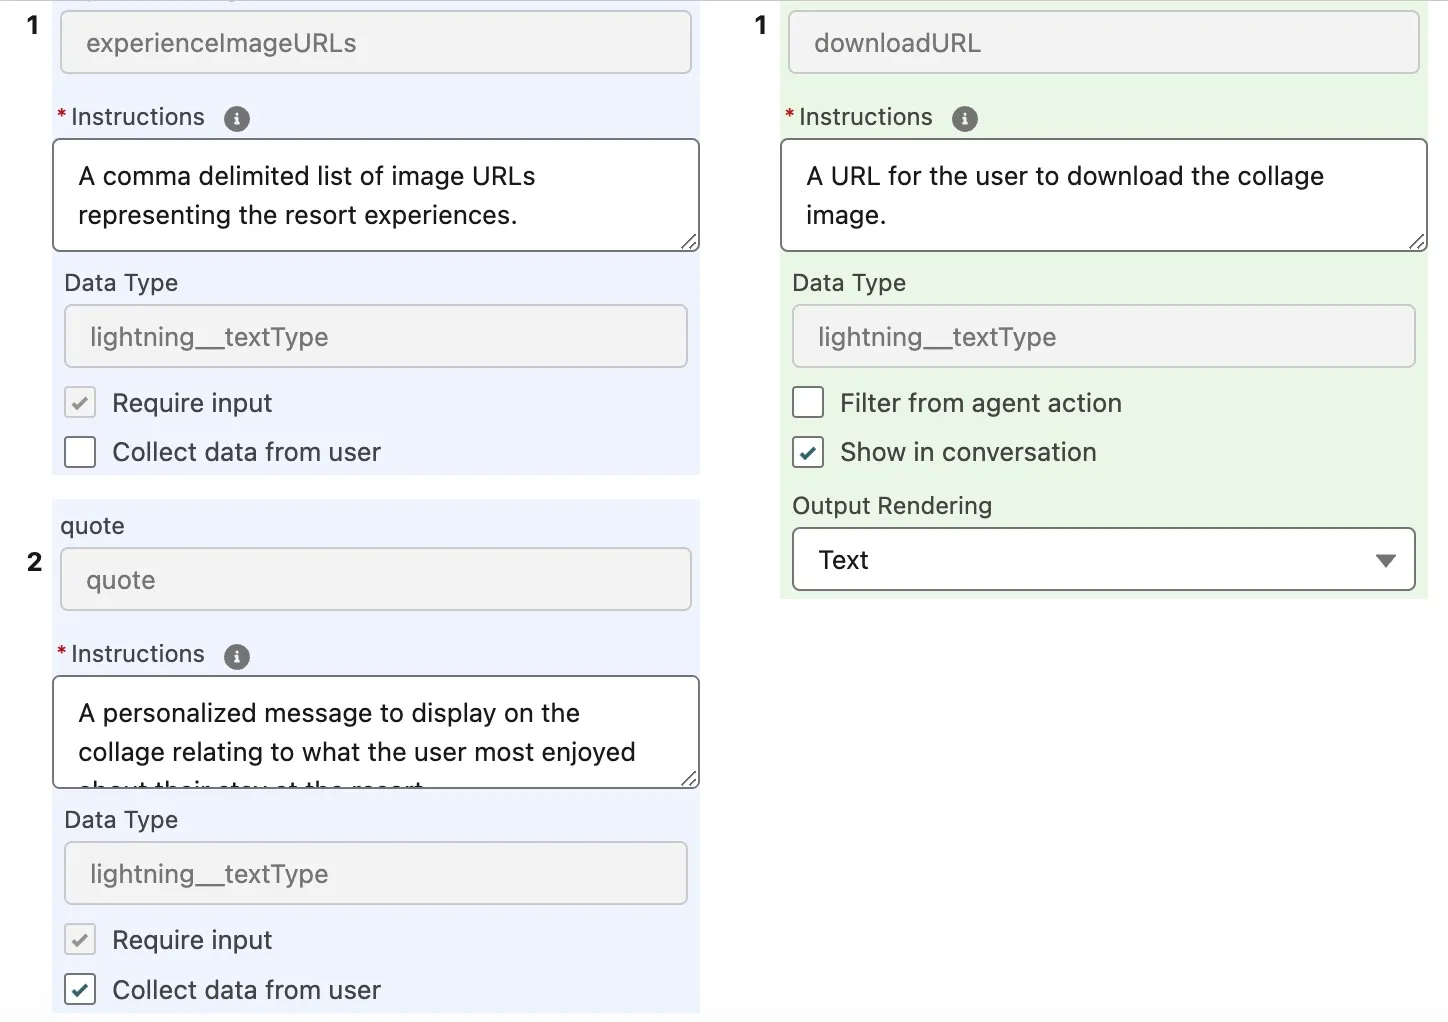
Leave in place the default instructions obtained from the Flow created above.
Check Require Input in the Input section for the experienceImageURLs input.
Check Require Input in the Input section for the quote input.
Check Collect data from user in the Input section for the quote input.
Check Show in conversation in the Output section for the downloadURL output..
Confirm the checkboxes are configured as shown below and click Finish.
Step 6: Add the action to your agent
From Setup, open Agentforce Agents (under Agent Studio).
Click on Coral Cloud Agent in the list of agents.
Click Open in Builder.
Click Deactivate to deactivate the agent, so that you can add a new custom action.
In the Topics sidebar, click the Customer Experience Support tab.
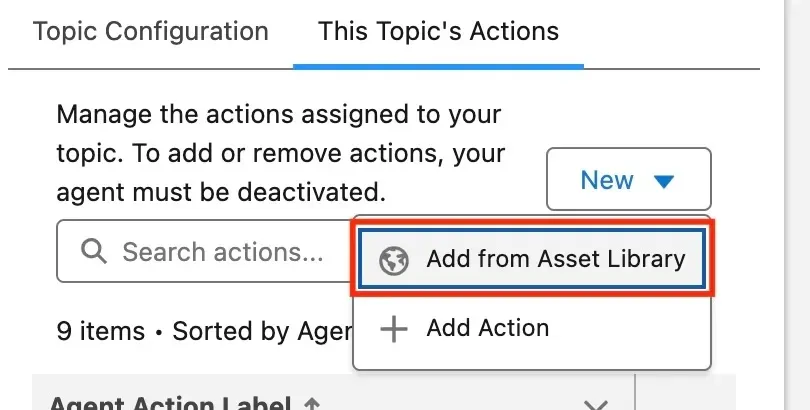
Go to This Topic's Actions tab.
Select New and from the dropdown list choose Add from Asset Library.
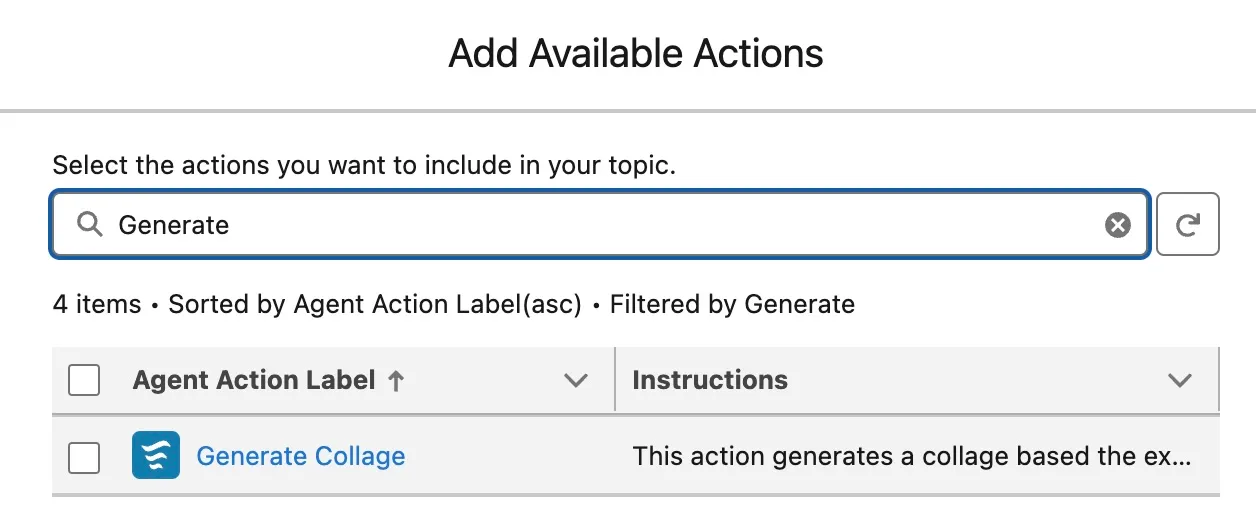
Check the Generate Collage action and click Finish.
Step 7: Try it out
In the Conversation Preview panel, enter the following prompt:
txtCan I have a collage of my experience?In the planner, notice that the reasoning engine will request the quote from the user, enter, the following
txtOh my goodness those sunsets!Next in the planner, notice that the reasoning engine will attempt to determine the contact, if it cannot it will prompt you for a name. Go to the Bookings tab and open a booking record, noting down the Contact name.

Give the contact name to the chat, for example:
txtFreeland AizikovitzYou should now see the agent provide a download link to access the collage. Note that your image may vary as the data in each workshop environment varies.

Summary
You have just created a custom action powered by Heroku elastic compute services that can be used to interact with your customers when they request a dynamic and personalized collage of their experience.