Create Service Appointments

Show your users the details of a service appointment—an appointment booked through Salesforce Scheduler—so that users can review and create the appointment.

  1. Create a page where the user can review the appointment details and create the appointment.

  2. Make a POST request on the service-appointments Connect API to create the service appointment.

    Specify the operating hour scheduling policy ID to show only the dummy resource who’s defined with operating hours for concurrent scheduling. See Configure Scheduling Policy to Enforce Operating Hours.

    Note

    Resource URI

    1https://YOUR_INSTANCE.salesforce.com/services/data/v68.0/connect/scheduling/service-appointments

    Where YOUR_INSTANCE is a variable.

    For an Existing User (Account)

    Sample Request

    Pass the account ID as parentRecordId in the input request body.

    1{
    2  "schedulingPolicyId": "0VrS7000000004XKAQ",
    3  "serviceAppointment": {
    4    "serviceTerritoryId": "0HhS70000004F9zKAE",
    5    "parentRecordId": "001S7000002br8YIAQ",
    6    "schedStartTime": "2022-10-03T16:30:00.000+0000",
    7    "schedEndTime": "2022-10-03T17:00:00.000+0000",
    8    "additionalInformation": "Schedule concurrent appointment with a dummy resource",
    9    "appointmentType": "Use case purpose."
    10  },
    11  "assignedResources": [
    12    {
    13      "serviceResourceId": "0HnS70000004EFyKAM",
    14      "isRequiredResource": "true"
    15    }
    16  ]
    17}

    Sample Response

    The API returns the service appointment ID and the assigned service resources.

    1{
    2  "result": {
    3    "assignedResourceIds": [
    4      "03rS700000003zrIAA"
    5    ],
    6    "serviceAppointmentId": "08pS70000000CxEIAU"
    7  }
    8}

    For a Guest User (Lead)

    Sample Request

    Pass the required lead details in the input request body.

    1{
    2  "schedulingPolicyId": "0VrS7000000004XKAQ",
    3  "serviceAppointment": {
    4    "serviceTerritoryId": "0HhS70000004F9zKAE",
    5    "schedStartTime": "2022-10-03T16:30:00.000+0000",
    6    "schedEndTime": "2022-10-03T17:00:00.000+0000",
    7    "additionalInformation": "Schedule concurrent appointment with a dummy resource",
    8    "appointmentType": "Use case purpose."
    9  },
    10  "assignedResources": [
    11    {
    12      "serviceResourceId": "0HnS70000004EFyKAM",
    13      "isRequiredResource": "true"
    14    }
    15  ],
    16  "lead": {
    17    "firstName": "Patient1",
    18    "lastName": "Test",
    19    "email": "test1@company.com",
    20    "company": "Test Club"
    21  }
    22}

    Sample Response

    The API returns the service appointment ID and the assigned service resources.

    1{
    2  "result": {
    3    "assignedResourceIds": [
    4      "03rS700000003zrIAA"
    5    ],
    6    "parentRecordId": "00QRM000004seHz2AI",
    7    "serviceAppointmentId": "08pRM0000004vdvYAA"
    8  }
    9}

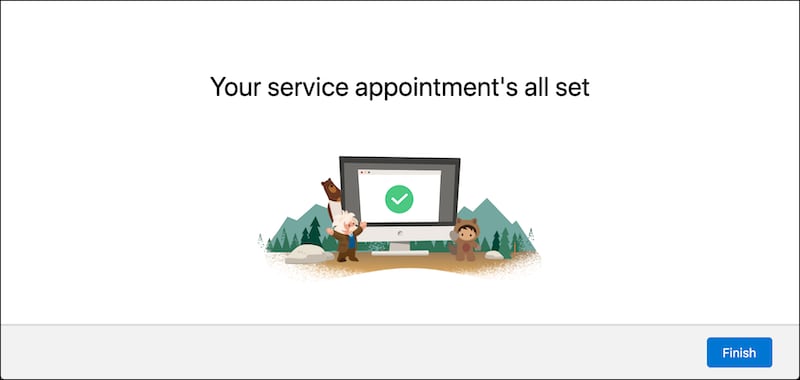
Create a page to show confirmation when the service appointment is created successfully.

Here’s how a sample confirmation page can look.

A representation of the confirmation screen.