In Salesforce, you link attachment files to specific records, such as contacts, events, or accounts. Import, export, and delete attachments in Dataloader from MuleSoft the same way you work with any other Salesforce object, with a few extra steps to handle the file content.
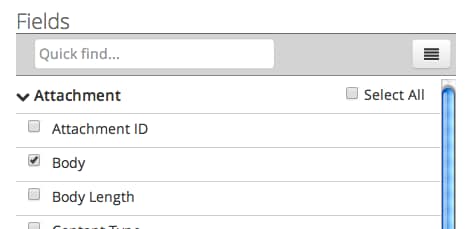
When you import attachments, map three required fields: File Name, Parent ID, and Body. The Parent ID connects each attachment to an existing Salesforce record, and Body points to the file inside a ZIP archive.
Each attachment supports up to 25 MB. The Salesforce Knowledge and Documents tab limits files to 5 MB. The maximum email attachment size is 10 MB.
Important
Because of platform limits, you can process up to 2,000 attachments per run. Larger batches can hit the two-hour task timeout and expire.
Import an Attachment
To import attachments with Dataloader from MuleSoft, follow these steps.
Compress all attachments into a ZIP file that contains all files to upload.
Get the IDs of related Salesforce records. Each attachment must be linked to a Salesforce record (for example, a contact or an event) that already exists before you can import it. To get the record IDs, run an Export Data Task and include the ID field.
Build a CSV file with the required fields. Your CSV file requires three fields:
File Name: The file name as you want it to appear in Salesforce.
Parent ID: The ID of the Salesforce record you link each attachment to.
Body: The file path of the file as it exists inside the ZIP file from step 1.
When opened as a spreadsheet, your CSV file should resemble this table:
File Name
Parent ID
Body
Attachment1newName.png
00000001
Attachment1.png
Attachment2newName.png
00000002
Attachment2.png
Use the same column headers in your CSV file as in this example so the required fields map correctly in the import task.
Note
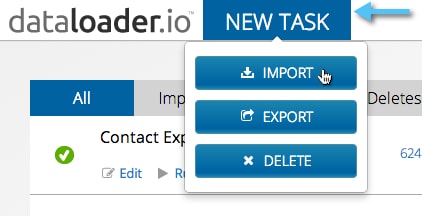
Click New Task then click Import.
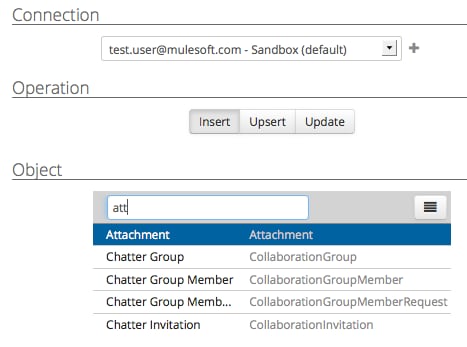
Configure connection, operation, and object:
In the Connection dropdown, select the Salesforce connection you want to use.
Select the CSV and ZIP files you created. Upload two files: a ZIP file with the attachments and a CSV file that references each attachment. You can select these files from your disk or from cloud storage, such as Dropbox, Box, or FTP/SFTP servers.


 j
j