
Appearance
Exercise 1: Get Started with Agentforce
In this exercise, you'll use Agentforce to enable agents, and you'll familiarize yourself with the new Agentforce Builder and Agentforce's standard actions.
Scenario
Pronto’s Customer Support team handles day-to-day questions about deliveries, orders, and merchant storefronts across many restaurants. You’ve been tasked with creating a Pronto Service Agent in the new Agentforce Builder that can route requests to the right subagent and reliably execute workflows.
By the end of this chapter, your agent will be able to:
- Route conversations with an Agent Router that hands off to the correct subagent.
- Track orders and delivery status (order status/ETA style questions).
- Handle order issues and refunds while avoiding duplicate cases by checking for existing cases.
- Verify customers before running sensitive operations.
- Look up orders when order context is missing (using an Order Lookup subagent).
- Search storefronts by name to help customers or support reps find the right location.
You’ll implement this using subagents like:
- Order Tracking & Delivery Status
- Order Issues & Refunds
- Storefront Search
- Verify Customers
- Order Lookup
Step 1: Create a new agent
TIP
If you have not yet Enabled Agentforce, please navigate back to the getting started section of the workbook and enable agentforce.
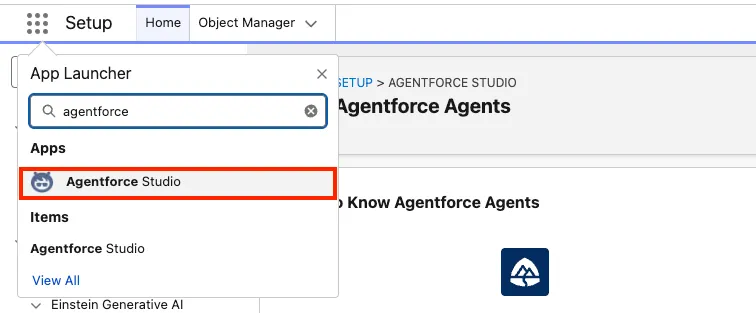
In the App Launcher, select the Agentforce Studio app.
Click New Agent.
Enter the following prompt to create the new agent.
txtCreate a customer support agent for Pronto, a food delivery platform that partners with restaurants (“merchants”) and supports customers with orders and deliveries. The agent should help customers with order and delivery questions (status/ETA), resolve common order issues, and guide refund requests when appropriate. It should also be able to answer general support and account questions. Ask clarifying questions when needed and avoid asking users for Salesforce record IDs.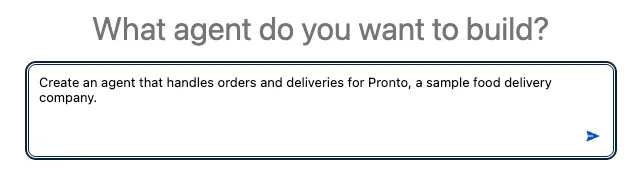
Press Enter on your keyboard.
Enter the following values into the Name your agent modal.
Field Value Agent Name Pronto Service AgentAPI Name Pronto_Service_AgentAssign a user record to your agent to manage its access Select UserAgent’s User Record einsteinServiceAgent UserClick Lets Go.
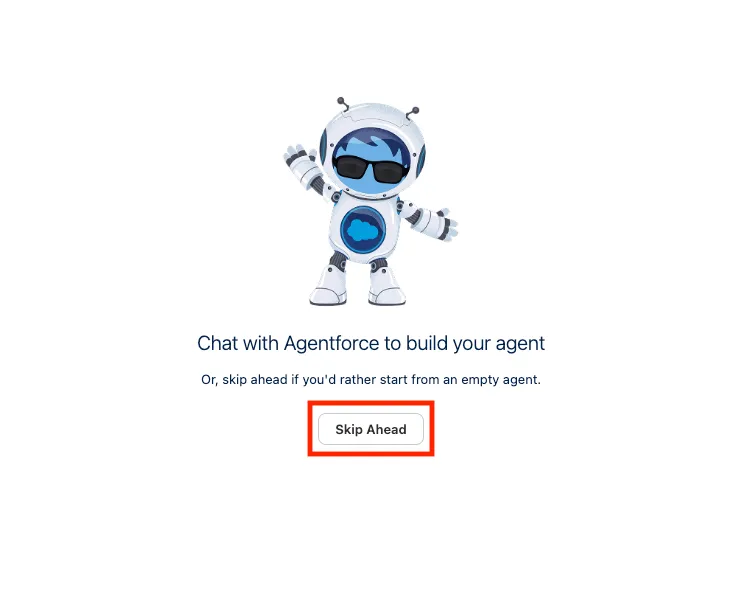
Click on Skip Ahead, this allows you to start from an empty agent.
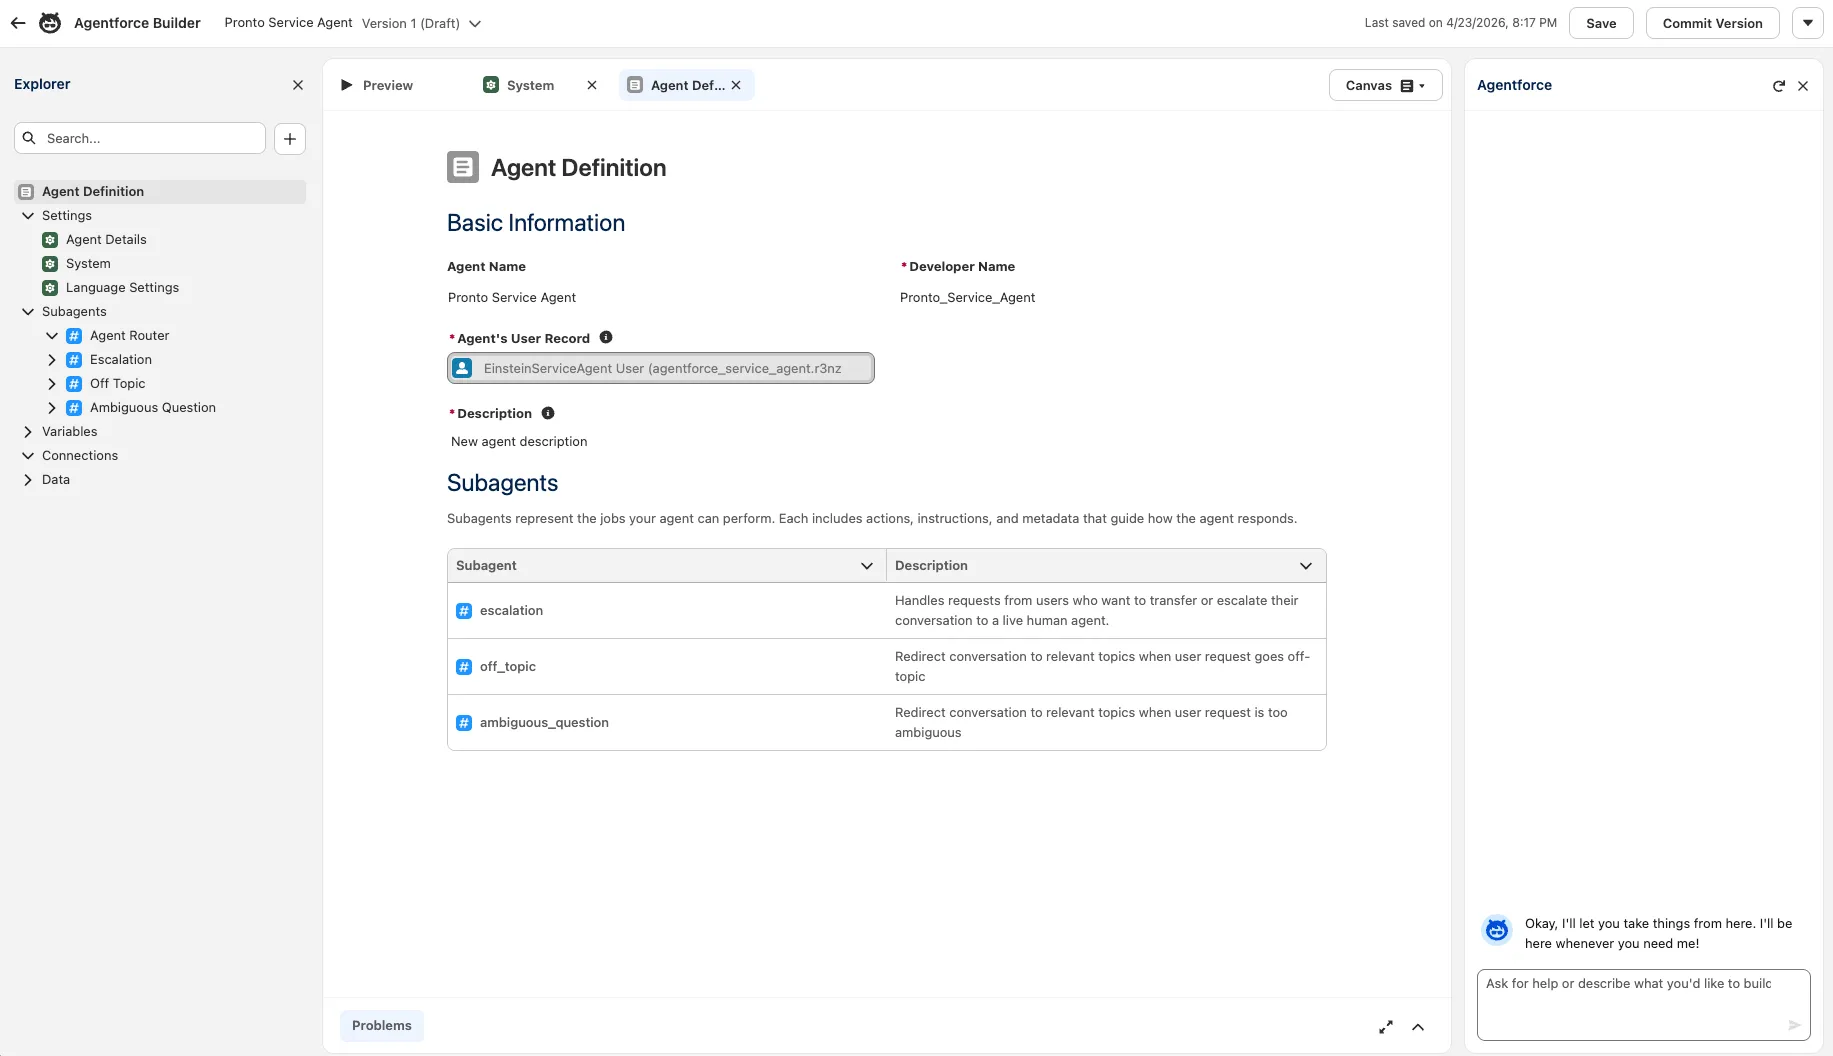
Explore the New Agentforce Builder
The new Agentforce Builder has three main areas:
- The navigation explorer on the left
- The main editor view in the centre
- The Agentforce Authoring Agent on the right
Click on Save
TIP
It's best practice to save your agent frequently. You can do this using the Save button, or by pressing
Ctrl + S(Windows) orCmd + S(Mac).
Congratulations, you've created your first agent definition. Next we explore the different areas of the new Agentforce Builder.
Step 2: Explore the new builder interface
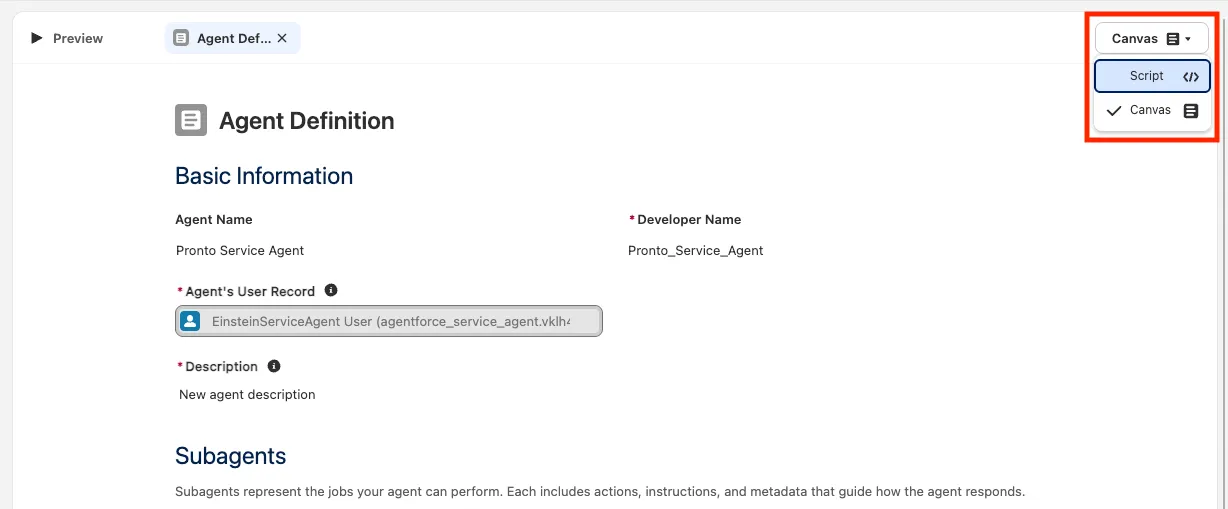
Click on Agent Definition to see an overview of the general agent definition.
Click on Canvas, then select Script. This opens the agent configuration in Agent Script. Based on your preference you can work either in the canvas, or in script mode.
Update the Agent Script by finding the following line and removing it from the agent:
txtmodel_config: model: "model://sfdc_ai__DefaultEinsteinHyperClassifier"Save the agent.
Go back to the canvas by clicking on Script, and select Canvas.
In the explorer, click on System. Replace the existing messages as following:
Field Value Agent-level Instructions You are Pronto’s customer support assistant. Be friendly, concise, and action-oriented. Start by confirming the customer’s goal in one sentence. Ask only the minimum clarifying questions needed and one at a time when possible. Never ask for Salesforce record IDs or expose internal system details/jargon. Protect privacy: don’t request or retain sensitive info (passwords, full payment details); only collect what’s necessary to help. Follow policies and safety rules; if a request is unsafe, unsupported, or needs a human, say so and offer the next best step. Use grounded facts; if unsure, be transparent. End with a short summary and clear next steps.Welcome Message Hi, I'm Pronto's Service Assistant. How can I help you today?Error Message I apologize, something in my system is not quite right.Click Save.
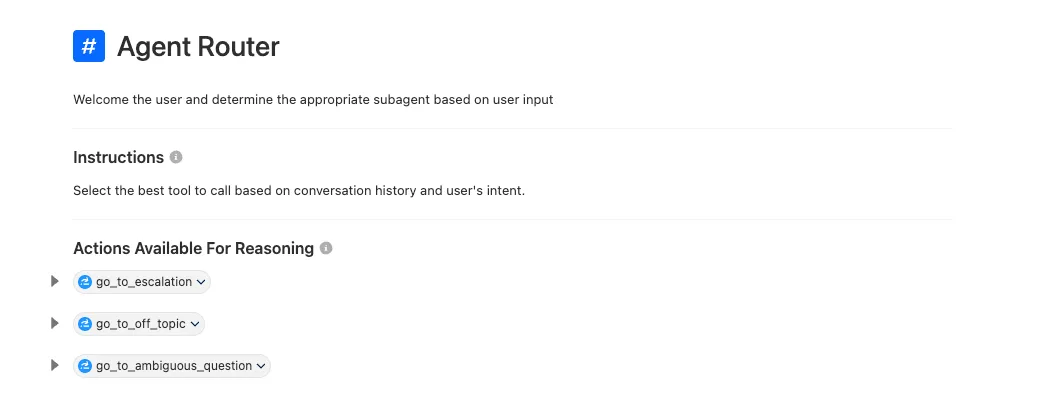
Click on Agent Router, then on Agent Router.
You'll see the two main areas of a subagent:
- The instructions that are sent to the large language model (LLM).
- The actions that this subagent can use.
TIP
The
Agent Routersubagent is the entry point for every agent conversation. After every user input the agent evaluates which subagent to choose based on the configuration of theAgent Router. The only actions that should be included in this subagent aretransitionactions for transition to another subagent.In the Explorer, click on Variables. This shows the currently set global variables for this agent.
TIP
Variables with the identifier
linkedare set by the system, for example@MessagingSession.Idfrom the service agent session. The agent can't change those. Variables with the identifiermutablecan be changed by the agent. All variables need either the identifierlinkedormutable. In all cases variables are globally available.
Summary
You have enabled Agentforce, created the Pronto Service Agent, and explored the Builder (Canvas/Script, Agent Router routing, and variables).